Hanging wallpaper can be a daunting task, but with the right steps and guidance, you can successfully hang mushroom wallpaper in your home. In this essay, we will provide a comprehensive 7-step guide to help you hang mushroom wallpaper like a pro.
Step 1: Prepare the Walls
Before hanging mushroom wallpaper, it is crucial to prepare the walls properly. Start by removing any existing wallpaper and patching up any cracks or holes. Ensure that the walls are smooth, clean, and dry. This will provide a solid foundation for the wallpaper and ensure a smooth and long-lasting finish.
Step 2: Measure and Cut the Wallpaper
Measure the height of the wall and add a few inches to allow for trimming. Roll out the mushroom wallpaper on a clean surface and use a measuring tape and a pencil to mark the desired length. Carefully cut the wallpaper along the marked lines using a sharp utility knife or scissors. Remember to match the pattern if your mushroom wallpaper has one.
Step 3: Apply Wallpaper Paste
Most mushroom wallpapers require wallpaper paste for proper adhesion. Follow the manufacturer’s instructions to mix the wallpaper paste. Using a paint roller or a wallpaper brush, apply a generous and even layer of paste to the back of the wallpaper. Be sure to cover the entire surface, especially the edges.
Step 4: Book the Wallpaper
Booking the wallpaper is an essential step to allow the paste to activate and the wallpaper to expand. Gently fold the pasted wallpaper inwards, bringing the top half to meet the middle and the bottom half to meet the middle. This process is known as “booking.” Leave the booked wallpaper for the recommended time specified by the manufacturer, usually around 5-10 minutes.
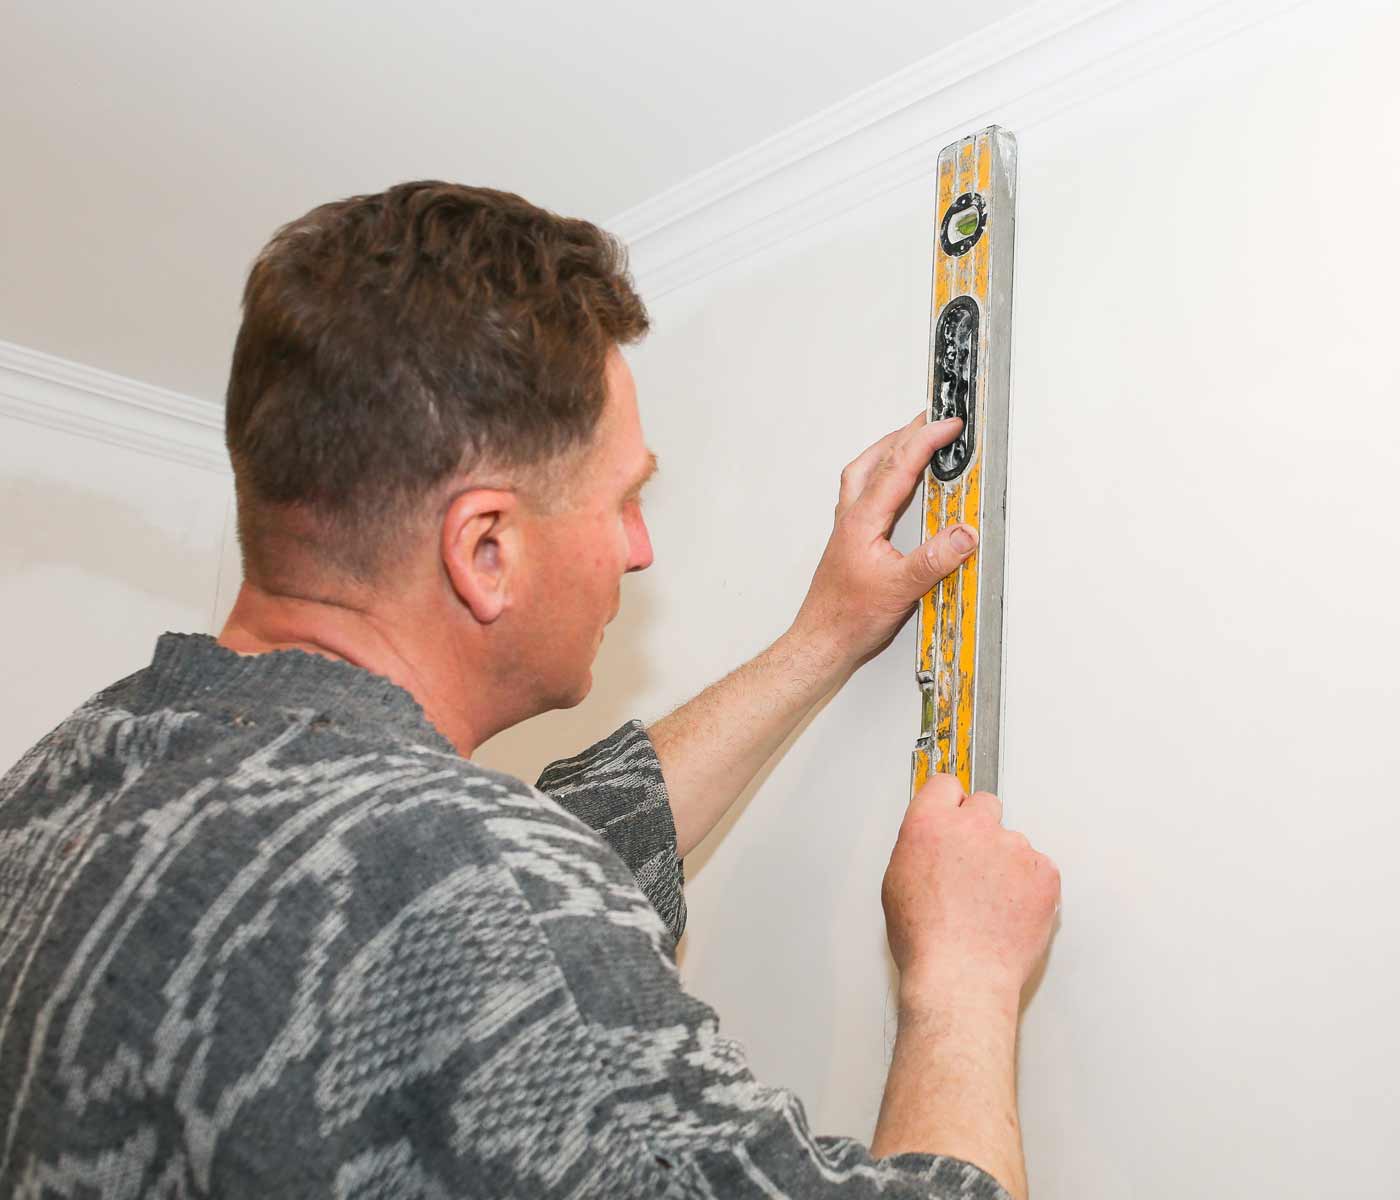
Step 5: Hang the Wallpaper
Carefully unfold the booked wallpaper and position it on the wall, starting from the top. Align the wallpaper with the plumb line or use a level to ensure it is straight. Smooth out any air bubbles, working from the center outwards using a wallpaper brush or a plastic smoother. Take your time to ensure proper adhesion and alignment.
Step 6: Trim Excess Wallpaper
Once the wallpaper is hung, trim off any excess using a sharp utility knife or scissors. Hold the blade against a straightedge and carefully cut along the edges of the wallpaper. Take extra caution when trimming around corners, windows, and other obstacles. Be sure to wipe away any excess paste immediately with a damp sponge or cloth.
Step 7: Finishing Touches
After trimming, use a seam roller to gently press down the edges of the wallpaper for a smooth and seamless finish. Inspect the walls for any remaining air bubbles or wrinkles and smooth them out with the wallpaper brush or plastic smoother. Allow the wallpaper to dry completely according to the manufacturer’s instructions before moving or placing furniture against the walls.
Conclusion
Hanging mushroom wallpaper can be a rewarding and transformative experience for your home. By following these 7 steps, you can successfully hang mushroom wallpaper and create a stunning and personalized space. Remember to prepare the walls properly, measure and cut the wallpaper accurately, apply the wallpaper paste evenly, book the wallpaper, hang it carefully, trim the excess, and finish with attention to detail. With patience and precision, you can achieve a professional-looking result that will enhance the aesthetics of your home. So, gather your tools, prepare your walls, and enjoy the process of hanging mushroom wallpaper in your space.