Painting your own plant pots is a fantastic way to unleash your creativity while adding a personal touch to your indoor or outdoor space. Not only does it give you the opportunity to showcase your artistic skills, but it also allows you to transform ordinary terracotta or plain ceramic pots into unique, eye-catching pieces. In this essay, we will explore 15 fun and easy ways to paint your own plant pots, providing you with inspiration and step-by-step instructions for each technique.
Preparing Your Plant Pots

Preparing your plant pots is an essential step before diving into the exciting process of painting them. This ensures that the paint adheres properly and the final result is long-lasting and visually appealing. To begin, start by thoroughly cleaning the pots using water and mild soap. This helps remove any dirt, dust, or debris that may interfere with the paint’s adherence. Once cleaned, gently sand the pot’s surface with sandpaper to create a smooth texture that allows the paint to adhere better. This step is particularly crucial for pots with rough or uneven surfaces. By cleaning and sanding your plant pots, you create a clean canvas ready to be transformed into a work of art.
Choosing the right paint is another important aspect of preparing your plant pots. For porous pots, acrylic paint works best as it offers good coverage and adhesion. On the other hand, if you’re painting plastic pots, consider using spray paint for a smooth and even finish. Spray paint allows for greater control and precision, ensuring a polished look. For outdoor pots that will be exposed to weather conditions, opt for oil-based paint as it provides better durability and resistance. By carefully preparing your plant pots and selecting the appropriate paint, you set the foundation for a successful and enjoyable painting experience.
Choosing the Right Paint

When it comes to painting your plant pots, selecting the right paint is crucial in achieving the desired results. Here are some key points to consider:
- Acrylic Paint: Acrylic paint is an excellent choice for porous plant pots. It offers good coverage, dries quickly, and provides a durable finish. With a wide range of colors available, you can easily find the perfect shade for your pots.
- Spray Paint: If you’re working with plastic pots, spray paint is a convenient option. It allows for even application and creates a smooth, professional-looking finish. Look for spray paints specifically designed for plastic surfaces to ensure optimal adhesion and long-lasting results.
- Oil-Based Paint: For outdoor plant pots that will be exposed to the elements, consider using oil-based paint. It offers superior durability and resistance to water, UV rays, and weather conditions. This type of paint is ideal for terracotta or ceramic pots that need extra protection.
- Sealant: To further enhance the longevity of your painted pots, consider applying a clear sealant or varnish. This protective layer helps seal the paint, preventing chipping, fading, and damage from moisture or UV rays.
By carefully choosing the right paint for your plant pots, you can ensure a stunning and long-lasting finished product. Whether you opt for acrylic paint, spray paint, or oil-based paint, always follow the manufacturer’s instructions for application and drying times to achieve the best results.
Quick Painting Ideas

♦ Drip Paint Technique
The drip paint technique adds a contemporary and vibrant touch to your plant pots. Start by choosing three or four complementary paint colors. Dip a paintbrush into one color and lightly tap it against another brush, causing the paint to drip onto the pot. Continue this process with the remaining colors, creating beautiful abstract patterns.
♦ Ombre Effect
The ombre effect creates a stunning gradient of colors on your plant pots. Begin by selecting two or three shades of the same color. Apply the lightest shade at the top of the pot and gradually transition to the darkest shade at the bottom, blending the colors together for a seamless ombre effect.
♦ Polka Dot Delight
For a playful and whimsical look, consider painting polka dots on your plant pots. Use a round sponge or the eraser end of a pencil dipped in acrylic paint to create evenly spaced dots. Experiment with different colors and sizes to achieve your desired aesthetic.
♦ Vintage Distressed
Give your plant pots a vintage and weathered appearance by distressing them. Apply a base coat of paint in a desired color, let it dry, then lightly sand the surface to create a worn-out effect. Add a second coat of paint in a contrasting color, focusing on the raised areas of the pot. The result is a charmingly aged look that will add character to your plants.
♦ Geometric Patterns
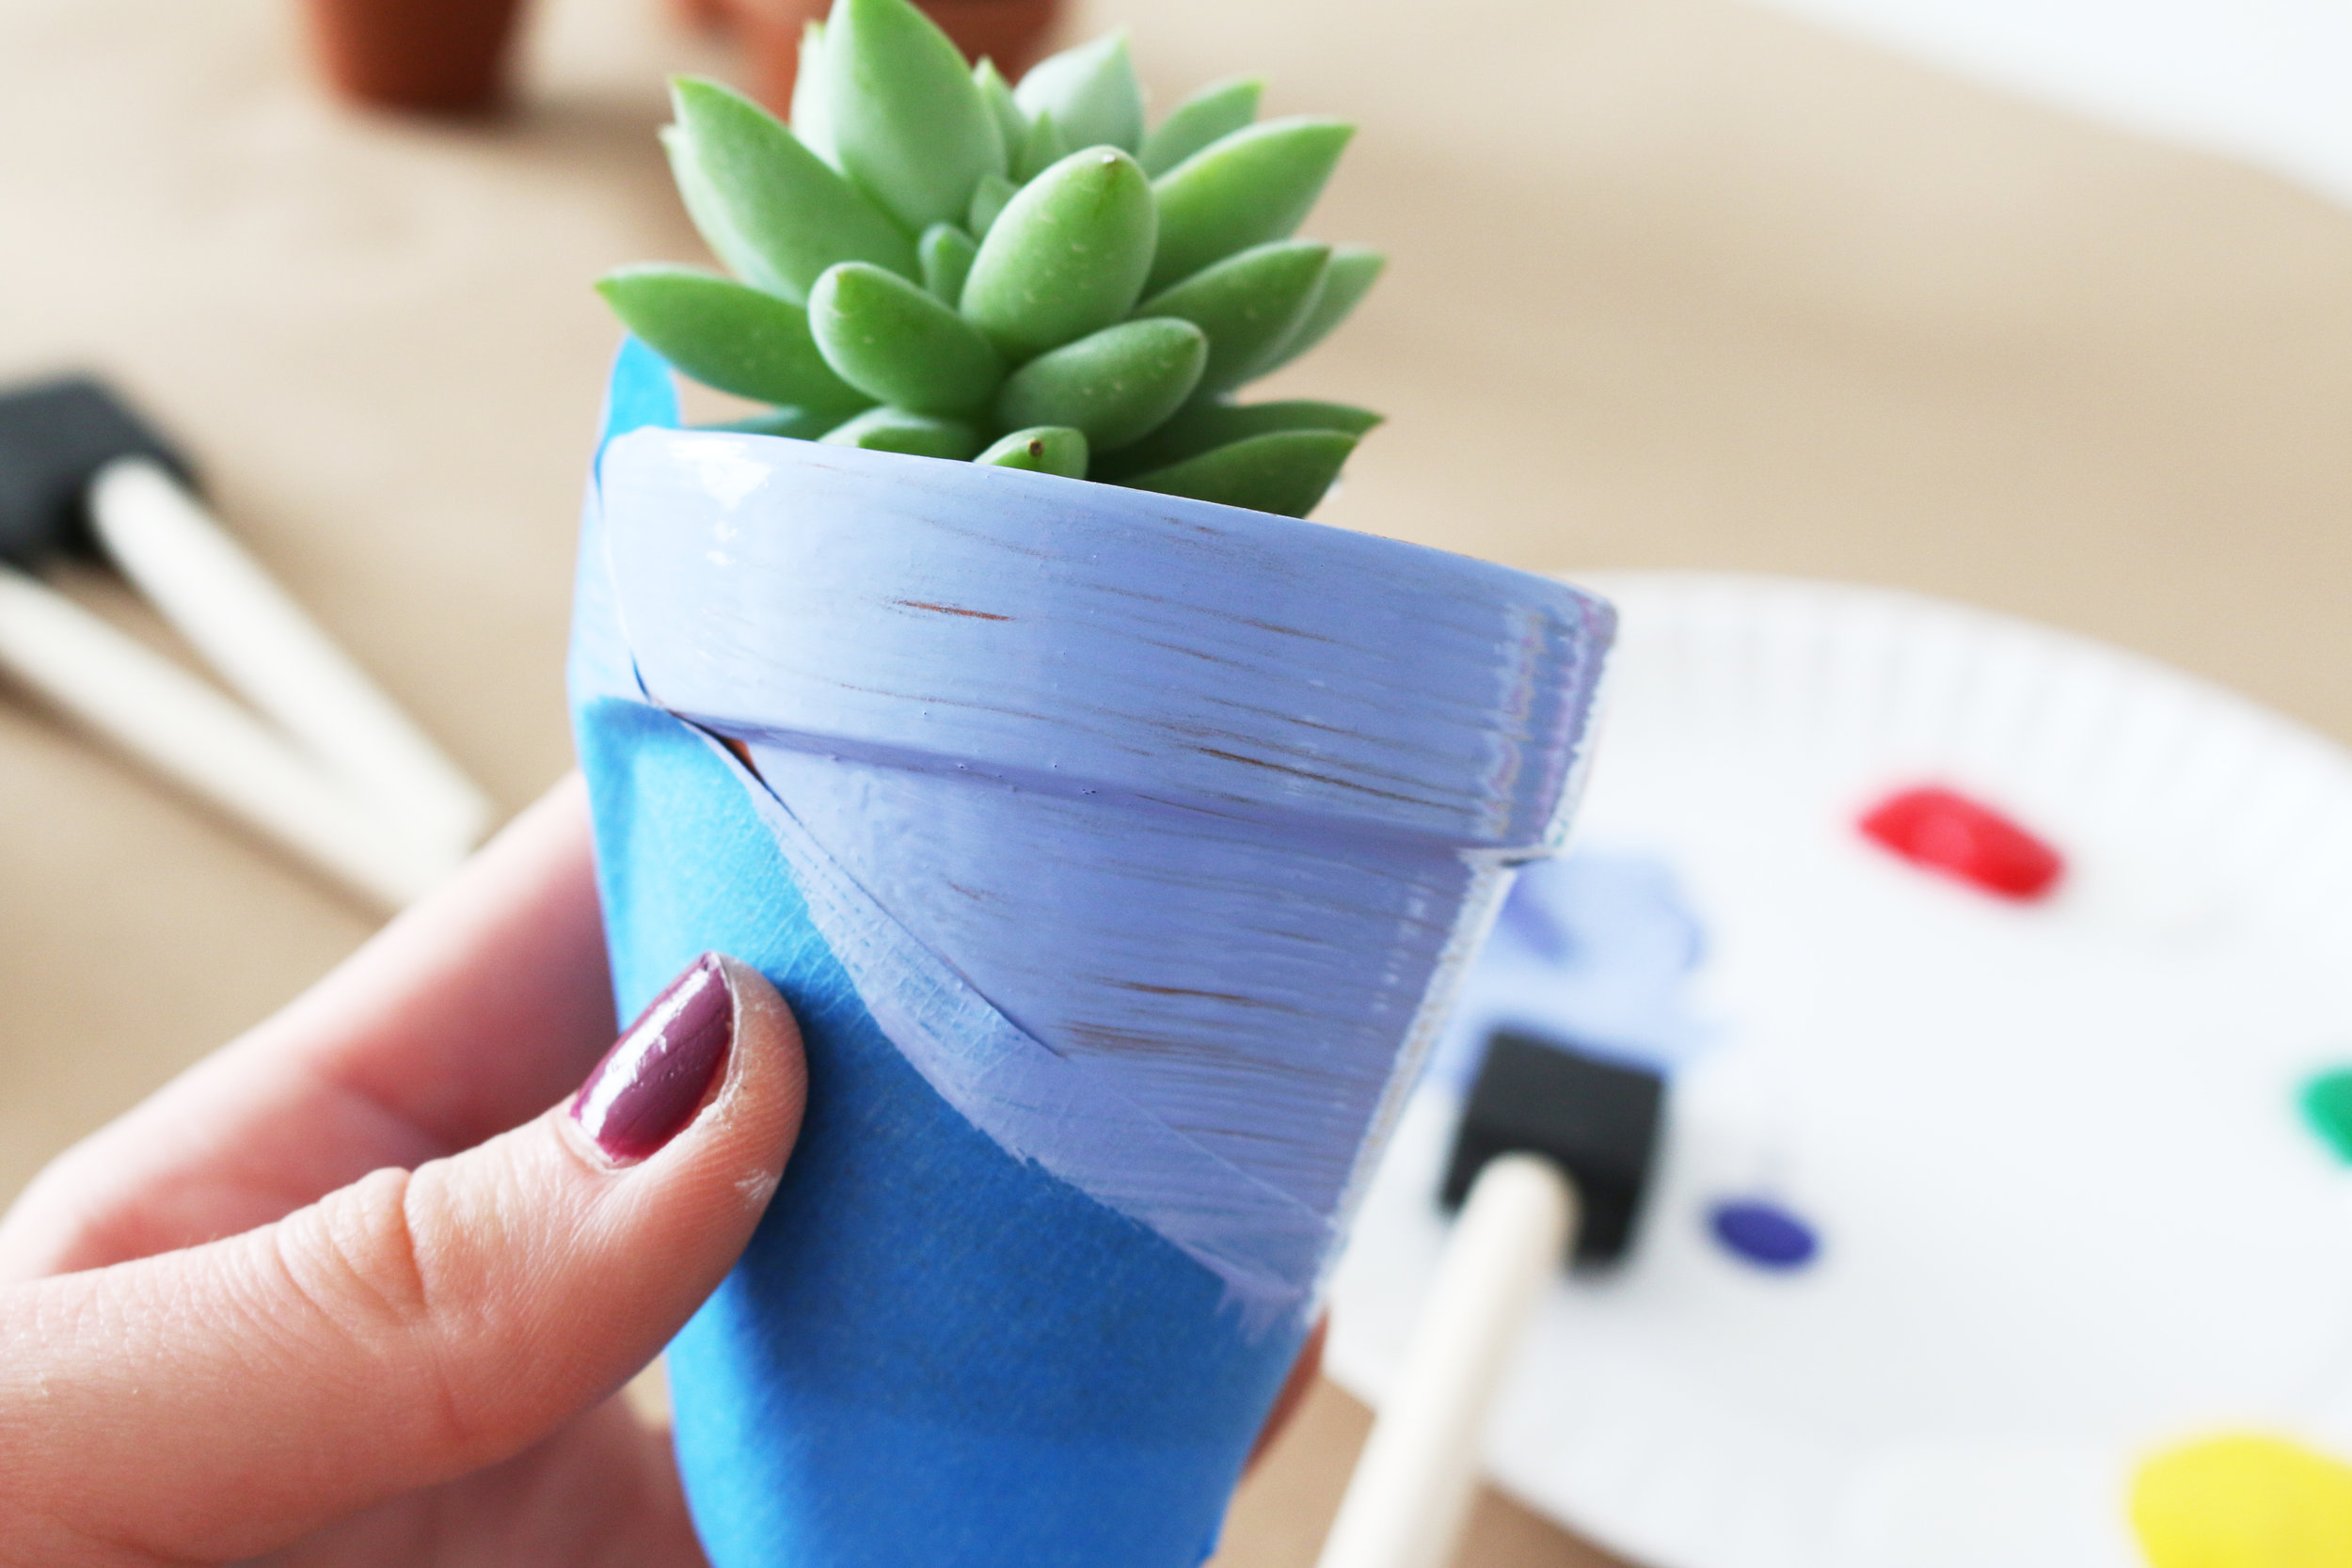
Geometric patterns can give your plant pots a modern and sophisticated feel. Use painter’s tape to create clean lines and shapes such as triangles, squares, or hexagons. Apply contrasting paint colors within each section, then carefully remove the tape to reveal crisp geometric designs.
♦ Marbleized Magic
Create a mesmerizing marble effect on your plant pots using nail polish. Fill a container with room temperature water and add a few drops of various nail polish colors. Swirl the colors gently with a toothpick and then dip the pot into the water, allowing the nail polish to adhere. Remove the pot and let it dry completely for a unique marbleized finish.
♦ Stencil Art
Stenciling allows you to easily add intricate designs to your plant pots. Select a stencil pattern of your choice and secure it to the pot using painter’s tape. Apply paint with a brush or sponge, ensuring even coverage. Once dry, carefully remove the stencil to reveal your beautiful design.
♦ Nature-Inspired Pots
Bring the beauty of nature to your plant pots by incorporating elements such as leaves, flowers, or feathers. Choose a natural element and place it on the pot. Gently dab a paintbrush or sponge over the item, allowing the textures and shapes to transfer onto the pot. Remove the natural element and admire the organic patterns left behind.
♦ Abstract Splatter
Create a bold and vibrant look by splattering paint onto your plant pots. Dip a paintbrush into contrasting colors and flick it onto the pot, allowing the paint to scatter randomly. Experiment with different brush sizes and colors to achieve the desired effect.
♦ Terrazzo Inspired
The trendy terrazzo pattern can be easily recreated on your plant pots. Use acrylic paint or paint pens to draw small irregular shapes and dots on the pot, imitating the terrazzo effect. Vary the colors and sizes of the shapes to achieve an authentic terrazzo-inspired look.
♦ Chalkboard Pot
Transform your plant pots into chalkboards for a versatile and interactive touch. Apply chalkboard paint to the surface of the pot, let it dry, and then use chalk to write labels, quotes, or drawings. This allows you to easily change the pot’s appearance or label your plants as needed.
♦ Vibrant Rainbow
Add a burst of color to your plant pots by painting them in a rainbow pattern. Apply paint in horizontal stripes, starting from one side of the pot and working your way to the other side. Use bright and bold colors to achieve a cheerful and vibrant effect.
♦ Color Blocking
Color blocking involves dividing your pot into distinct sections and painting each section a different color. Use painter’s tape to create clean lines and apply paint in bold, contrasting hues. Remove the tape once the paint is dry, and you’ll have a vibrant and stylish plant pot.
♦ Gold or Silver Leaf Accents
For a touch of elegance and glamour, incorporate gold or silver leaf accents on your plant pots. Apply a thin layer of adhesive to the desired area and carefully place the gold or silver leaf on top. Gently press down, then remove the excess leaf. The metallic accents will add a luxurious finish to your pots.
♦ Tribal or Aztec Patterns
Embrace tribal or Aztec patterns to infuse your plant pots with cultural motifs. Use fine brushes or paint pens to draw intricate designs such as chevrons, arrows, or geometric shapes. Experiment with various colors to create a visually appealing and culturally inspired pot.
Additional Tips for Success

Here are some additional tips for success when it comes to painting your own plant pots:
- Prepare the surface: Before starting your painting project, make sure to clean the plant pots thoroughly to remove any dirt, dust, or grease. This will ensure better adhesion of the paint and a smoother finish.
- Use the right paint: Use acrylic paint or spray paint specifically designed for terracotta or ceramic surfaces. These types of paint adhere well to the material and provide a long-lasting finish. Consider using outdoor paint if your plant pots will be exposed to weather elements.
- Prime the pots (optional): If you’re working with porous terracotta pots, you may want to apply a coat of primer before painting. This will help seal the surface and prevent the paint from being absorbed too quickly.
- Experiment with different techniques: Don’t be afraid to try different painting techniques, such as stenciling, sponging, or splattering, to create unique designs. Mix and match colors, patterns, and textures to add variety to your collection of painted plant pots.
- Allow proper drying time: After painting, allow the pots to dry completely before handling or planting. Follow the instructions on the paint label for the recommended drying time, as it may vary depending on the type of paint used.
-
Consider sealing the pots: To protect your painted design and ensure its longevity, you may want to apply a clear sealant or varnish. This will help protect the paint from fading, chipping, or peeling, especially if the pots will be exposed to outdoor conditions.
By following these additional tips, you can achieve beautiful and successful results when painting your own plant pots. Let your creativity flourish and enjoy the process of enhancing your plant collection with personalized and eye-catching designs.


