Understanding String Lights
String lights, also known as fairy lights or Christmas lights, are a popular decorative choice for both indoor and outdoor settings. They come in various lengths, colors, and styles, adding a touch of whimsy and warmth to any space. The convenience and versatility of string lights make them an appealing option for events, holidays, and everyday decoration. However, when the string lights you purchase are too long for your intended use, it can be tempting to cut them to fit your specific needs. Before you take scissors to your string lights, it’s essential to understand the potential risks and the correct methods to ensure safety and functionality.

Types of String Lights
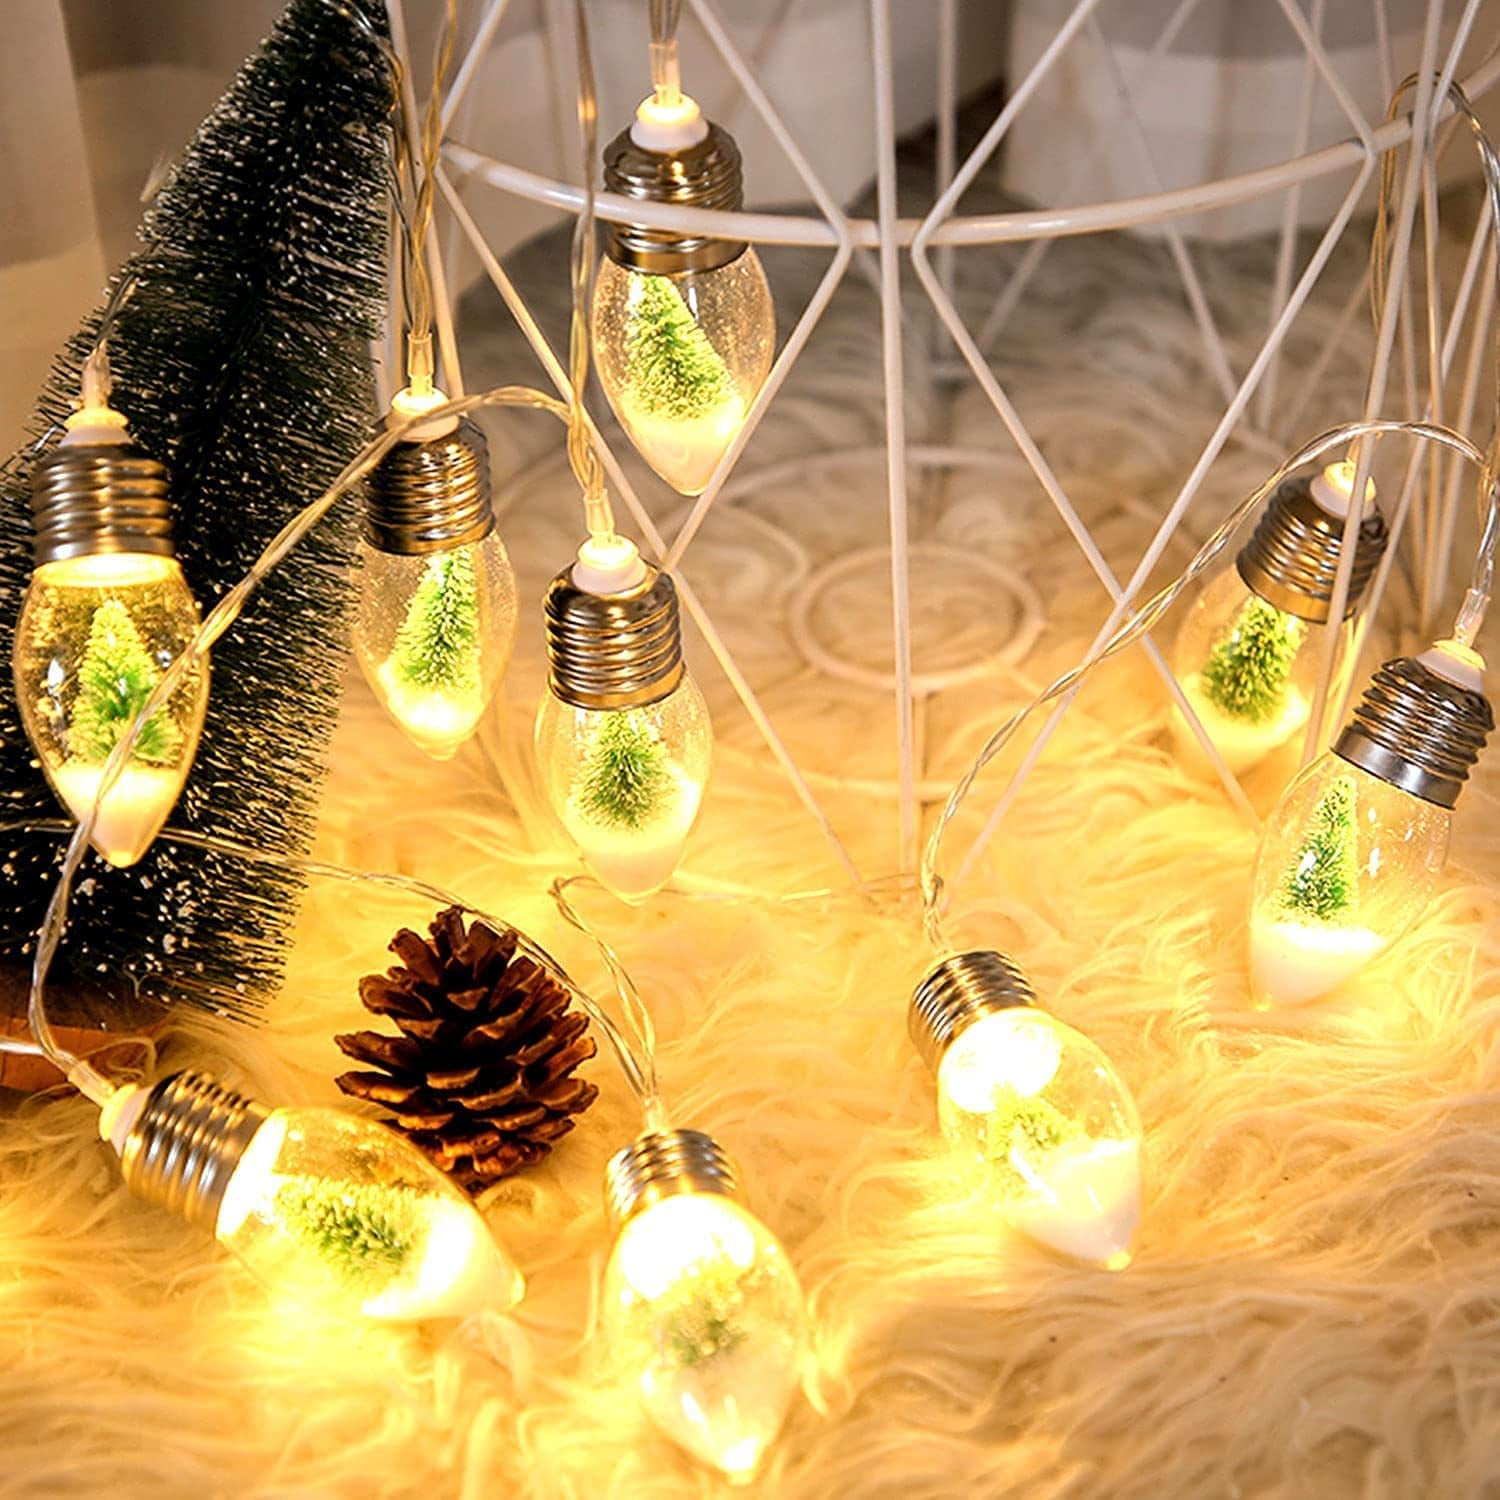
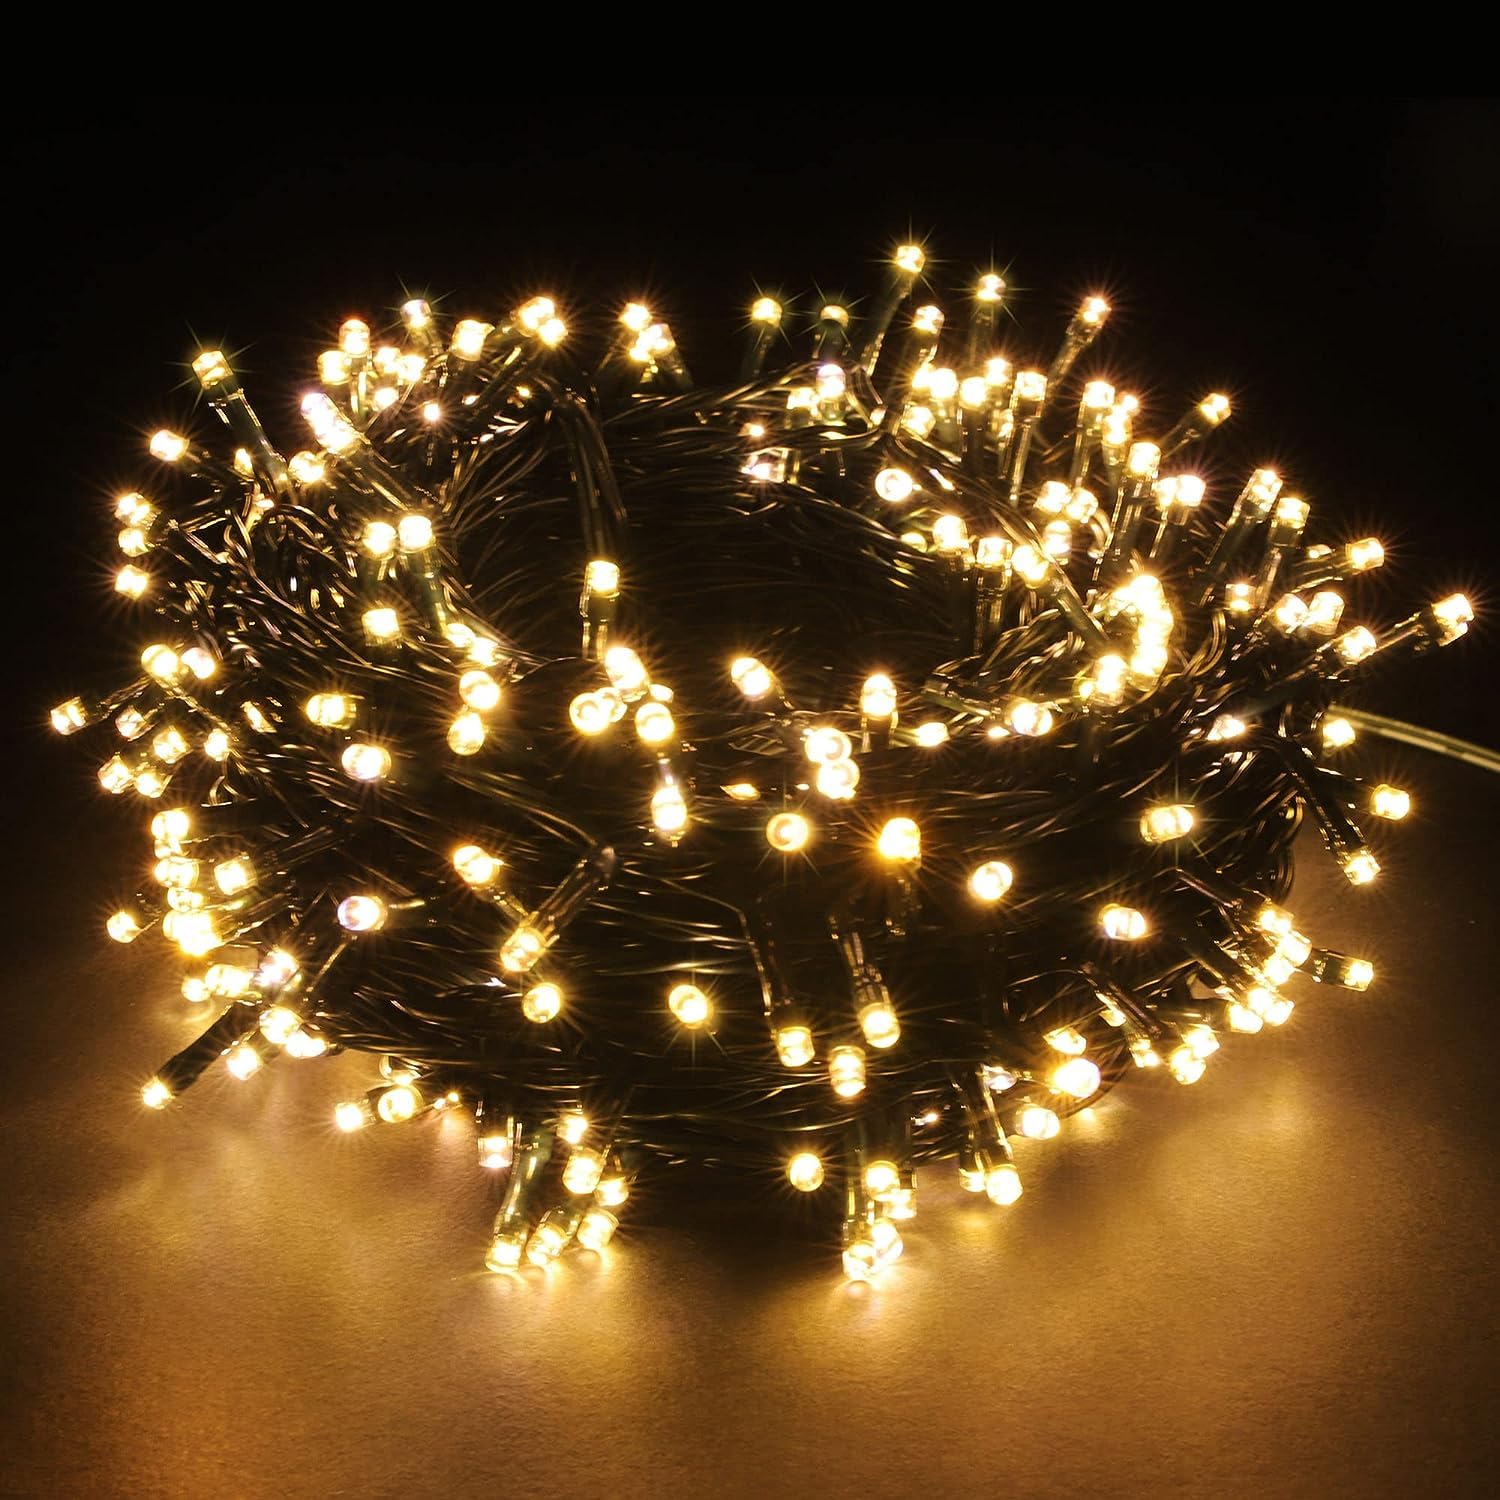
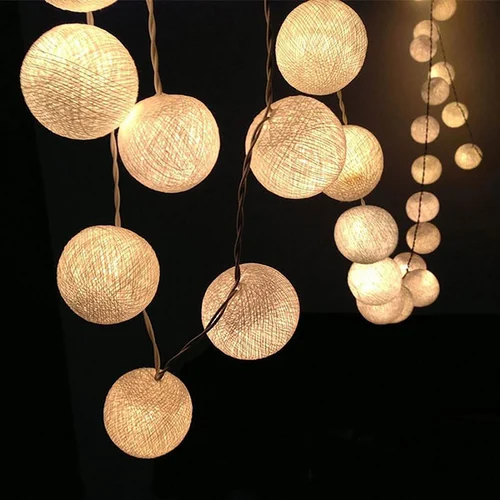
There are several types of string lights available on the market, each with different wiring and bulb configurations. Traditional incandescent string lights consist of small filament bulbs connected in series or parallel circuits. LED string lights, which are more energy-efficient and longer-lasting, feature light-emitting diodes. Some string lights are designed with a single continuous circuit, while others have multiple circuits within the same strand. Knowing which type of string lights you have is crucial because the method for cutting and modifying them can differ significantly. Always check the manufacturer’s instructions and specifications before making any alterations.
Risks of Cutting String Lights
Cutting string lights carries inherent risks that should not be underestimated. One primary concern is the potential for electrical hazards, which can lead to shocks, short circuits, or even fires. When you cut into the wiring of string lights, you expose the conductive material, which increases the risk of an accidental short circuit. Additionally, improper handling of the wires can result in poor connections, leading to malfunctioning lights or entire sections not working. Safety should always be your top priority when dealing with electrical modifications, and understanding the risks involved can help you proceed with caution.

Necessary Tools and Equipment
If you decide to proceed with shortening your string lights, having the right tools and equipment is crucial for a safe and successful modification. Essential items include a pair of sharp wire cutters, electrical tape, heat-shrink tubing, a soldering iron, and solder. Wire strippers can also be helpful for removing insulation from the wires without damaging them. Ensure that you have a clean, well-lit workspace and wear protective gear such as gloves and safety glasses. Having the proper tools and a safe working environment minimizes the risk of injury and ensures that your modifications are executed correctly.
Preparing the String Lights
Before you start cutting your string lights, take some time to prepare them properly. Begin by unplugging the lights from the power source to avoid any risk of electric shock. Lay the string lights out flat and straighten them to identify the section you need to cut. Measure and mark the exact spot where you intend to make the cut, ensuring that you leave enough slack for making secure connections afterward. Double-check your measurements to avoid cutting in the wrong place, as this could render the lights unusable. Proper preparation sets the stage for a smooth and safe modification process.

Making the Cut
When you’re ready to cut the string lights, use a pair of sharp wire cutters to make a clean cut at the marked spot. Be mindful of the internal wiring and avoid crushing or damaging it as you cut through the insulation. If your string lights have multiple circuits, you may need to cut through each one separately. Take your time and make sure the cuts are precise to prevent frayed wires, which can cause electrical issues. Once you have made the cut, carefully strip a small amount of insulation from the ends of the wires to expose the conductive material. This step is crucial for creating a secure connection later on.
Reconnecting the Wires
After cutting the string lights, the next step is to reconnect the wires to restore the electrical circuit. Begin by twisting the exposed wire ends together to form a tight connection. For added security and durability, solder the twisted ends using a soldering iron and solder. This creates a strong, stable bond that minimizes the risk of disconnection or poor conductivity. Once the solder has cooled and solidified, cover the exposed wires with heat-shrink tubing or electrical tape to insulate them and prevent short circuits. Make sure the insulation is thorough and secure to protect against moisture and other environmental factors.

Testing the Modified String Lights
Before you finalize your project, it’s essential to test the modified string lights to ensure they are functioning correctly. Plug the lights back into the power source and carefully observe them for any signs of malfunction, such as flickering, dimming, or sections that do not light up. If you encounter any issues, unplug the lights immediately and inspect your connections for loose wires or poor solder joints. Address any problems by re-soldering or re-insulating the affected areas. Thorough testing helps identify and resolve potential issues, ensuring that your modified string lights are safe and reliable.
Securing and Protecting the Connections
Once you have tested and confirmed that the string lights are working correctly, it’s important to secure and protect the connections to ensure long-term durability. Use additional layers of electrical tape or heat-shrink tubing to reinforce the insulated areas, providing extra protection against wear and tear. For outdoor string lights, consider using waterproof sealant or silicone gel around the connections to shield them from moisture and other environmental elements. Properly securing and protecting the connections extends the lifespan of your string lights and maintains their safety and functionality over time.

Alternative Solutions
If cutting and modifying string lights seems too risky or complicated, there are alternative solutions to achieve the desired length and configuration. One option is to purchase string lights that are specifically designed to be customizable, with removable sections or modular connectors. These products allow you to adjust the length without cutting or soldering, offering a safer and more convenient solution. Another alternative is to use extension cords or additional strands to bridge gaps and extend the reach of your lights. Exploring these options can save you time and effort while minimizing the risks associated with modifying string lights.
Legal and Warranty Considerations
When considering cutting and modifying string lights, it’s important to be aware of any legal and warranty implications. Many manufacturers explicitly state in their warranty terms that altering the product voids any guarantees or coverage. This means that if your string lights malfunction or cause damage after being modified, you may not be eligible for repairs or replacements under the warranty. Additionally, certain electrical modifications may not comply with local building codes or safety regulations, potentially leading to legal issues. Always review the manufacturer’s instructions and consult local regulations before making any modifications to ensure compliance and protect your investment.

Conclusion: A Balanced Approach
In conclusion, while it is possible to cut and shorten string lights, doing so requires careful consideration and adherence to safety protocols. Understanding the type of string lights you have, preparing adequately, using the right tools, and testing thoroughly are all crucial steps in the modification process. There are also alternative solutions and professional services available if you are uncertain about undertaking the task yourself. Balancing creativity with safety ensures that your modified string lights not only meet your aesthetic needs but also remain functional and secure. By approaching the task with caution and knowledge, you can successfully customize your string lights to fit your desired application while minimizing risks.

