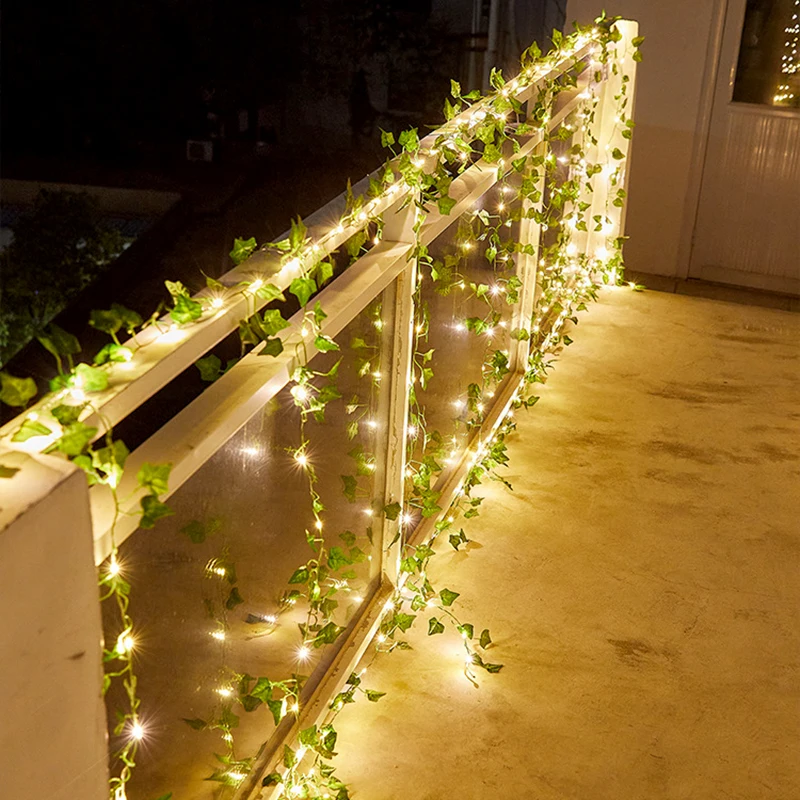
Introduction: The Darkened Twinkle
String lights have a magical way of transforming spaces into enchanting realms, be it a backyard summer soirée or a cozy indoor retreat. However, the disappointment sets in when those twinkling fairy lights refuse to illuminate, leaving you with a string of darkness instead of the warm glow you anticipated. Fear not; this comprehensive guide, titled “Illumination Intervention,” equips you with the troubleshooting expertise needed to revive your string lights and restore their sparkle.
Understanding the Basics
Before diving into repairs, understanding the anatomy of string lights is fundamental. Most string lights operate on a series of circuits, with each bulb connected in parallel. This design ensures that if one bulb burns out, the rest stay lit—a safety feature known as shunt wiring. Thus, when your entire string goes dark, the issue likely lies beyond a single faulty bulb.

Visual Inspection: The First Line of Defense
The simplest and most overlooked step is a thorough visual examination. Begin by checking for any visible damage to the wire, bulbs, or connectors. Frayed cords, broken bulbs, or corroded sockets are common culprits. Replace any damaged components immediately, ensuring they match the voltage and type specified for your light string.
The Bulb Swap Strategy
If no obvious damage is detected, employ the bulb swap strategy. This involves methodically swapping bulbs from a working section of the string to the non-functioning area. If the problem shifts along with the bulb, you’ve likely found a defective bulb. Modern LED strings often include a ‘dummy’ bulb that mimics functionality but doesn’t actually conduct electricity; identifying and replacing these is key.
Voltage and Compatibility Checks
Incompatibility issues between bulbs and the string can also cause malfunction. Ensure all bulbs are rated for the same voltage as the string. Mixing voltages can lead to underpowered or overheated bulbs, neither of which ends well for your illumination aspirations.
Testing with a Multimeter
For a more technical approach, a multimeter becomes your trusty sidekick. Set it to test continuity (usually represented by a diode symbol). Touch one probe to the contact at the base of the bulb socket and the other to the metal part of the bulb holder. A beep indicates a complete circuit; silence suggests a break. Follow this procedure along the string to isolate the fault.
Fuses and Breakers: The Overlooked Heroes
Many string lights incorporate fuses or circuit breakers to prevent electrical overload. Check these tiny protectors; a blown fuse or tripped breaker can mimic a total string failure. Replace fuses with identical ones, respecting amperage ratings, and reset breakers according to the manufacturer’s instructions.
Moisture Matters: Dealing with Water Damage
Outdoor lights are susceptible to water ingress, which can short-circuit the system. If you suspect moisture damage, carefully inspect and dry out the affected areas. Using a hairdryer on a low setting can help evaporate moisture from sockets and wires. Remember, prevention is key; always use waterproof or weather-resistant lights outdoors.
Soldering Solutions for Serious Issues
In cases where wires have become disconnected from their sockets, soldering might be necessary. This requires skill and the right tools. Carefully strip the insulation, twist the wires together, apply flux, then solder. Seal the repair with heat shrink tubing for added protection.
When to Call in the Professionals
While DIY fixes can solve many issues, there are times when professional assistance is warranted. If you encounter complex electrical problems, such as repeated failures after repairs, or if you’re uncomfortable working with electricity, consult a licensed electrician. Safety should always trump the DIY spirit.
Maintenance Matters: Prolonging Your Lights’ Lifespan
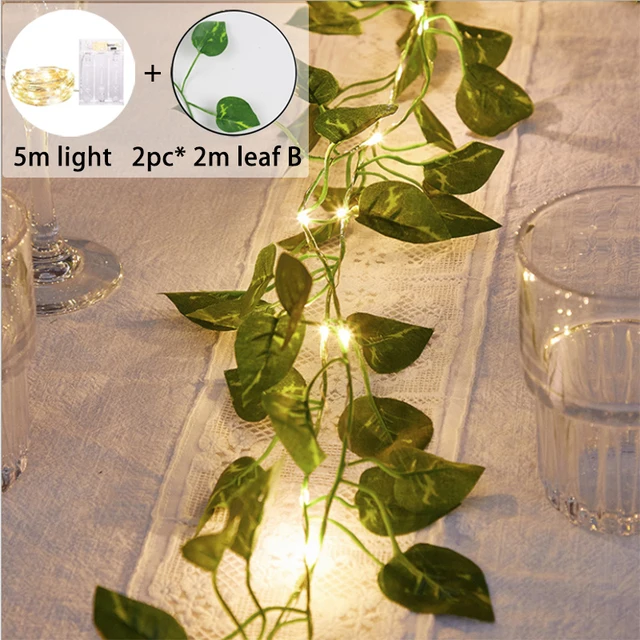
Preventative maintenance is key to keeping your string lights sparkling. Regularly inspect and clean your lights, store them properly during off-seasons, and avoid overloading electrical outlets. Investing in high-quality, waterproof lights and using surge protectors can significantly enhance their longevity.
Advanced Techniques: Diagnosing Complex Issues in String Lights
Voltage Drop: Uncovering Hidden Issues
Voltage drop occurs when the electrical resistance along the wire causes a decrease in voltage reaching the bulbs at the end of the string. This can result in dimmer lights or failure to light altogether. To diagnose voltage drop, use a multimeter to measure voltage at various points along the string when it’s turned on. If a significant drop is detected, consider shortening the string length or using thicker wire for reduced resistance.
The Role of Rectifiers in LED Strings
LED string lights often incorporate rectifiers to convert AC power to DC, crucial for proper LED function. Malfunctioning rectifiers can cause flickering or non-functioning lights. Identifying a faulty rectifier requires a bit more technical know-how. Use an oscilloscope to check the output waveform; a distorted or absent waveform signals a problem with the rectifier.
Dealing with RGB and Smart String Lights
RGB and smart string lights introduce additional complexity due to their control systems. Issues may arise from faulty controllers, incorrect programming, or compatibility conflicts with smart home hubs. Start by checking for firmware updates and ensuring the controller is correctly paired with the lights. If problems persist, resetting the system to factory defaults can sometimes resolve software glitches.
Weatherproofing Techniques for Outdoor Strings
To prevent future moisture-related issues, implement advanced weatherproofing techniques. Silicone sealant can be applied to socket seams to create a waterproof barrier. Additionally, using waterproof connectors or heat shrink tubing on all wire splices maintains integrity in wet conditions. Regular application of a corrosion-resistant spray on exposed metal parts further enhances durability.
Power Supply and Transformer Troubles
The power supply or transformer is the heart of your string light system. If it fails, the whole string will fail to light. Symptoms include lights flickering or not turning on at all. Test the output voltage with a multimeter; a reading significantly lower than the rated voltage indicates a failing transformer. Replacement transformers must match the voltage and wattage requirements of your light string.
Synchronizing Multiple Strings for Uniform Illumination
For large installations requiring multiple strings, synchronization is crucial for uniform brightness and color consistency. This can be achieved by connecting all strings to the same power source and controller or using specialized sync boxes designed for this purpose. Proper planning of power distribution ensures balanced load and prevents overloading any single circuit.
Embracing Technology: Smart Home Integration
Integrating your string lights with smart home systems opens up a world of possibilities, including voice control, scheduling, and remote access. Troubleshoot smart features by checking Bluetooth or Wi-Fi connections, ensuring your home network is stable, and updating app software. Understanding the specific smart functionalities and their dependencies can greatly expedite issue resolution.
Conclusion: Rekindling the Magic
When faced with string lights that won’t sparkle, remember that troubleshooting is a systematic process. By following the steps outlined in this “Illumination Intervention,” you’re well-equipped to diagnose and resolve a myriad of issues. Whether it’s a simple bulb replacement or a more intricate repair, restoring the twinkle to your lights brings back the ambiance and joy they were meant to provide.
Remember, patience, precision, and staying updated with technological advancements are instrumental in maintaining the sparkle in your string lights. With each resolved issue, you move closer to achieving that perfect, enduring glow that transforms spaces and moods alike. So, don your detective hat, grab your tools, and let the illumination intervention begin!
