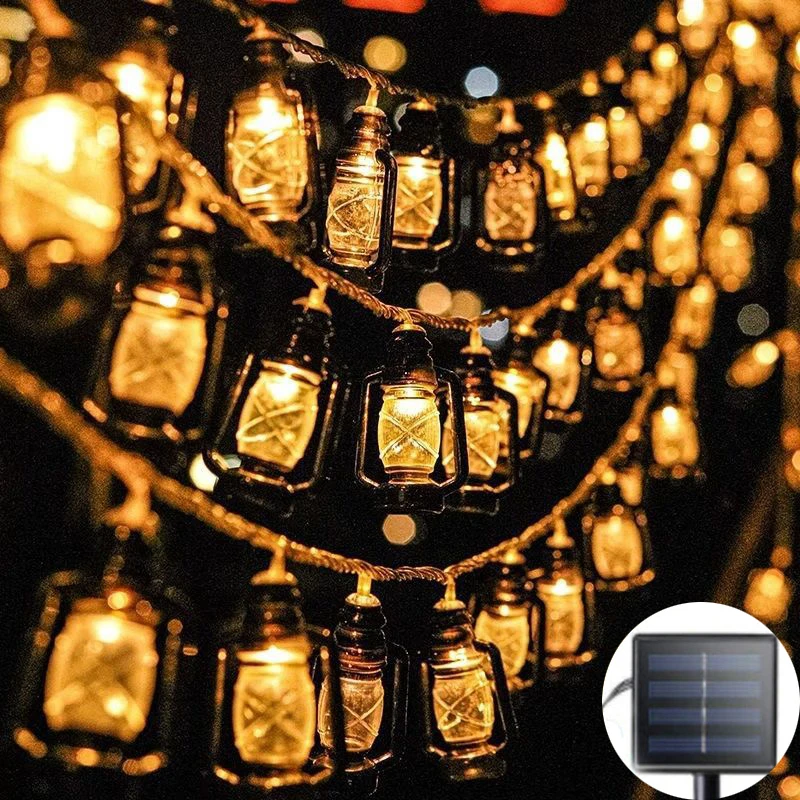
String lights are versatile, adding a magical touch to various spaces whether indoors or outdoors. However, finding the perfect string of lights for your specific needs can sometimes be a challenge. You may end up with lights that are too long for the designated area, leading to unattractive droops and unnecessary clutter. This issue can be expertly resolved by customizing the length of your string lights. This step-by-step guide will walk you through the process of shortening string lights for a custom fit, ensuring your decorative lighting is perfect for your space.
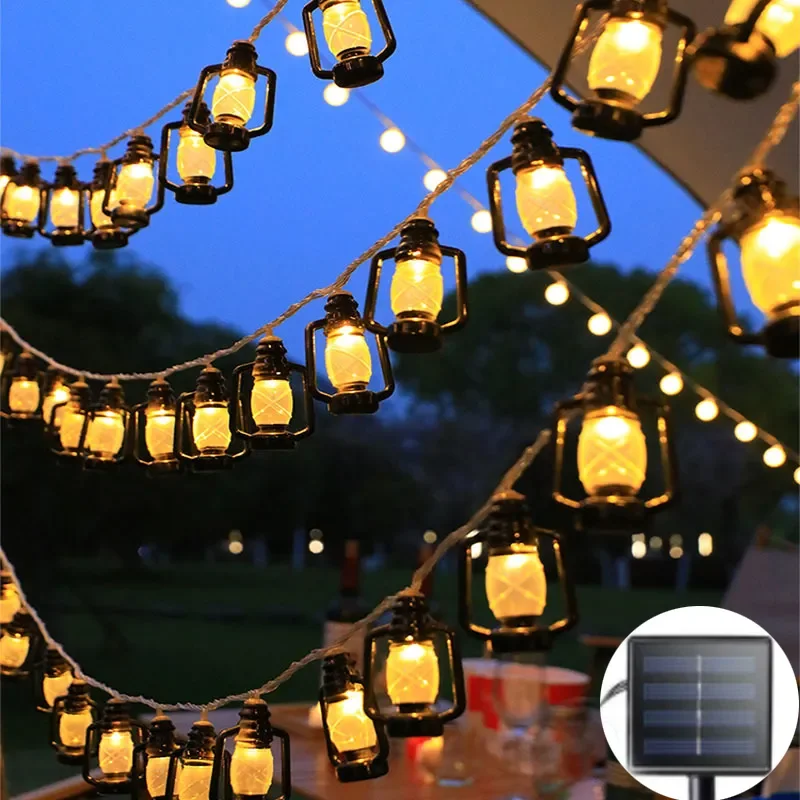
Why Shorten String Lights?
Before diving into the how-tos, it is essential to understand why you might need to shorten string lights. Often, commercially available string lights come in standard lengths that may not match the specific dimensions of your project. This mismatched length can be inconvenient and unsightly, particularly for areas that require precision, like along stair railings, around windows, or over small patios.
Custom-fitting your string lights eliminates unnecessary excess, creating a polished, professional look. This attention to detail significantly enhances the overall aesthetic of your space. Additionally, shortening your lights can prevent potential safety hazards that arise from loose, dangling cords, which could cause tripping or electrical issues if not properly managed.
Gathering Necessary Tools and Materials
To begin the process of shortening string lights, it is crucial to gather all the necessary tools and materials beforehand. Having everything you need at hand will streamline the process and ensure that you can work efficiently without unnecessary interruptions.
The primary tools you will need include wire cutters, a soldering iron, solder, heat-shrink tubing, electrical tape, and a multimeter (for safety checks). You may also want safety glasses and gloves for additional protection during the cutting and soldering processes. Another useful tool is a wire stripper, which can simplify the task of preparing the wires for reconnection.
Assessing and Measuring String Lights
Before making any cuts, it’s essential to assess and measure your string lights carefully. Lay the lights out fully extended, ensuring they are untangled and free from knots. Decide the exact length you need for your specific application, and take precise measurements.
Use a tape measure or ruler to determine the distance from the plug or power source to the endpoint where the lights will be installed. Mark this endpoint on the string lights using a marker or a piece of tape. Remember to take into account any additional length that might be needed for connecting to a power source.
If your string lights include sections of wire between bulbs, make sure your measurements include these sections to avoid ending up with lights that are too short. Accurate measurements are critical to ensuring a seamless fit, so take your time and double-check before making any cuts.
Cutting the String Lights
Once you have marked the desired length, you can proceed to cut the string lights. Ensure the lights are unplugged and not connected to any power source during this process to avoid electric shock.
Use your wire cutters to make a clean cut at the marked point. It’s important to cut in between the bulbs to maintain the functionality of the lights. Inspect the cut to ensure there are no frayed wires or uneven edges, as these can cause connection issues later.
After making the cut, you will see multiple wires. Typically, string lights will have two or three wires: one for power, one for neutral, and sometimes one for ground. Identify each wire, noting which is which, as you will need this information for the reconnection process. If you are unsure, refer to the manufacturer’s instructions or use a multimeter to test the wires.
Preparing the Wires for Reconnection
With the string lights cut to your desired length, the next step is to prepare the wires for reconnection. Use a wire stripper to carefully remove about half an inch of insulation from each wire end. Be gentle to avoid damaging the wire cores.
After stripping the insulation, twist the exposed wire strands to keep them tight and prevent fraying. This will make the next steps more manageable and ensure a stronger, more reliable connection.
At this stage, slide a piece of heat-shrink tubing onto one of the wires. Ensure the tubing is large enough to accommodate the soldered joint but will shrink tightly once heated. The tubing should be long enough to cover the exposed wires and a bit of the insulated parts, providing a secure and professional finish.
Soldering the Wires Together
Soldering is a crucial step in ensuring a strong and durable connection between the wires. If you are unfamiliar with soldering, it might be helpful to practice on some spare wire before attempting it on your string lights.
First, preheat your soldering iron and apply a small amount of solder to the tip to aid in heat transfer. Hold the exposed wire ends together, ensuring they are properly aligned. Touch the soldering iron to the wire joint to heat it, then apply solder to the heated wire, allowing it to flow into the joint. Remove the solder and iron once the joint is fully covered and let it cool.
Ensure the connection is smooth and solid, with no excess solder dripping or creating spikes. This step requires precision, as a weak or messy solder joint can lead to electrical failures or shorts.
Securing the Connection with Heat-Shrink Tubing and Electrical Tape
Once the wire joints are soldered and cooled, slide the heat-shrink tubing over the connections. Use a heat source, such as a heat gun or a carefully applied lighter, to shrink the tubing. The tubing should shrink snugly around the solder joint, insulating it and providing protection from environmental factors.
Additionally, wrap the area with electrical tape to further secure the connection and ensure no moisture or debris can penetrate. This step adds an extra layer of protection, enhancing the safety and durability of your custom-fit string lights.
Inspect the entire length of the string light to ensure all connections are covered and protected. A well-insulated connection not only ensures durability but also guarantees the safety of the setup, especially if the lights are used outdoors.
Installing the Custom-Fit String Lights
After successfully testing the string lights, you can proceed with the installation. Carefully arrange the lights in the desired pattern or location, ensuring they are evenly spaced and securely fastened.
Consider using hooks, clips, or adhesive mounts to keep the lights in place. If installing outdoors, ensure the lights and connections are weatherproofed to withstand environmental conditions.
Safety Precautions and Maintenance Tips
It’s essential to follow some basic safety precautions and maintenance tips to ensure the longevity and safe use of your custom-fit string lights:
- Avoid Overloading Circuits: Be mindful of the power load of your string lights. Avoid connecting too many lights to a single power source to prevent overloading circuits.
- Use Surge Protectors: Employ surge protectors to safeguard your lights against power surges and electrical faults.
- Regular Inspections: Periodically inspect the lights and connections for signs of wear and tear, frayed wires, or loose connections. Address any issues promptly to maintain safety and performance.
- Proper Storage: When not in use, store your string lights properly to prevent tangling, damage, or exposure to extreme temperatures and moisture.
Adhering to these safety and maintenance tips ensures that your custom-fit string lights remain functional and safe, providing long-lasting enjoyment.
Conclusion: Mastering DIY Custom Lighting
Shortening string lights for a custom fit is not only practical but also a rewarding DIY project. This step-by-step guide empowers you to take control of your decorative lighting needs, ensuring a perfect fit for any space. From gathering materials and making precise cuts to ensuring safety and creative installation, you’ve learned how to enhance your environment with custom-fit string lights.
Embrace this newfound skill to transform your living spaces, impressing family and friends with your craftsmanship and attention to detail. With practice and creativity, you can master the art of custom lighting, adding a unique and personalized touch to your home or outdoor settings.
