Creating a warm and inviting outdoor space often involves the perfect blend of functional and decorative elements. One of the most effective ways to achieve this is by installing string lights. Not only do they provide ambient lighting, but they also add a touch of whimsy and style to any yard. Instead of purchasing expensive pre-made poles and professional installation services, you can create your own DIY poles for string lights. This comprehensive guide will walk you through the process, providing practical tips to help you illuminate your yard with flair and efficiency.
The Appeal of String Lights
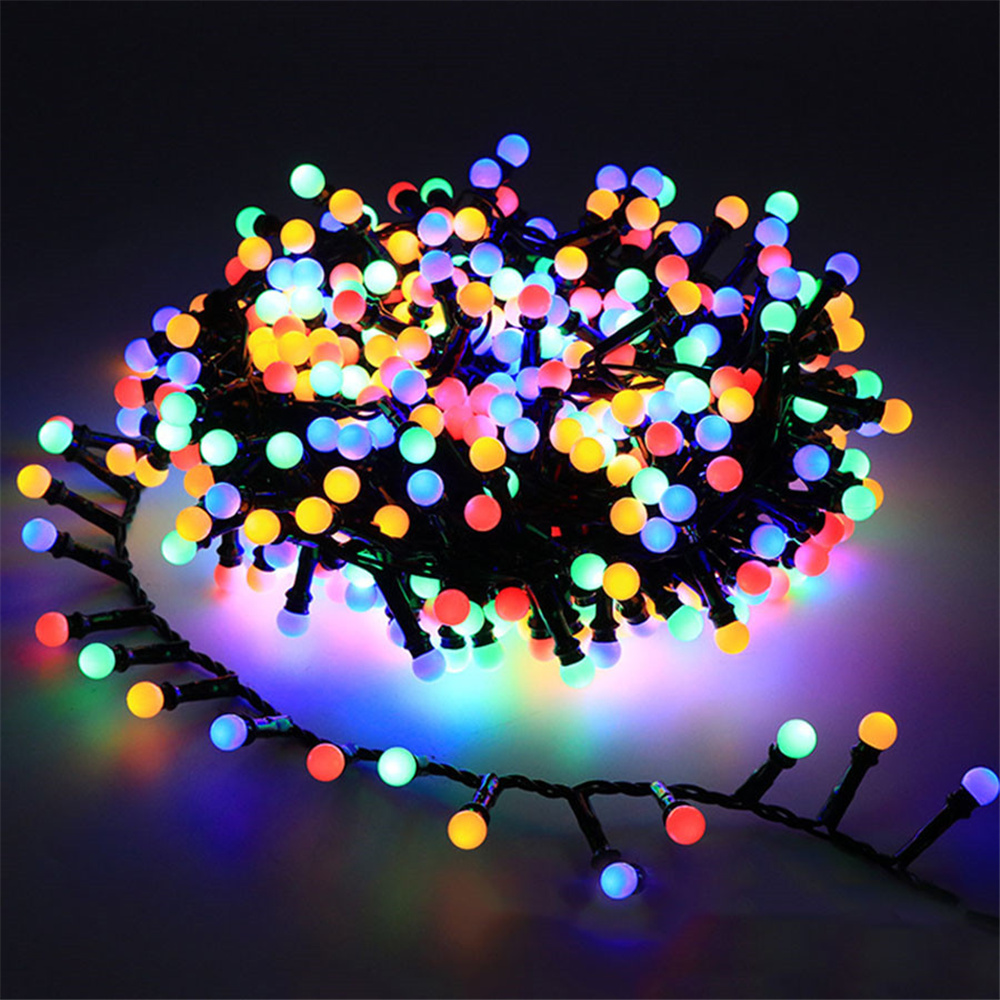
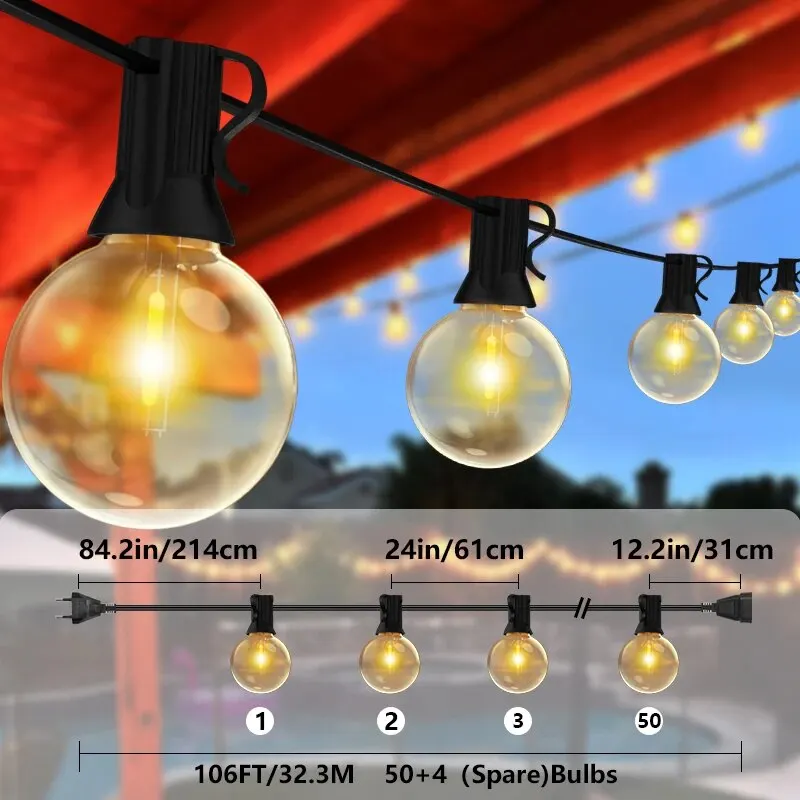
String lights have become a popular choice for outdoor lighting due to their versatility and aesthetic appeal. Whether you’re hosting a garden party, enjoying a quiet evening outdoors, or decorating for the holidays, string lights can transform your yard into a magical retreat. They come in various designs, from classic Edison bulbs to festive fairy lights, offering options to suit any theme or occasion. Beyond their visual appeal, string lights are also highly functional, providing adequate illumination for pathways, seating areas, and patios. Their versatility makes them an excellent choice for any outdoor setting.
Benefits of DIY Poles for String Lights
Opting for DIY poles for your string lights offers several advantages. Firstly, it allows for complete customization, ensuring the poles fit your yard’s dimensions and design aesthetic perfectly. This level of personalization is often not possible with store-bought options. Secondly, DIY poles can be a cost-effective alternative, saving you money on both materials and installation. Furthermore, creating your own poles gives you the flexibility to experiment with different styles and materials, adding a unique touch to your outdoor space. The sense of accomplishment from completing a DIY project and the joy of enjoying your customized outdoor lighting add to the numerous benefits.
Planning Your Project
Before diving into the DIY process, it’s crucial to plan your project thoroughly. Start by determining where you want to place your string lights and the areas you want to illuminate. Sketch a layout of your yard, marking the spots where the poles will be installed. Consider factors like the height of the poles, the distance between them, and the type of string lights you’ll be using. Decide whether you want the lights to drape in a straight line, zigzag pattern, or a more intricate design. Planning helps ensure you purchase the right amount of materials and achieve the desired visual effect.
Choosing the Right Materials
Selecting the appropriate materials is key to the success of your DIY poles for string lights project. Common options for the poles include wooden posts, metal pipes, and PVC pipes. Wood is a popular choice for its rustic look and versatility, while metal offers durability and a sleek, modern appearance. PVC pipes are lightweight and easy to work with, but they may require additional reinforcement for stability. Along with the poles, you’ll need concrete or heavy-duty bases to secure the poles in the ground, hooks or eye bolts for hanging the lights, and weather-resistant paint or sealant to protect the materials from the elements.
Tools You’ll Need
Gathering the right tools is essential for a smooth and efficient installation process. Here’s a basic list:
- Drill and drill bits: For making holes in the poles and securing hardware.
- Saw: For cutting wooden or PVC poles to the desired height.
- Tape measure: To ensure accurate measurements and spacing.
- Level: To make sure the poles are straight and even.
- Shovel: For digging holes if you’re installing the poles directly into the ground.
- Screwdriver: For installing hooks, eye bolts, and other hardware.
- Hammer or mallet: For setting the poles if needed.
Having these tools on hand will make the assembly process more straightforward and help you achieve professional-looking results.
Constructing Wooden Poles
Wooden poles are a versatile and aesthetically pleasing option for your string lights. Start by cutting the wooden posts to your desired height, typically between 8 to 10 feet. Sand the edges to remove any rough spots and apply a weather-resistant sealant or outdoor paint to protect the wood. Next, drill holes near the top of the poles for the hooks or eye bolts that will hold the string lights.
If you’re installing the poles directly into the ground, dig holes approximately 18-24 inches deep and set the poles in concrete to ensure stability. For a less permanent option, you can attach the poles to heavy-duty planters filled with sand, gravel, or concrete. Once the poles are securely in place, attach the hooks or eye bolts and string your lights, adjusting the tension to prevent sagging.
Constructing Metal Poles
Metal poles offer a durable and sleek alternative to wood, ideal for modern or industrial-themed yards. Metal pipes, such as galvanized steel or aluminum, are commonly used due to their strength and resistance to rust. Begin by cutting the pipes to your desired height and sanding any rough edges. For added stability, consider using flanges at the base of the poles and securing them with concrete or heavy-duty bases.
Drill holes near the top of the poles and install eye bolts or hooks for hanging the string lights. If using metal poles, it’s important to ground them properly to prevent any electrical hazards. Once installed, hang your string lights and ensure they’re evenly distributed and securely fastened. The durability and clean lines of metal poles can add a contemporary touch to your outdoor space.
Painting and Sealing Your Poles
Regardless of the material you choose, painting and sealing your poles is essential to protect them from the elements and enhance their appearance. Select a weather-resistant paint or sealant suitable for the material of your poles. For wooden poles, apply a primer before painting to ensure the paint adheres properly and lasts longer. For metal poles, use a rust-resistant primer and paint to prevent corrosion. PVC poles can be painted with spray paint designed for plastic surfaces.
Apply the paint or sealant in thin, even coats, allowing each layer to dry completely before adding the next. This process not only protects your poles from moisture and UV damage but also allows you to customize the color and finish to match your outdoor decor. Well-painted and sealed poles will maintain their appearance and functionality for years to come.
Hanging the String Lights
Hanging the string lights is the final step in your DIY project. Start by attaching the lights to the hooks or eye bolts on each pole. Begin at one end and work your way to the other, ensuring the lights are evenly distributed and at the desired height. If your design involves draping or a zigzag pattern, adjust the string lights accordingly, ensuring they’re taut enough to prevent sagging while allowing a slight give to account for wind movement.
If you’re using lights with heavy bulbs, consider adding additional support by securing the lights to trees, fences, or walls using hooks or zip ties. Once the lights are in place, plug them in and check for any loose connections or uneven sections. Adjust as needed to achieve a uniform and aesthetically pleasing display.
Safety Considerations
When installing DIY poles for string lights, safety is paramount. Ensure all electrical connections are weatherproof and suitable for outdoor use. Use outdoor-rated extension cords and connectors, and avoid overloading circuits. If your metal poles are not grounded, consider consulting an electrician to prevent any electrical hazards.
Additionally, ensure the stability of your poles, especially if they’re subject to high winds or heavy use. Regularly inspect the setup for any signs of wear or damage, and replace any faulty components promptly. By prioritizing safety, you can enjoy your illuminated yard with peace of mind.
Maintaining Your String Light Setup
To keep your string light setup looking and functioning its best, regular maintenance is essential. Periodically check the lights for any burned-out bulbs or damaged wires and replace them as needed. Clean the lights and poles with a damp cloth to remove dust and debris, ensuring they maintain their appearance and effectiveness.
Inspect the poles and bases for any signs of wear or stability issues, and make any necessary adjustments or repairs. If you live in an area with harsh weather conditions, consider taking down the string lights and poles during extreme weather to prolong their lifespan. Consistent maintenance ensures your setup remains safe, functional, and visually appealing year-round.
Creative Customization Ideas
Enhance your DIY poles for string lights with creative customization ideas. Wrap the poles with string lights or greenery for added visual interest, or paint the poles in vibrant colors to match your theme. Consider adding hanging planters or lanterns to the poles for additional decoration and functionality.
Incorporate other outdoor lighting elements, such as solar-powered garden lights or pathway markers, to create a cohesive and well-lit outdoor space. By infusing your personal style and creativity, you can create a unique and enchanting atmosphere that reflects your taste and enhances your outdoor living area.
Conclusion: Illuminate with Style and Substance
Creating DIY poles for string lights is a rewarding project that combines functionality, style, and creativity. By understanding the benefits, carefully planning, selecting the right materials, and following the detailed steps provided, you can achieve a professional-looking result that adds charm and elegance to your outdoor space. With proper maintenance and a touch of personalization, your illuminated yard will become a cherished extension of your home, perfect for entertaining or relaxing under the stars. Embrace the opportunity to create a warm and inviting outdoor ambiance, and illuminate your yard with style and substance.