Introduction
String lights can transform any space into a cozy and enchanting environment. Whether you’re decorating for a party, wedding, or simply enhancing your home’s ambiance, knowing how to hang them from the ceiling properly is key. This step-by-step guide will walk you through the process, ensuring your string lights are securely and aesthetically installed.
Planning and Preparation
Before you begin hanging your string lights, it’s essential to plan and gather the necessary materials:
- Measure the Space: Determine the length of the area where you want to hang the lights. This will help you estimate how many strings of lights you’ll need and how far apart they should be spaced.
- Choose the Lights: Select string lights that suit your aesthetic preferences and the occasion. Consider factors like bulb type (LED or incandescent), color temperature, and whether they are suitable for indoor or outdoor use.
- Gather Supplies: Apart from the string lights, gather items such as hooks, adhesive clips, cable ties, a ladder, measuring tape, and possibly a stud finder (if you’re attaching to drywall or ceiling beams).
Finding the Right Placement
Deciding where to hang your string lights is crucial for achieving the desired effect:
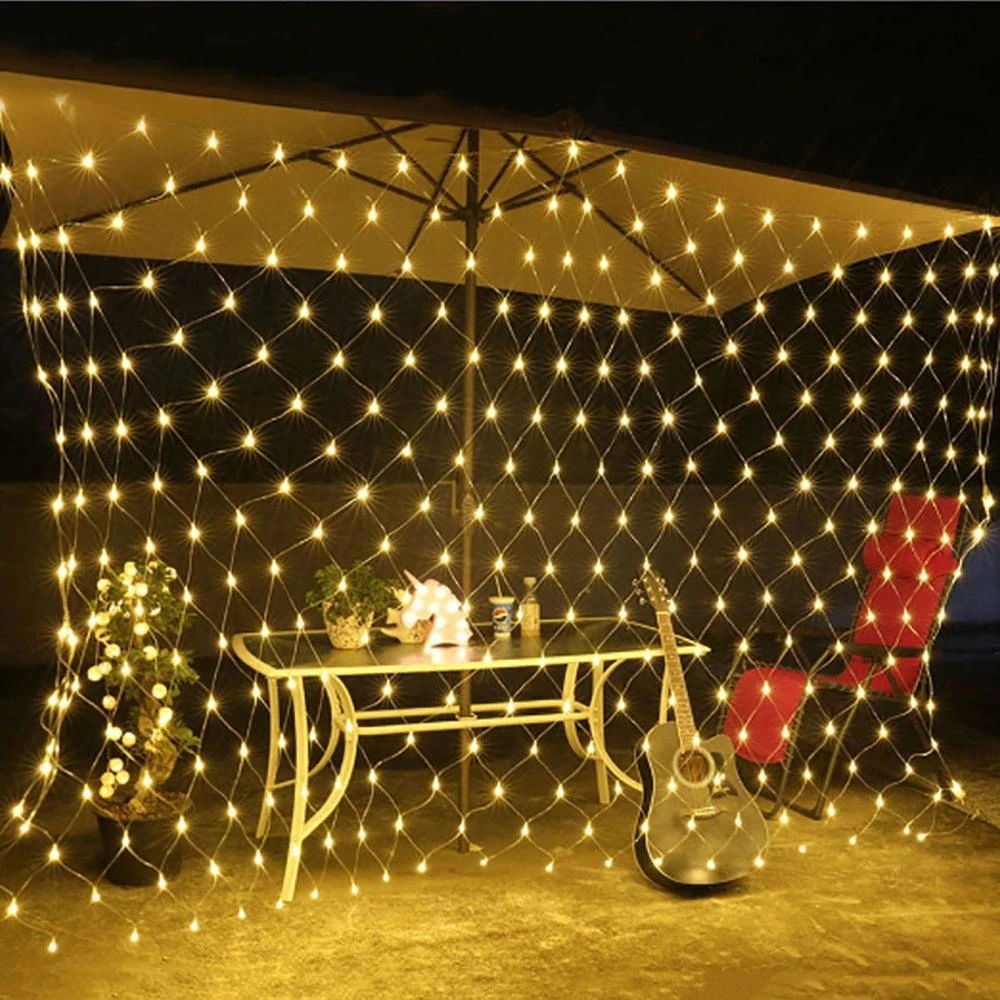
- Ceiling Layout: Map out where you want the lights to go. Will they span across the entire ceiling or be concentrated in specific areas? Visualize how they will look when illuminated.
- Power Source: Ensure there’s a nearby power outlet or plan for an extension cord that can safely reach your lights without posing a tripping hazard.
- Consider Obstacles: Take note of any ceiling fans, light fixtures, or other obstructions that might affect your installation plan.
Installing Hooks or Adhesive Clips
Depending on your ceiling type and the weight of your lights, you’ll need to install hooks or adhesive clips:
- Hooks for Heavier Lights: For heavier string lights or if you plan to install permanent fixtures, use ceiling hooks. Drill pilot holes if necessary, then screw in the hooks securely.
- Adhesive Clips for Lightweight Options: If you’re using lightweight string lights or prefer not to drill into your ceiling, adhesive clips can be a great alternative. Clean the surface thoroughly before applying the clips to ensure they adhere properly.
Hanging the String Lights
Now comes the main task of hanging the lights:
- Start at an End Point: Begin at one corner or edge of the ceiling. This will serve as your starting point for securing the lights.
- Secure the First Strand: Depending on your chosen method (hooks or adhesive clips), carefully hang the first strand of lights along the designated path. Check for any sagging or unevenness as you go.
- Maintain Consistent Spacing: If you’re using multiple strands, maintain a consistent spacing between them to create an even distribution of light.
Securing and Connecting the Strands
As you progress with hanging the strands, ensure they are securely fastened and properly connected:
- Use Cable Ties: For longer stretches or outdoor installations, use cable ties to secure the lights to hooks or clips. This prevents them from swaying or falling.
- Connect End to End: If your lights have connectors at the ends, follow the manufacturer’s instructions for safely connecting multiple strands together. Avoid overloading the electrical circuit or creating a tangled mess.
Testing and Adjusting
Once all the lights are hung, it’s time to test them and make any necessary adjustments:
- Test the Lights: Plug in the lights to ensure they are functioning correctly and emitting the desired level of brightness.
- Adjust Placement: Stand back and assess the overall look. Make adjustments as needed to achieve symmetry and ensure all areas are adequately illuminated.
- Tidy Up Excess Wiring: If there are any excess wires or cables, use clips or ties to neatly bundle and secure them out of sight.
Adding Finishing Touches
To enhance the ambiance further, consider these finishing touches:
- Dimmer Controls: Install dimmer switches or use string lights with built-in dimming capabilities to adjust the brightness according to the mood or occasion.
- Decorative Accents: Integrate additional decorations such as paper lanterns, faux foliage, or sheer fabric drapes to complement the string lights and create a cohesive look.
- Safety Measures: Ensure all electrical components are properly insulated and protected from moisture if used outdoors. Avoid placing lights near flammable materials or in areas where they could be easily damaged.
Creating Patterns and Designs
Once the basic installation is complete, consider adding creative patterns or designs with your string lights:
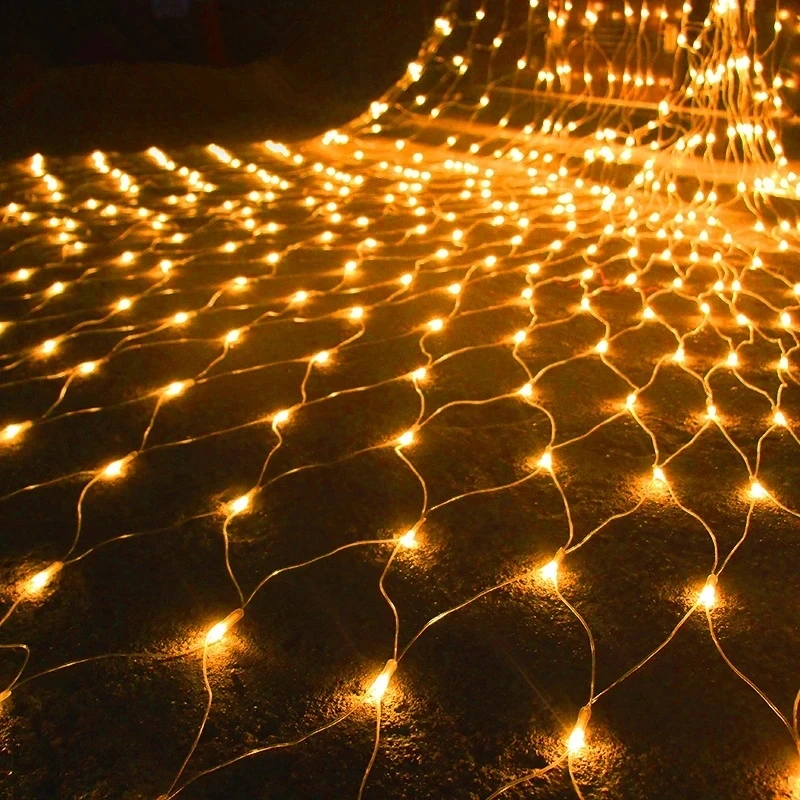
- Weaving Techniques: Experiment with weaving the lights in and out of hooks or clips to create a crisscross pattern. This technique can add depth and visual interest to your ceiling decor.
- Swags and Drapes: Instead of a straight line, create gentle swags or drape the lights in cascading loops for a softer, more romantic look. Secure these drapes at intervals to maintain the desired shape.
- Geometric Shapes: For a modern touch, outline geometric shapes such as squares or triangles with your string lights. Measure carefully and use additional hooks or clips to ensure precise angles and lines.
Enhancing Outdoor Spaces
If you’re hanging string lights in an outdoor area, additional considerations are necessary:
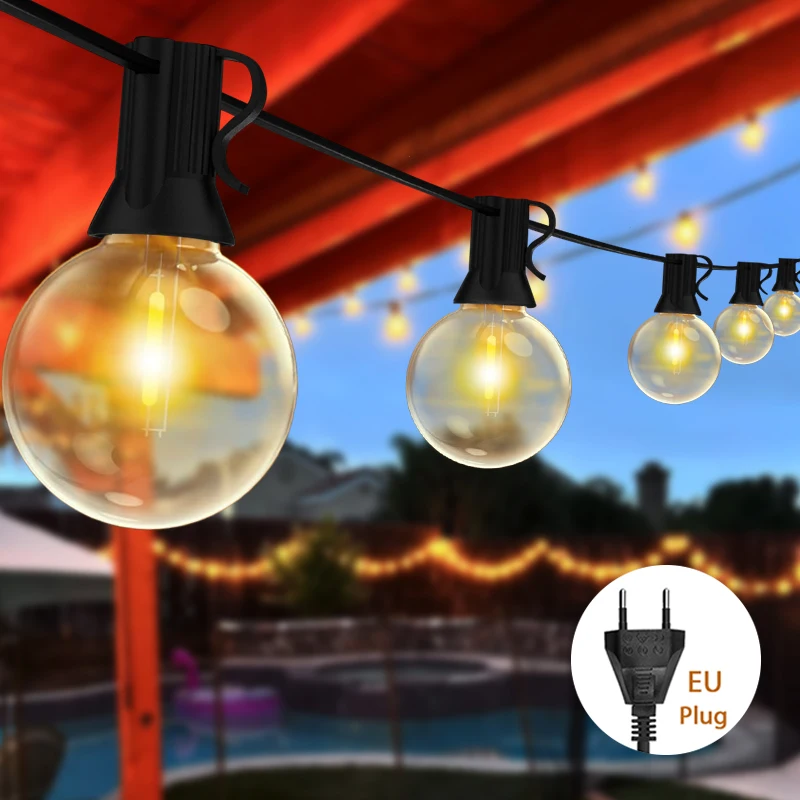
- Weatherproofing: Ensure your string lights are rated for outdoor use and can withstand exposure to elements like rain and sun. Opt for waterproof connectors and sockets to prevent electrical hazards.
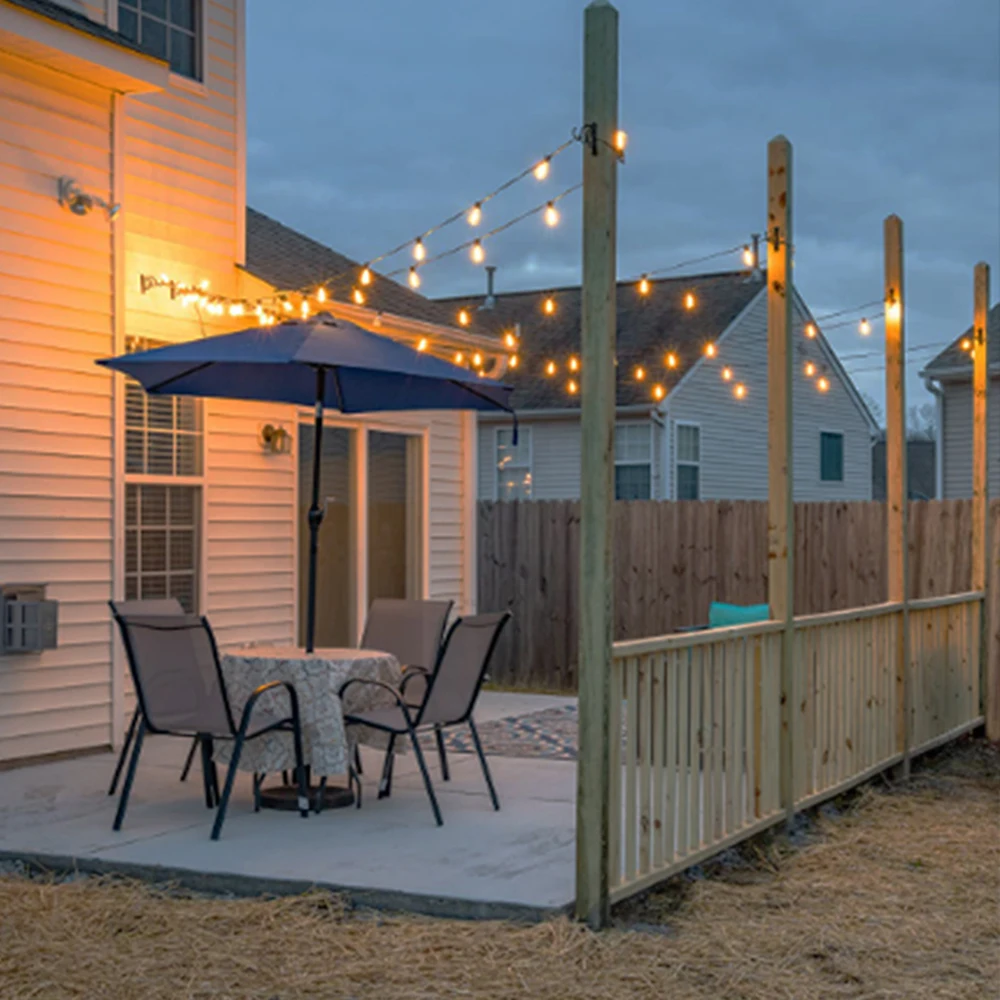
- Anchor Points: Use sturdy anchor points such as fence posts, pergolas, or trees for outdoor installations. Ensure these anchors can support the weight of the lights and any tension from wind or weather conditions.
- Elevated Installations: When hanging lights above outdoor seating areas or dining spaces, consider using higher elevation points to create a cozy overhead canopy effect. This not only enhances ambiance but also provides practical illumination.
Adding Dimmers and Controls
For ultimate control over your lighting atmosphere, consider integrating dimmer switches or remote controls:
- Dimmer Switches: Install dimmer switches compatible with your string lights to adjust brightness levels. This allows you to create different moods—from soft ambient lighting to brighter illumination for activities.
- Smart Home Integration: Explore smart lighting solutions that allow you to control your string lights via smartphone apps or voice commands. This provides convenience and flexibility in managing your lighting setup.
- Timer Settings: Set timers to automatically turn your string lights on and off at predetermined times. This is especially useful for outdoor installations or during holiday seasons when consistent lighting schedules are desired.
Maintenance and Longevity
To ensure your string lights remain in good condition and provide lasting enjoyment, follow these maintenance tips:
- Regular Inspections: Periodically check the integrity of hooks, clips, and wiring connections. Tighten any loose components and replace damaged bulbs promptly to prevent interruptions in illumination.
- Cleaning Routine: Dust or clean your string lights regularly to maintain optimal brightness and clarity. Use a soft cloth or gentle cleaning solution to remove debris and ensure bulbs are free from dirt buildup.
- Storage Considerations: When not in use, store your string lights in a dry, protected location. Coil them loosely to prevent tangling and avoid exposing them to extreme temperatures or humidity.
Conclusion
Hanging string lights from the ceiling can be a rewarding project that transforms your space into a magical setting. By following this comprehensive guide, you’ll be able to achieve a beautifully illuminated environment while ensuring safety and durability. Whether for a special event or everyday ambiance, mastering the art of hanging string lights will add charm and warmth to any room or outdoor area.
