Crafting your own candles is a fulfilling and creative hobby that allows you to add a personal touch to your home decor or make thoughtful, customized gifts for friends and family. Whether you’re looking to create a relaxing ambiance, add a fragrance to your living space, or simply enjoy the satisfaction of making something with your own hands, this guide will walk you through the essentials of candle making for beginners.
Understanding the Basics of Candle Making
Why Make Your Own Candles?
Making your own candles offers a range of benefits. Not only can you tailor the scent, color, and style to suit your personal preferences, but you also gain control over the ingredients used in your candles. Store-bought candles often contain synthetic fragrances and additives that may not be desirable. By crafting your own, you can opt for natural waxes, essential oils, and eco-friendly materials, ensuring a cleaner burn and a more wholesome product. Additionally, homemade candles can make unique and thoughtful gifts, showcasing the effort and creativity you’ve put into each piece.
Essential Candle-Making Supplies
To get started, you’ll need a few basic supplies. The primary components are wax, wicks, and fragrance. Wax comes in various types, such as paraffin, soy, beeswax, and palm. Each type has its own characteristics, such as burning time and scent throw, so choose based on your preferences. Wicks are crucial for ensuring a proper burn and come in different materials like cotton, wood, or hemp. Fragrance oils or essential oils add a pleasant scent to your candles. Additionally, you’ll need a heat source (such as a double boiler), a thermometer to monitor wax temperature, and molds or containers in which to pour your candles. Having these essentials on hand will set you up for a successful candle-making experience.
Choosing the Right Wax
Types of Candle Wax
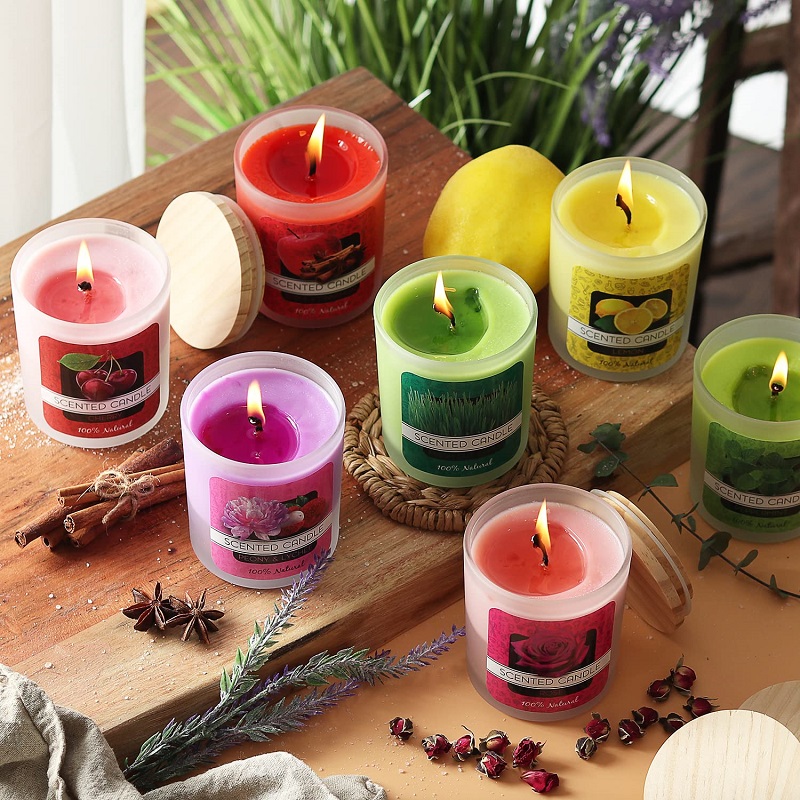
There are several types of waxes to choose from, each with its own properties. Paraffin wax is the most common and is known for its ability to hold a lot of fragrance. However, it is a byproduct of petroleum, which may not appeal to those seeking natural options. Soy wax is a popular alternative that is made from soybeans and is biodegradable. It has a cleaner burn and is often favored for its environmental benefits. Beeswax is another natural option, known for its honey-like aroma and longer burn time. It is the least processed of the waxes but is typically more expensive. Palm wax offers a unique crystalline appearance and is another renewable choice. Each wax type has its own melting point and characteristics, so consider your needs and preferences when selecting.
Wax Melting and Temperature
Proper melting of wax is crucial for a successful candle. Most waxes require melting at a specific temperature to achieve the right consistency and to ensure that the fragrance oil mixes well. Generally, wax should be melted in a double boiler to avoid direct heat, which can cause uneven melting or burning. The recommended temperature for melting wax is usually between 170°F and 180°F (77°C to 82°C). It’s important to monitor the temperature closely using a thermometer, as overheating can affect the wax’s quality and performance. Once melted, the wax should be allowed to cool slightly before adding fragrance or pouring into molds.
Selecting and Preparing Wicks
Types of Wicks and Their Uses
Choosing the right wick is essential for achieving a well-burning candle. Cotton wicks are widely used and come in various sizes and thicknesses. They are versatile and work well with most waxes. Wood wicks create a crackling sound reminiscent of a fireplace, adding a cozy element to your candles. However, they require precise cutting and proper wick size to burn effectively. Hemp wicks are another option, known for their eco-friendliness and ability to burn cleanly. When selecting a wick, consider the diameter of your candle and the type of wax used, as different combinations may affect the wick’s performance and burn quality.
Wick Placement and Securing
Correct wick placement is crucial for a candle’s functionality. The wick should be centered in the mold or container to ensure an even burn and to prevent tunneling. Before pouring the wax, secure the wick in place using a wick sticker or a small amount of melted wax. This helps to prevent the wick from shifting as the wax is poured. Additionally, you can use a wick holder or a pencil placed across the top of the container to keep the wick centered while the wax sets. Ensuring proper wick placement and securing will contribute to a more stable and aesthetically pleasing candle.
Adding Fragrance and Color
Choosing Fragrance Oils
Fragrance is a key component of candle making, creating a pleasing atmosphere and enhancing the sensory experience. Fragrance oils are specially formulated for use in candles and come in a wide range of scents, from floral to fruity to spicy. When selecting fragrance oils, consider the strength of the scent and how it interacts with the wax. Some oils are more potent than others, and it’s essential to follow the manufacturer’s guidelines for the maximum amount of fragrance oil to use. Additionally, ensure that the fragrance oil is compatible with your chosen wax to avoid issues with the burn quality or scent throw.
Adding Color to Your Candles
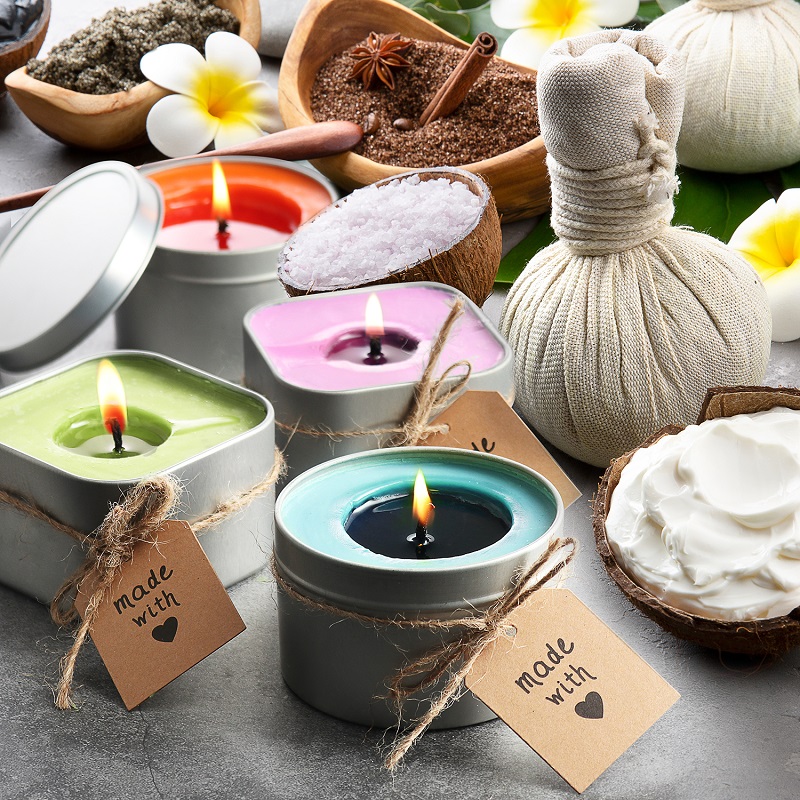
Coloring candles can add a visual appeal and customize the aesthetic of your creations. Dye chips and liquid dyes are common options for adding color to candles. Dye chips are added directly to the melted wax and are available in a variety of colors. Liquid dyes can be more precise and allow for better control over the shade. When adding color, start with a small amount and gradually increase until you achieve the desired hue. Keep in mind that the color may appear darker when the wax is melted but lighter once it solidifies. Experimenting with different colors and combinations can lead to unique and visually striking candles.
Pouring and Setting Your Candles
Proper Pouring Techniques
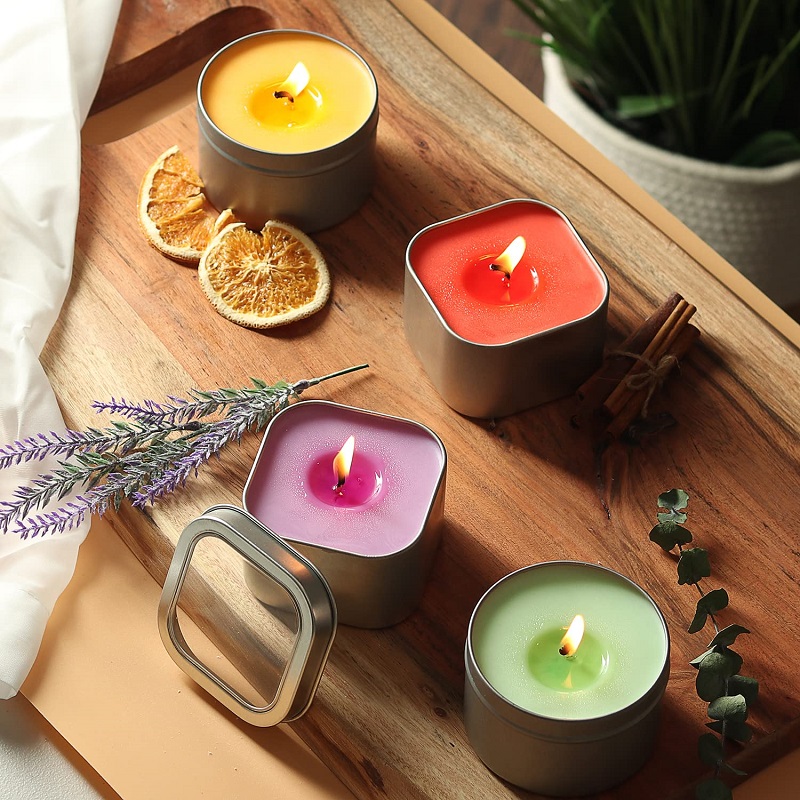
Pouring the wax into molds or containers requires some finesse to achieve a smooth finish. Preheat the containers slightly if they are cold to prevent cracking. When pouring the wax, do so slowly and at a controlled temperature to minimize air bubbles and ensure an even distribution. It’s helpful to pour from a small height to avoid creating splashes or introducing impurities into the wax. Leave a small amount of wax in the boiler to top off the candles if necessary, as the surface may develop sinkholes or imperfections as it cools.
Allowing Candles to Cure
After pouring, allow the candles to cool and set undisturbed. The cooling process can take several hours, depending on the size and type of candle. It’s important to avoid moving or disturbing the candles while they set to prevent uneven surfaces or cracks. Curing refers to the period during which the candle solidifies and the wax bonds with the fragrance. For optimal performance, let the candles cure for at least 24 to 48 hours before burning them. This allows the wax and fragrance to fully integrate, resulting in a better scent throw and a more consistent burn.
Expanding Your Candle-Making Skills
Advanced Techniques and Customization
Once you’re comfortable with the basics, you may want to explore more advanced techniques and customization options. Layered candles involve pouring different colors of wax in layers to create a multi-colored effect. Embedded objects like dried flowers or herbs can add a decorative touch and enhance the visual appeal of your candles. Shaped candles, made using specialty molds, offer creative opportunities to design unique forms and figures. Experimenting with these techniques allows you to create candles that are not only functional but also serve as beautiful pieces of art.
Joining Candle-Making Communities
Joining candle-making communities, both online and offline, can provide valuable resources and inspiration. Online forums, social media groups, and local crafting clubs offer opportunities to share experiences, seek advice, and showcase your creations. Engaging with other candle makers can also introduce you to new techniques, trends, and ideas that can further enhance your skills. Participating in these communities fosters a sense of camaraderie and can lead to collaborative projects and new learning opportunities.
