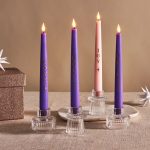
Understanding Candle Wax Types
The Various Types of Candle Wax
When starting with candle-making, understanding the different types of wax is crucial. The most common types are paraffin, soy, beeswax, and palm wax. Paraffin wax is a popular choice due to its affordability and ability to hold fragrance well. Soy wax, made from soybean oil, is a natural and eco-friendly option, providing a cleaner burn. Beeswax is another natural choice, known for its long burn time and honey-like scent. Palm wax, derived from palm oil, is also an option, valued for its unique crystalline texture.
Choosing the Right Wax for Your Needs
Selecting the right wax depends on various factors, including the type of candle you want to make and your personal preferences. For beginners, soy wax is often recommended because it is easy to work with and widely available. If you prefer a more traditional approach, beeswax offers a natural and luxurious option. Consider factors such as burn time, scent throw, and ease of use when choosing your wax.
Preparing Your Workspace
Setting Up a Safe and Efficient Workspace
Before starting the candle-making process, it’s essential to set up a safe and efficient workspace. Ensure you have a well-ventilated area to avoid inhaling any fumes. Lay down newspaper or a protective cloth to catch any spills or drips. Gather all necessary tools, including a double boiler, thermometer, stirring utensil, and molds. Keeping your workspace organized will make the process smoother and more enjoyable.
Ensuring Safety Precautions
Safety is paramount when working with hot wax. Always wear heat-resistant gloves and avoid working near flammable materials. Use a thermometer to monitor the wax temperature closely, as overheating can cause the wax to smoke or catch fire. Additionally, keep a fire extinguisher nearby, just in case. Following these safety precautions will help ensure a safe candle-making experience.
Melting the Wax
The Melting Process Explained
Melting wax properly is a critical step in making candles. The double boiler method is commonly used to melt wax, as it provides gentle and even heating. Fill the bottom pot of the double boiler with water and place it on the stove. Add the wax to the top pot and allow it to melt slowly, stirring occasionally. Avoid direct heat, as it can cause the wax to burn or overheat.
Monitoring Temperature for Optimal Results
Temperature control is crucial when melting wax. Different types of wax have specific melting points. For instance, soy wax typically melts between 120-180°F (49-82°C), while beeswax melts around 145-150°F (63-66°C). Use a thermometer to monitor the temperature and ensure it remains within the recommended range. Heating the wax too much can affect its quality and performance.
Adding Fragrance and Color
Incorporating Fragrance into Your Wax
Adding fragrance to your candles enhances their appeal and creates a pleasant atmosphere. Fragrance oils are commonly used for this purpose. Once the wax is melted and has reached the appropriate temperature, add the fragrance oil and stir thoroughly to ensure an even distribution. Follow the manufacturer’s guidelines for the recommended amount of fragrance oil to use, as adding too much can affect the wax’s ability to set properly.
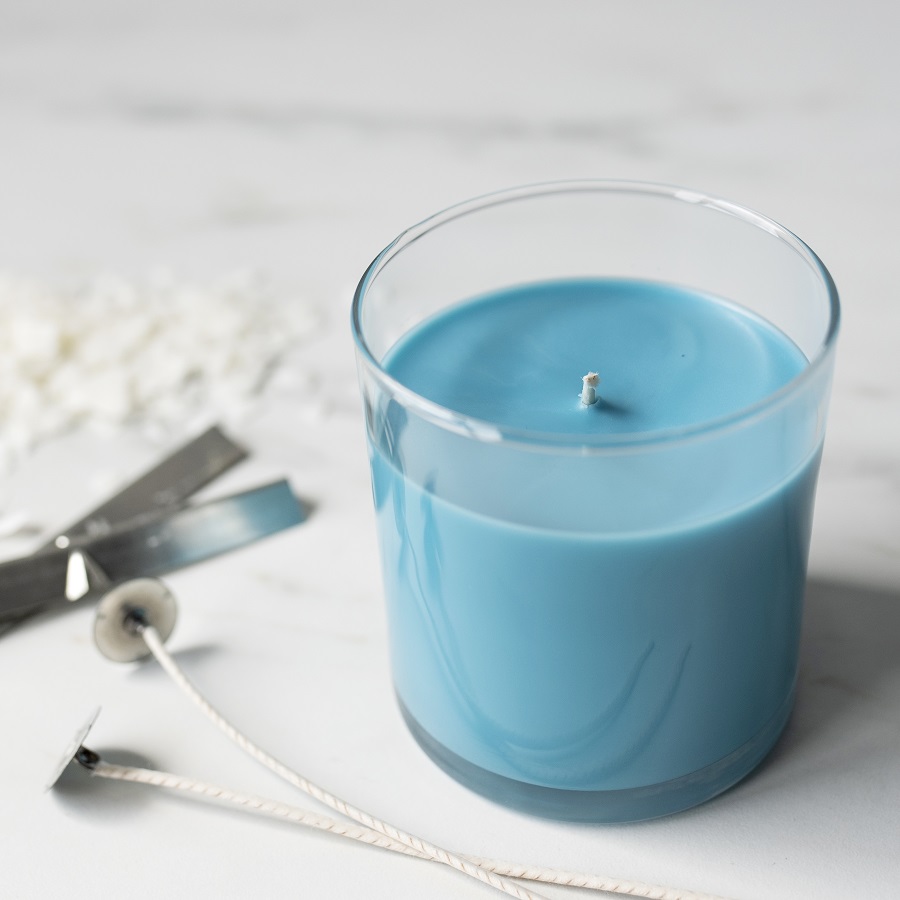
Adding Color to Your Candles
If you wish to add color to your candles, you can use candle dye or crayon shavings. Candle dye comes in various colors and forms, such as liquid, powder, or chips. Add the dye to the melted wax and stir until the color is evenly distributed. Be cautious with the amount of dye you use, as a little goes a long way. For a more personalized touch, you can experiment with different color combinations and layering techniques.
Pouring the Wax
Preparing the Molds for Pouring
Before pouring the wax, prepare your molds by ensuring they are clean and dry. For best results, preheat the molds slightly by placing them in a warm oven or by using a heat gun. This helps to prevent cracking and ensures a smoother finish. If you’re using molds with intricate designs, consider applying a mold release spray to make it easier to remove the finished candles.
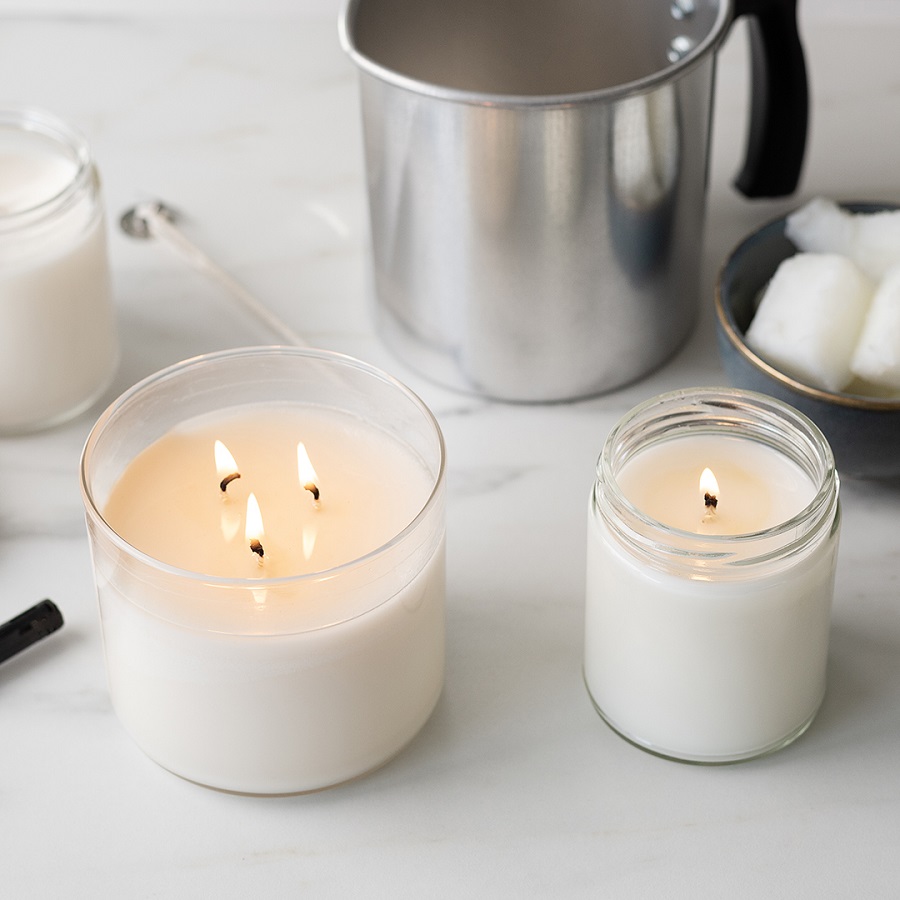
Pouring the Wax and Avoiding Common Issues
Once the wax is ready, pour it into the molds carefully. To avoid air bubbles, pour the wax slowly and at a consistent rate. If you notice any bubbles forming on the surface, use a heat gun or a skewer to gently pop them. Allow the wax to cool and harden completely before removing the candles from the molds. This process can take several hours, depending on the size and type of wax used.
Curing and Finishing Your Candles
The Importance of Curing
After pouring and cooling, it’s essential to let your candles cure before burning them. Curing allows the wax and fragrance to bind together fully, resulting in a better burn quality and scent throw. For most types of wax, curing for at least 24-48 hours is recommended. Store the candles in a cool, dry place during this time to ensure optimal results.
Final Touches and Quality Check
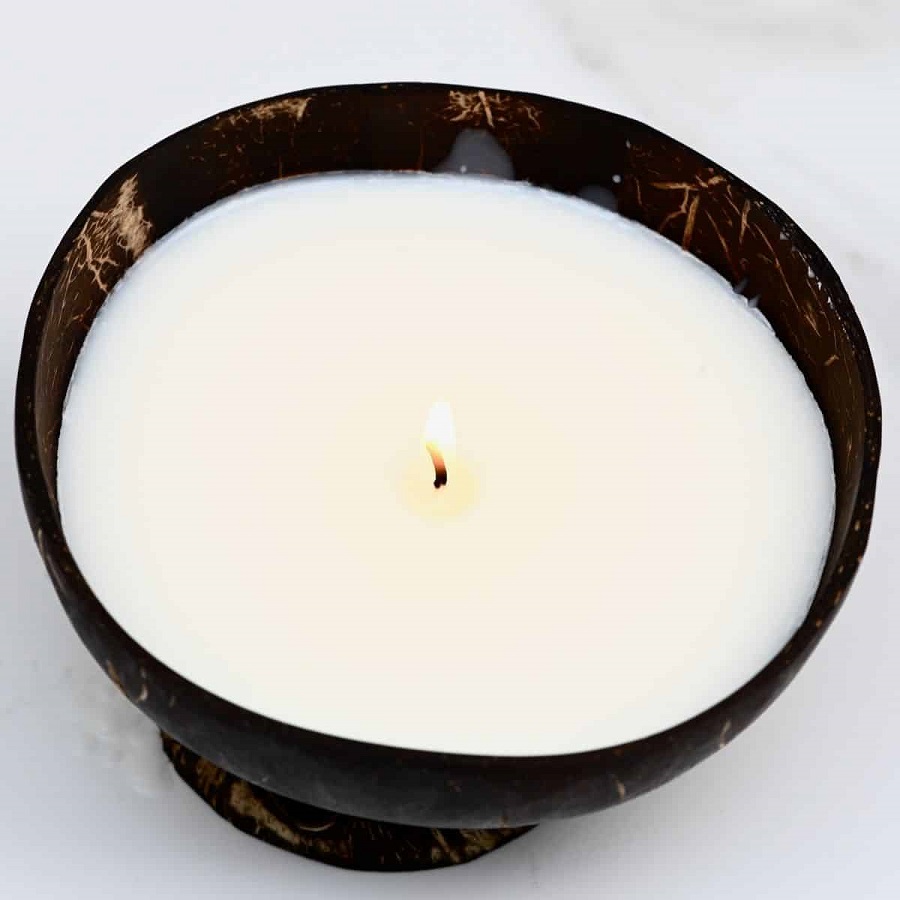
Once the candles have cured, inspect them for any imperfections. Trim the wick to about ¼ inch above the surface of the candle to prevent soot and ensure a clean burn. You can also add decorative touches, such as labels or packaging, to enhance the appearance of your candles. Perform a final quality check to ensure the candles are well-made and ready for use or gifting.
Troubleshooting Common Issues
Addressing Surface Imperfections
Surface imperfections can occur during the candle-making process, such as cracks, dents, or uneven tops. These issues are often caused by rapid cooling or temperature fluctuations. To fix these imperfections, you can use a heat gun to gently reheat the surface of the candle and smooth it out. Alternatively, you can top off the candle with a layer of fresh melted wax to cover any blemishes.
Fixing Fragrance and Color Problems
If your candles have weak fragrance or uneven color, there are a few things you can do to address these issues. For fragrance problems, ensure you are using the correct amount of fragrance oil and that it is fully incorporated into the wax. If the color is uneven, try stirring the wax more thoroughly or using a different type of dye. Consistent mixing and following the recommended guidelines can help achieve better results.
Storing and Using Your Candles
Proper Storage Techniques
To maintain the quality of your candles, store them in a cool, dry place away from direct sunlight. Excessive heat and light can cause the wax to melt or discolor. Keep candles in their original packaging or in a dust-free container to prevent any contaminants from affecting them. Proper storage ensures that your candles remain in top condition and are ready for use when needed.
Tips for Enjoying Your Homemade Candles
When using your homemade candles, follow basic candle safety practices. Trim the wick regularly to avoid excessive soot and ensure a clean burn. Burn candles on a heat-resistant surface and never leave them unattended. By following these guidelines, you can enjoy the full benefits of your candles and create a cozy and inviting atmosphere in your home.
In conclusion, making wax for candles involves several important steps, from choosing the right wax to preparing, pouring, and curing. With careful attention to detail and safety, you can create beautiful and functional candles that enhance any space. Happy candle-making!