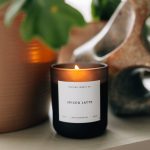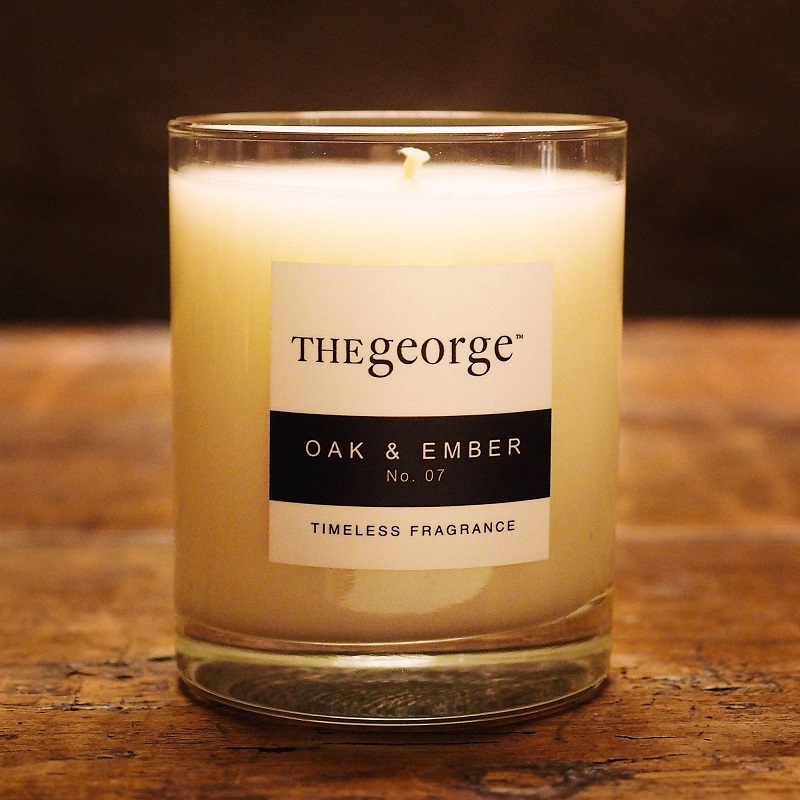
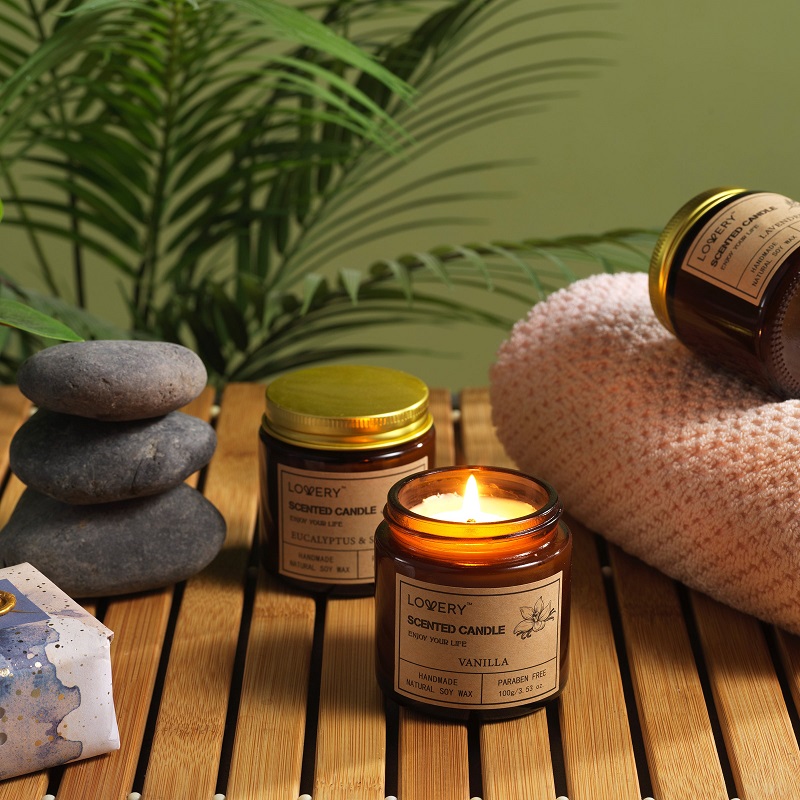
Scented candles can transform any space, adding a personal touch of aroma that enhances mood and ambiance. Crafting your own scented candles at home is not only a fulfilling DIY project but also allows you to customize scents according to your preferences. In this comprehensive guide, we’ll explore various methods to scent candles at home, offering simple and effective techniques to achieve beautifully aromatic results.
Choosing the Right Ingredients for Scented Candles
Essential Oils vs. Fragrance Oils: Which to Choose?
When it comes to scenting candles, choosing the right type of oil is crucial. Essential oils are derived from natural plant sources and offer a pure, therapeutic scent. They are ideal for those who prefer natural ingredients and want the added benefits of aromatherapy. On the other hand, fragrance oils are synthetic and often come in a wider variety of scents, including those that are not achievable with essential oils alone. Fragrance oils tend to be more potent and can last longer, making them a popular choice for many candle makers.
Scent Strength and Throw
The strength of your candle’s scent is influenced by the concentration of oils used. Essential oils typically require a higher concentration to achieve the same strength as fragrance oils. When adding essential oils, start with a small amount and gradually increase until you reach your desired scent strength. For fragrance oils, follow the manufacturer’s recommended usage rates to ensure a well-balanced aroma that is neither overpowering nor too faint. Understanding the difference between the two types of oils and their respective strengths will help you make an informed decision based on your personal preference and the desired outcome for your candles.
Preparing Your Candle-Making Workspace
Setting Up for Success: Tools and Equipment
Before you begin making scented candles, it’s essential to set up a well-organized workspace. You’ll need a heat-resistant surface, such as a countertop covered with newspaper or a silicone mat, to catch any spills or drips. Gather your tools, including a double boiler or a microwave-safe container for melting wax, a thermometer to monitor wax temperature, and a stirring utensil. Additionally, prepare your candle molds or containers, wick stickers, and wicks. Having everything within reach will streamline the process and help ensure that your candle-making experience is both enjoyable and efficient.
Safety Precautions
Safety is paramount when working with hot wax and essential oils. Always work in a well-ventilated area to avoid inhaling any fumes from the melting wax or oils. Wear protective gloves and glasses to prevent burns and irritation. Make sure to handle hot wax carefully and never leave it unattended on the heat source. Additionally, ensure that your workspace is free of flammable materials and that you have a fire extinguisher nearby. By following these safety precautions, you can minimize risks and enjoy the process of creating your scented candles.
Melting and Mixing Wax for Scented Candles
Types of Wax and Their Melting Points
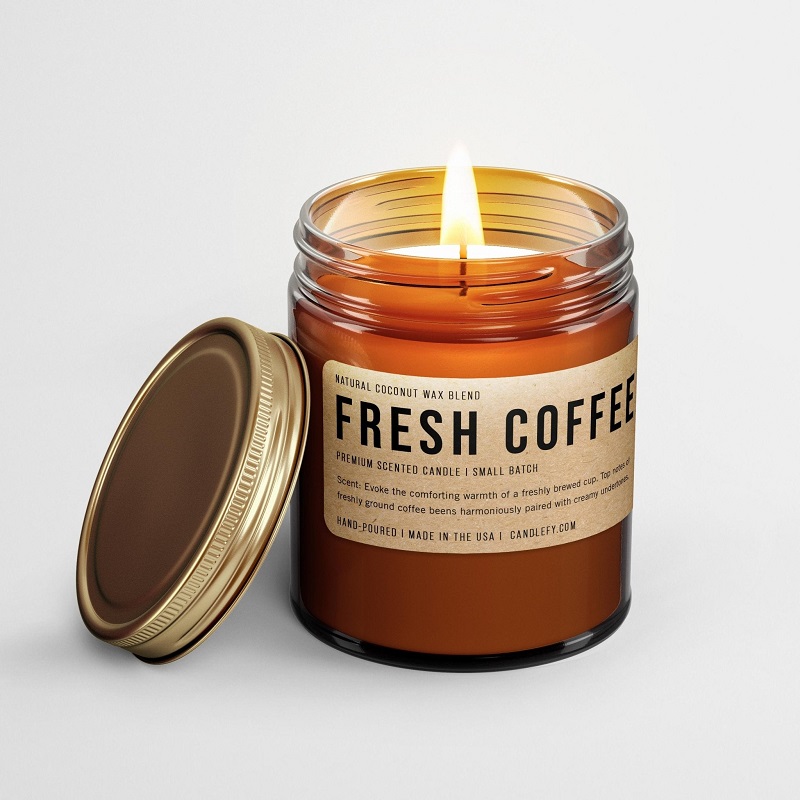
The type of wax you choose can affect both the scent throw and the burning quality of your candles. Common types of wax include paraffin, soy, beeswax, and palm. Paraffin wax is popular due to its excellent scent throw and affordability, but it is a byproduct of petroleum, which some people prefer to avoid. Soy wax is a natural alternative that burns cleaner and longer, while beeswax is known for its natural honey scent and air-purifying qualities. Each type of wax has its own melting point, so be sure to follow the instructions specific to your chosen wax type to achieve the best results.
Incorporating Fragrance Oils and Essential Oils
Once the wax is melted, it’s time to incorporate your chosen scents. Add fragrance oils or essential oils to the wax while it is still hot, typically at temperatures between 170-180°F (76-82°C), depending on the wax type. Stir gently but thoroughly to ensure that the scent is evenly distributed throughout the wax. It’s important to avoid adding oils when the wax is too hot or too cool, as this can affect the scent throw and the candle’s overall quality. Proper mixing ensures that your candle will have a consistent and pleasant aroma throughout its burn time.
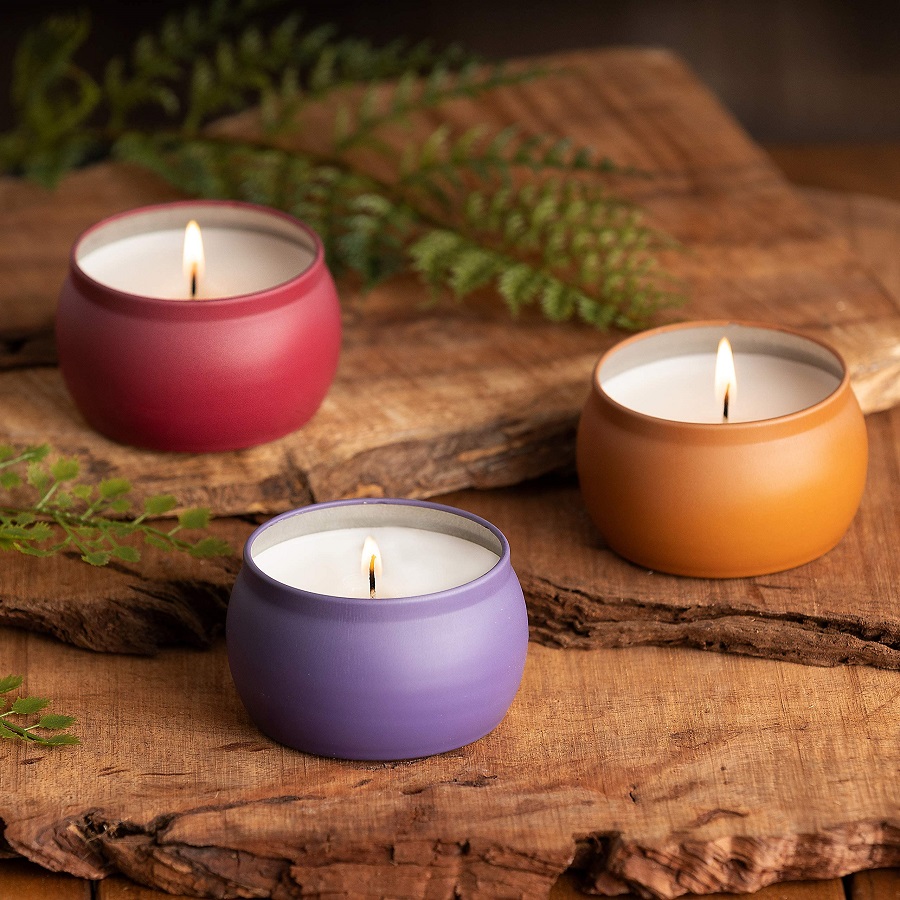
Pouring and Setting Your Scented Candles
Preparing the Wick and Container
Before pouring the scented wax, prepare your wick and container. Attach the wick to the bottom of the container using a wick sticker or a small amount of melted wax. Ensure that the wick is centered and upright to avoid uneven burning. If you’re using a container with a lid, make sure to secure the wick in place using a wick holder or pencil. Properly setting up the wick will contribute to an even burn and prevent issues such as tunneling or excessive soot.
Pouring Technique and Tips
Pour the melted wax into the prepared container at the recommended temperature, usually between 130-140°F (54-60°C), depending on the wax type. Pour slowly and steadily to minimize air bubbles and ensure an even surface. Allow the candle to cool and set undisturbed for several hours or until fully hardened. If you notice any surface imperfections, such as cracks or sinkholes, you can address them by reheating and topping off the candle with a small amount of melted wax. Proper pouring and cooling techniques are crucial for achieving a professional-looking finished product.
Testing and Evaluating Your Scented Candles
Conducting a Burn Test
Once your candles have fully set, it’s important to conduct a burn test to evaluate their performance. Light the candle and allow it to burn for several hours, observing how well it burns and how the scent is distributed. A well-made candle should have an even burn, minimal soot, and a consistent scent throw. If you notice issues such as excessive smoking, uneven burning, or weak scent, it may be necessary to adjust your wax-to-oil ratio or make other modifications. Burn testing helps ensure that your candles meet your standards and perform well in various conditions.
Troubleshooting Common Issues
During the burn test, you may encounter common issues such as tunneling, which occurs when the candle burns down the center, leaving wax around the edges. This can be addressed by ensuring that the wick is the correct size for the container and that the candle is burned long enough for the melt pool to reach the edges. Other issues may include poor scent throw or uneven surface. By identifying and addressing these problems, you can refine your candle-making process and achieve high-quality results.
Personalizing Your Candle Scents
Creating Unique Fragrance Blends
One of the most enjoyable aspects of making scented candles at home is the ability to create your own unique fragrance blends. Experiment with combining different essential oils or fragrance oils to develop a scent that reflects your personal preferences. For example, you might blend lavender and vanilla for a soothing, relaxing aroma or citrus and mint for a refreshing and invigorating scent. Keep track of your experiments and adjust the ratios to find the perfect balance. Personalizing your candle scents allows you to craft candles that are truly one-of-a-kind and tailored to your taste.
Storing and Caring for Your Scented Candles
Proper Storage Techniques
To preserve the quality and longevity of your scented candles, proper storage is essential. Store your candles in a cool, dry place away from direct sunlight and extreme temperatures. Exposure to light and heat can cause the fragrance oils to degrade and the wax to warp. If possible, keep your candles in their original packaging or cover them with a lid to protect them from dust and debris. Proper storage will help maintain the scent and appearance of your candles over time, ensuring that they remain a delightful addition to your home.
Conclusion
Final Thoughts
With the methods and tips outlined in this guide, you’re well-equipped to embark on your candle-making journey. Remember that practice and experimentation are key to perfecting your technique and achieving the desired results. Enjoy the process of creating your own scented candles, and take pride in the unique and fragrant creations you produce. Happy candle making!