Essential Materials for Making Floating Candles
Creating magical floating candles is a fun and creative project. To start, you need the right materials. This guide will help you gather what you need and choose the perfect type of candle for a floating display.
Gathering Your Supplies
To make floating candles, you need:
- Empty toilet paper or paper towel rolls.
- A hot glue gun and glue sticks to create the ‘drip’ effect.
- White and off-white paint for a realistic candle look.
- A needle for threading fishing line through the candles.
- Fishing line to suspend your candles.
- LED tealights to safely light your candles.
- Scissors to cut rolls and fishing line.
Gather these items from your local craft store or find them around your home.
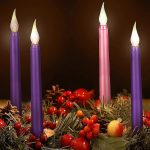
Choosing the Right Type of Candle
For floating candles, LED tealights are ideal. They’re safe and don’t need actual flames. Pick waterproof tealights, especially if you’re mixing water into your display. Avoid real candles. They pose fire hazards and can ruin your creation if they tip over. Stick to LED tealights for peace of mind and lasting enjoyment.
Preparing Your Candles for Floating
To make your DIY floating candles, start by getting them ready for display.
Cutting Rolls to Varying Heights
Begin by laying out all your rolls – these can be empty toilet paper or paper towel rolls. Use scissors to cut them into different heights. This adds dimension and makes each candle look unique.
Creating the Wax Drip Effect
Next, use a hot glue gun to add a wax ‘drip’ effect along each roll’s top edge. It’s simple: apply glue in a drip pattern. Once the glue dries, it’ll look just like melted wax. Remember to add a ring of hot glue inside the roll, about 3/4 inches down. That’s where your LED tealight will sit snugly.
Adding a Shelf for Tealights
After the ‘wax’ has cooled, it’s time to create a small shelf for the tealights. Using hot glue inside the roll, form a sturdy ledge. Make sure it’s level so your tealight sits flat and secure. This shelf is important for safety and stability. Let everything dry before moving on to the next steps.
Painting and Decorating the Candles
After constructing the candle base, it’s time to bring them to life with color.
Selecting Paint Colors
Choosing the right paint colors is crucial for a realistic look. Start with an off-white base. This tone mimics the natural color of wax. Once the base coat dries, add true white highlights. These highlights create dimension and make the ‘wax’ drips stand out.
While off-white and true white are standard, feel free to get creative. Use silver or gold for a festive touch. Remember to use non-flammable, LED-safe paint.

Adding Accents and Decorations
Now, let’s add personality to the candles.
You can wrap twine around the base for a rustic vibe. Glue on tiny beads or sequins to sparkle in the light. Thin ribbon tied in a bow can give a refined look. For a holiday theme, attach small holly berries or pinecone pieces.
Be sure to let all paint and decorations dry completely. This ensures they won’t interfere with the tea lights. Once dry, your candles are ready to float and shine.
Assembling the Floating Mechanism
Once your candles are ready, we’ll focus on how to suspend them beautifully.
Measuring and Cutting Fishing Line
Firstly, decide the candle’s hanging height. Cut fishing line accordingly. Make the line longer than needed to allow adjustments later. For a two-foot drop, cut around four and a half feet of line.
Remember, the length affects the floating effect. Double-check your measurements for consistency. This prevents candles from hanging at different lengths, unless that’s the look you want.
Threading the Needle Through the Candles
Next, thread a needle with the fishing line. Then, push it through the top of the candle where hot glue isn’t too thick. It might be tough, so use some force.
Once the needle is through, pull your fishing line to create two ends that will hang from the ceiling. Make sure holes are level, or your candle won’t hang straight. Tie knots at the line’s end so the length is secure.
Repeat with all candles to get a group ready for hanging. It’s almost time to see your work light up the room.
Lighting Up Your DIY Candles
Once you’ve crafted your homemade candles, lighting them up correctly is vital for the perfect ambiance.
Inserting Tea Lights
Carefully place your LED tealights onto the prepared shelf inside each candle. Press gently to secure.
Tips for Safe Candle Lighting
Always check that the tealights are off before hanging the candles. Turn them on once in position, using a switch or remote control if available. Avoid using real flames, as they can be a hazard. Keep the candles away from flammable objects. Regularly inspect for any signs of wear or damage. If needed, replace the tealights periodically to ensure they keep glowing brightly.
Follow these simple steps and tips, and you’re ready to display your floating candles with safety and style.
Displaying Your Floating Candles
Once you’ve completed the steps to create your floating candles, the final touch is their display. Displaying your candles correctly can transform any space into a whimsical and charming environment. Here are the steps to take your floating candles to new heights.
Hanging Candles from the Ceiling
To hang your floating candles, follow these instructions:
- Attach the end of the fishing line with a knot to a small hook or thumbtack.
- Find the spot on your ceiling where you want the candle to hang.
- Press the hook firmly into the ceiling. If it’s drywall, you might need a drywall anchor for support.
- Adjust the line length if needed to get your desired floating height.
- Space your candles unevenly for a more natural look, mimicking how candles would float in the air.
- Once in place, turn on your LED tealights for an enchanting glow.
Creative Placement Ideas for Impact
Maximize your candles’ visual impact with these ideas:
- Group candles together in a cluster to create a focal point.
- Hang them at different heights to simulate candles at various melting stages.
- Combine them with other decorations like faux cobwebs or greenery for a themed event.
- Display candles over a mirror or reflective surface to double their mystical effect.
- Use them as a centerpiece for events, suspended over tables or entryways.
Remember, the beauty of DIY floating candles is their versatility. So get creative and customize their placement to suit your style and the occasion. These candles will add a warm and inviting ambiance to any space, making them perfect for holidays, parties, or simply to elevate your home decor.
Variations on the Floating Candle Theme
After mastering the basics of how to make floating candles, you can add some flair. Explore how glass and water enhance the candles’ glow, and learn to play with water gems.
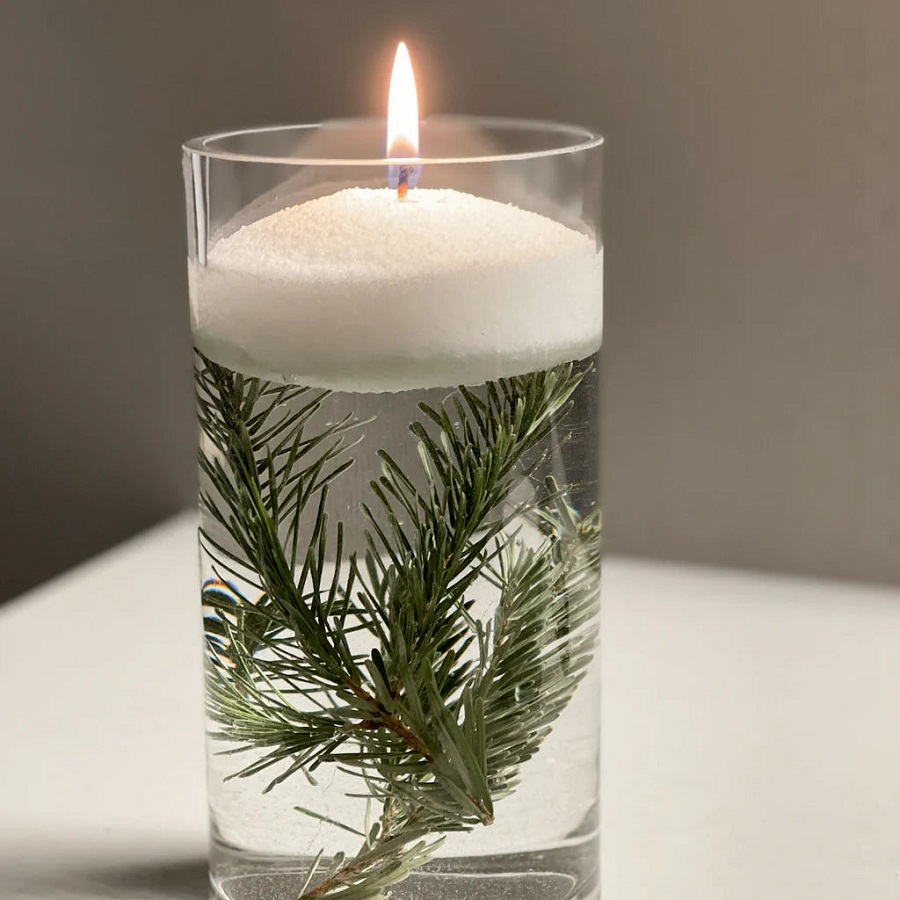
Exploring Glass, Water, and Light Interactions
To take your floating candles to the next level, try this trick. Use transparent glass jars or vases. Fill them with water and let a candle float on top. The glass and water magnify the candle’s light, creating a beautiful effect. Add color-changing LED tealights to make them glow from within. This way, your candles shine with a soft, enchanting light.
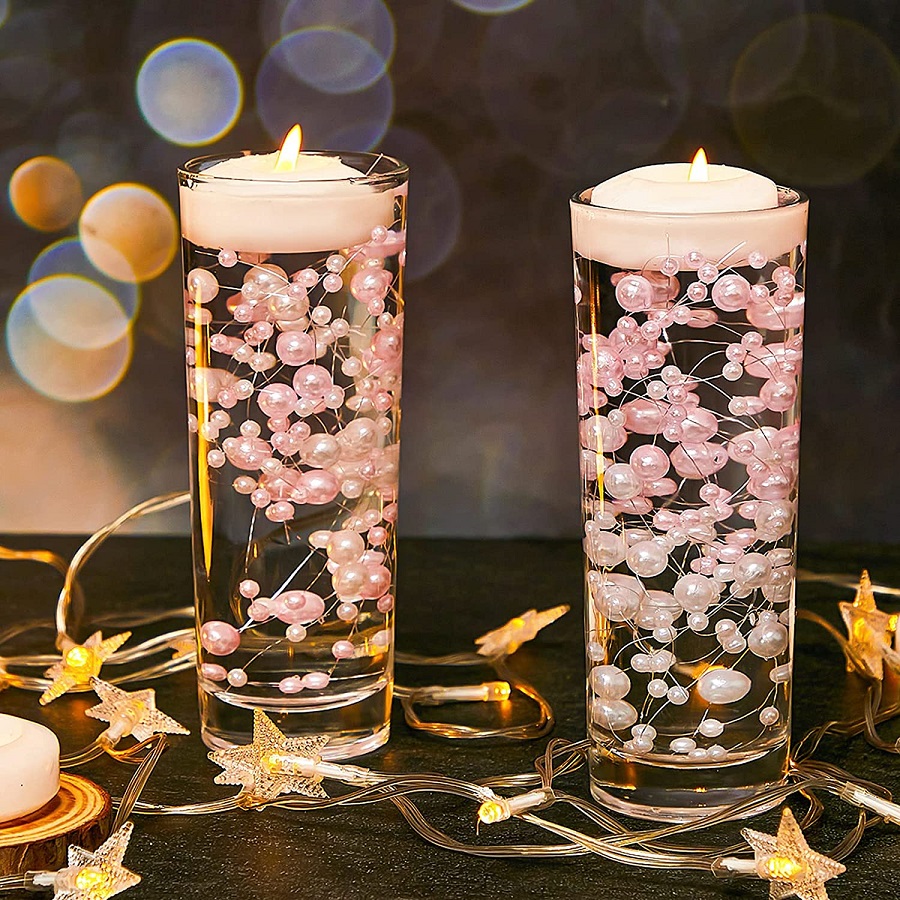
Incorporating Water Gems and Vases
Water gems are another great addition to your floating candle display. When soaked in water, these tiny beads expand and become nearly invisible. Fill a clear vase with these gems. Then, add a floating candle on top. The gems support the candle while allowing it to float beautifully. Water gems come in various colors, opening up more options for personalization. Their subtle sparkle adds to the magic of your floating candle arrangement.
By experimenting with these variations, your floating candles will not only light up a room but also captivate the eyes with their mesmerizing dances of light and color.
Upcycling and Personalization Ideas
Crafting doesn’t have to mean starting from scratch. You can create stunning floating candles using items you may already have around the house. Personalization adds a unique touch, making your DIY floating candles true standouts. Here’s how to add your own twist to these luminous decorations.
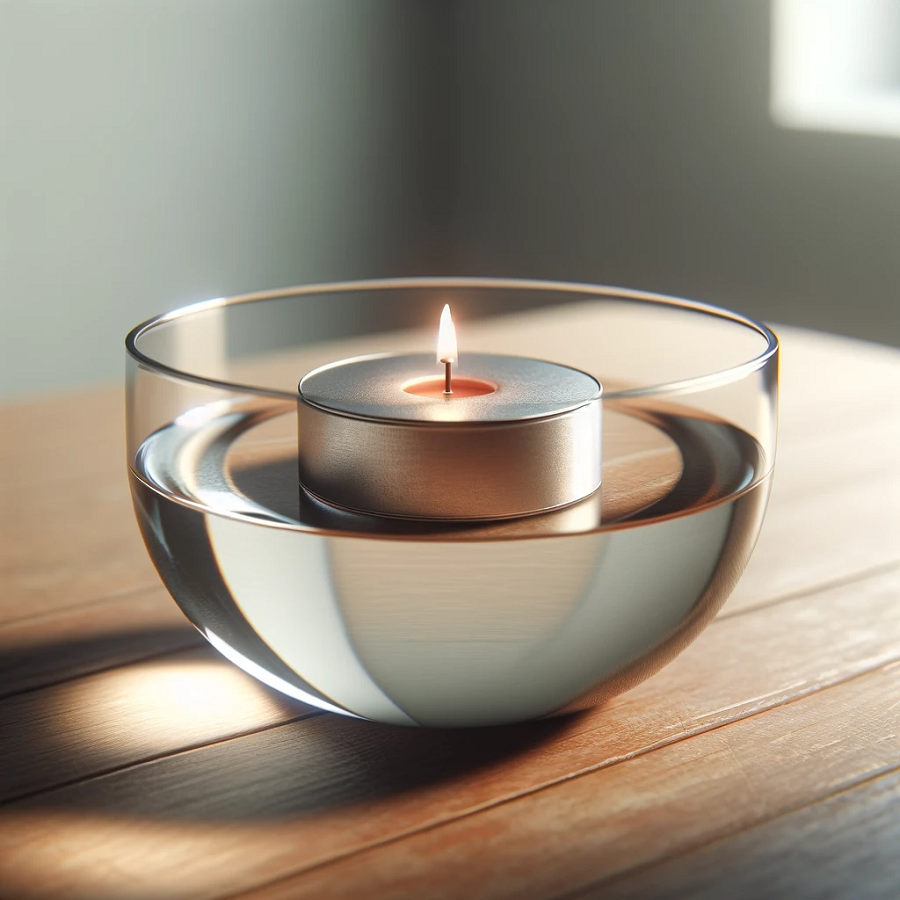
Repurposing Dollar Tree Jars
Dollar Tree jars offer a budget-friendly option for your floating candle projects. Clean out these glass jars and remove any labels. Then, place a LED tealight inside. Fill with water, and set a floating candle on top. You can adorn the jars with ribbons, paint, or seasonal stickers to fit any theme.
Customizing for Different Holidays
Make your floating candles festive for any occasion. For Halloween, add fake spider webs or orange-colored water gems. Christmas? Use red and green ribbons or fill the base with cranberries. Easter calls for pastel paints and small plastic eggs nestled around the tealights. For Diwali, use bright colors and add traditional Diwali motifs to your jars. Each holiday can have its own special glow with just a few simple customizations.
By upcycling and tailoring your floating candles, you’ll not only save money but also express your creativity and style. Make each event memorable with these little touches of personalized light.