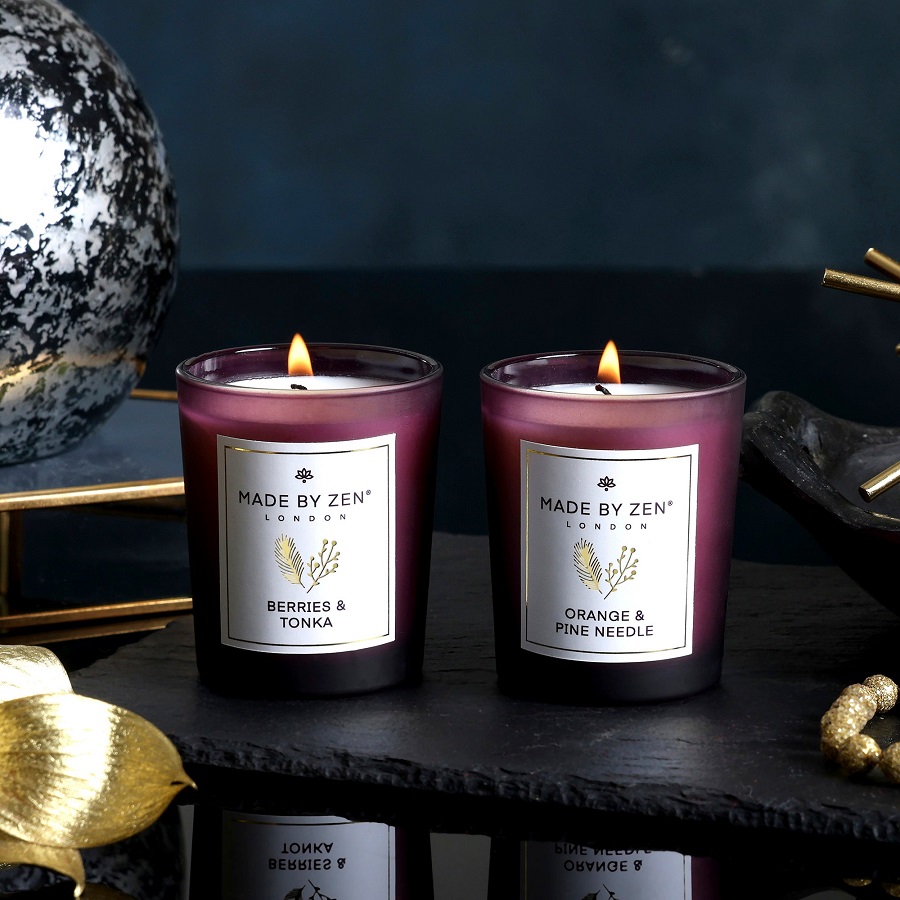
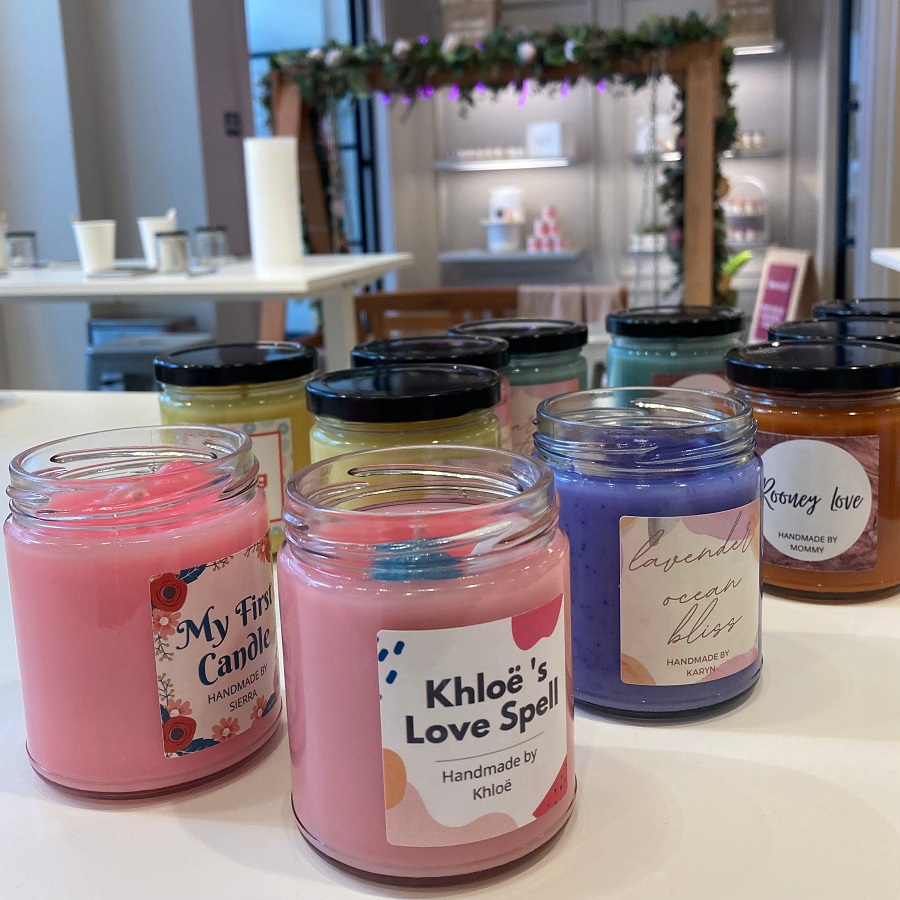
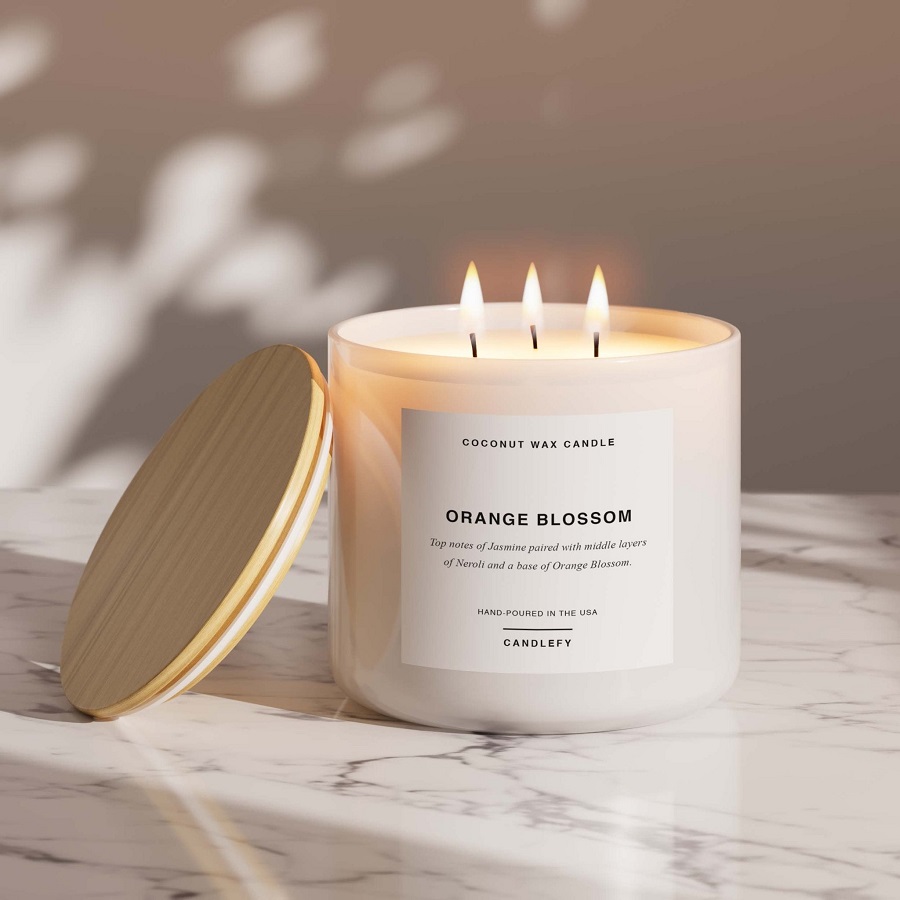
Candle making is not only an enjoyable craft but also a way to create beautiful, personalized gifts for yourself or your loved ones. This guide will walk you through the entire process of candle making, from understanding the basics to advanced techniques. Whether you are a complete beginner or looking to refine your skills, this article will provide you with the knowledge you need.
Understanding Candle Making
The History of Candle Making
Candle making dates back thousands of years, with its origins traced to ancient civilizations. The earliest candles were made from animal fat or tallow, which was formed around a wick. As time passed, different materials and techniques evolved, including the use of beeswax in Ancient Egypt and, later, paraffin wax in the 19th century. Each culture developed its own methods and styles, contributing to the rich history of candle making we know today.
Why Make Your Own Candles?
Creating your own candles allows for a level of personalization that store-bought candles simply can’t offer. You can choose your favorite scents, colors, and shapes, ensuring each candle is unique to your taste. Additionally, making candles can be a therapeutic and relaxing activity. The satisfaction of crafting something with your own hands is rewarding, and you can create candles that match your home decor or gift them for special occasions.

Essential Materials for Candle Making
Types of Wax
The first step in candle making is selecting the type of wax. There are several options, each with its own properties and benefits:
- Paraffin Wax: This is the most common wax used in candle making. It’s affordable, holds fragrance well, and is easy to work with.
- Soy Wax: A natural alternative to paraffin, soy wax is made from soybean oil. It burns longer and is biodegradable, making it a popular choice for eco-conscious crafters.
- Beeswax: Known for its natural sweetness and subtle honey scent, beeswax is the most natural option. It burns cleaner and emits negative ions that purify the air but can be more expensive than other waxes.
- Palm Wax: This is another natural option that creates a unique crystalline effect on the candle’s surface.
Other Supplies Needed
In addition to wax, you’ll need a few other supplies to create your candles:
- Wicks: Wicks come in various sizes and materials, including cotton and wood. The wick type will affect the burn quality of the candle.
- Fragrance Oils: If you want scented candles, choose high-quality fragrance oils specifically designed for candle making. Essential oils can also be used, but they may not be as strong.
- Color Dyes: You can add color to your candles with dyes made for wax. These come in various forms, including liquid, chips, and blocks.
- Containers: Decide whether you want to make pillar candles or container candles. Mason jars, tins, and glass containers are all popular choices.
The Candle Making Process
Step 1: Preparing Your Workspace
Before you begin, it’s essential to set up your workspace. Ensure that your area is clean, organized, and well-ventilated. Gather all your materials, including wax, wicks, fragrance, color, and any tools you’ll need, such as a double boiler or melting pot, thermometer, and stirring utensils. Having everything in place will make the process smoother and more enjoyable.
Step 2: Melting the Wax
To melt your wax, use a double boiler or a dedicated wax melting pot. This method ensures the wax heats evenly and reduces the risk of burning. If you’re using a thermometer, aim for a temperature between 170°F and 180°F (77°C and 82°C), depending on the type of wax you’re using. Stir the wax gently as it melts to prevent bubbles from forming. Once fully melted, remove it from heat and let it cool slightly before adding fragrance or dye.
Step 3: Adding Fragrance and Color
Once your wax reaches the desired temperature, it’s time to add fragrance and color. For fragrance oils, a common ratio is about 1 ounce of oil for every pound of wax, but this can vary depending on the strength of the oil and personal preference. Stir the fragrance into the melted wax thoroughly to ensure an even distribution. If you’re adding color, follow the manufacturer’s instructions for the right amount. Stir well to achieve the desired hue.
Step 4: Preparing the Wick
While your wax is cooling, prepare your wick. Cut it to the desired length, allowing a few extra inches to ensure it can be secured properly in your container. If you’re making container candles, you can use a wick sticker to adhere the wick to the bottom of the container. This will keep the wick in place when you pour in the wax.
Step 5: Pouring the Wax
Once your wax has cooled to the right pouring temperature—typically around 140°F to 160°F (60°C to 71°C)—it’s time to pour it into your prepared container. Slowly pour the wax to minimize bubbles and ensure a smooth surface. Leave some space at the top of the container, as the wax may expand slightly as it cools. Allow the candle to cool completely, which may take several hours depending on the size and type of wax used.

Finishing Touches
Step 6: Trimming the Wick
After your candle has fully cooled and solidified, it’s time to trim the wick. The ideal wick length is about ¼ inch above the wax surface. This length ensures a steady burn and prevents excessive soot. Use scissors to trim the wick carefully, avoiding any movement that could disturb the wax.
Step 7: Curing Your Candles
For the best scent throw and burn quality, allow your candles to cure for at least 24 to 48 hours before using them. This curing time allows the fragrance to bind better with the wax, resulting in a more potent scent when burned. If you’ve made multiple candles, consider labeling them with the date and type for future reference.
Tips for Successful Candle Making
Experimenting with Scents and Colors
One of the joys of candle making is experimenting with different scents and colors. Don’t hesitate to try mixing fragrances to create a custom scent that’s uniquely yours. Similarly, playing with color combinations can lead to visually stunning results. Just remember to keep track of your formulas so you can recreate your favorites.
Troubleshooting Common Issues
Like any craft, candle making can come with its challenges. Here are some common issues and how to address them:
- Frosting: This occurs when the wax cools too quickly. To minimize frosting, avoid pouring the wax at too high a temperature.
- Bubbling: If you see bubbles on the surface of your candle, it may be due to pouring the wax too quickly. Try pouring more slowly and gently.
- Uneven Burn: This can happen if the wick is too short or too long. Ensure the wick is trimmed to the correct height for optimal burning.
Advanced Candle Making Techniques
Layered and Swirled Candles
Once you’ve mastered basic candle making, consider trying layered or swirled candles. To create layers, pour one color of wax, allow it to cool slightly, then pour the next layer. For swirled candles, pour two different colors simultaneously and use a skewer to swirl them together for a marbled effect.
Embedding Objects
Another creative technique is embedding objects within your candles. Dried flowers, herbs, or even small trinkets can add a unique touch. Ensure that the object is heat-safe and won’t interfere with the burning process. Embed items during the pouring stage, but be mindful of their placement to avoid wick obstruction.

Safety Considerations
Working with Hot Wax
Always handle melted wax with care to avoid burns. Use heat-resistant gloves if necessary, and never leave melting wax unattended. Keep children and pets away from your workspace during the candle-making process.
Proper Ventilation
Ensure your workspace is well-ventilated when working with fragrance oils and dyes, as some materials may release fumes. Opening windows or using fans can help maintain a safe environment.
Conclusion
Candle making is a fulfilling and creative hobby that allows you to craft beautiful, personalized candles for yourself or as gifts. By following the steps outlined in this guide, from selecting materials to experimenting with advanced techniques, you can become a skilled candle maker in no time. Whether you’re creating soothing scents for relaxation or festive candles for special occasions, the art of candle making offers endless possibilities. Enjoy the process, and let your creativity shine!


