Essential Materials for DIY Citronella Candles
Creating your own mosquito repellent citronella candles can be both a fun DIY project and an effective way to enjoy summer evenings bug-free. Here’s what you’ll need to get started.
Natural Ingredients and Their Benefits
Begin with gathering natural ingredients. You’ll need:
- Citronella oil: The key repellant component, derived from Cymbopogon grass, it sends pests packing without harsh chemicals.
- Soy wax or beeswax: These natural bases burn cleaner than paraffin, emitting fewer pollutants.
- Lemon and lime slices, rosemary: These optional additives provide a pleasant scent and decorative flair.
These components not only keep mosquitoes away but also create a calming atmosphere for your outdoor spaces.
Choosing the Right Vessels for Your Candles
Selecting suitable containers is crucial. Consider:
- Mason jars: Great for a rustic look, they’re sturdy and heat-resistant.
- Vintage teacups: Offer a quaint, elegant touch.
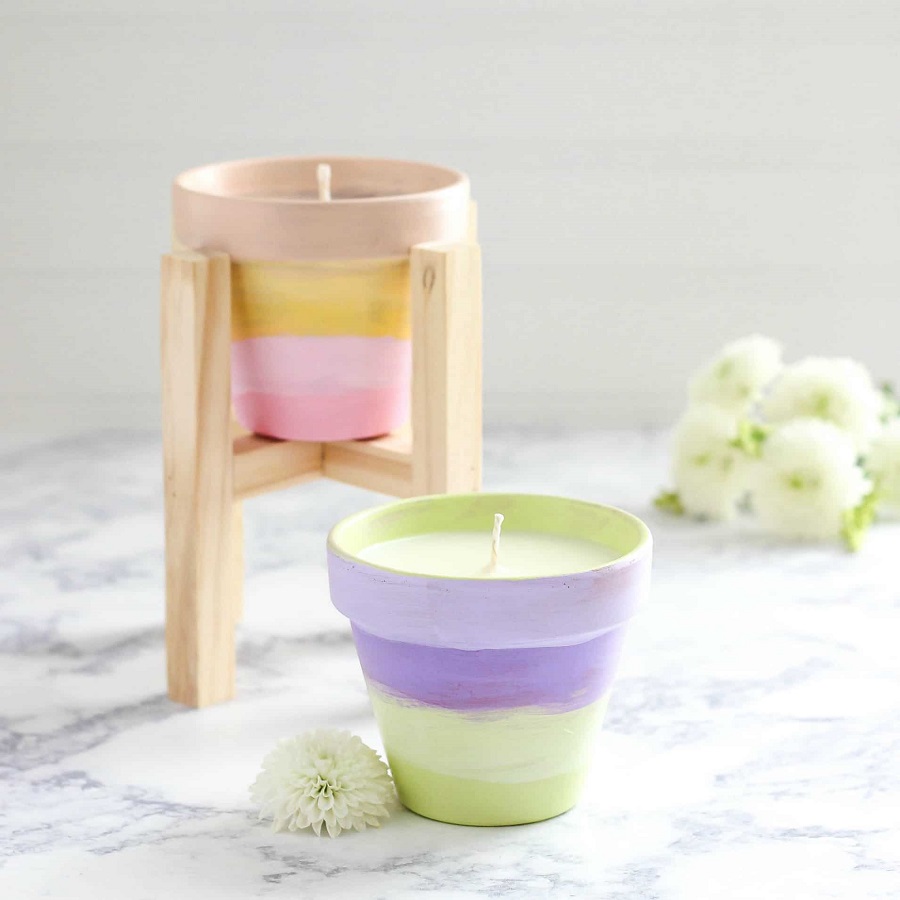
- Terracotta pots or glass jam jars: Ideal for a boho or farmhouse vibe.
Ensure your chosen vessel can handle the heat and contains the wax well. Make each candle unique with a vessel that matches your style. When diy citronella candles, these materials and your creativity combine to create not just a functional item, but also an aesthetic addition to your outdoor decor.
Preparing the Candle Containers
Turning old jars and vessels into chic candle containers is a rewarding upcycling project. To ensure your DIY citronella candles look as good as they function, start by selecting the right containers and preparing them properly.
Cleaning and Repurposing Old Jars and Vessels
Old jars and vessels are ideal for candle making. You can reuse mason jars, vintage teacups, or even terracotta pots. Here’s how to clean and prepare them:
- Start with a thorough wash using warm soapy water. Remove all food residues or dust.
- Peel off any labels. For stubborn adhesive, soak in warm water for a few hours.
- Dry the jars completely before using them to prevent moisture from affecting the candle wax.
Clean containers not only look great but also ensure your candles burn safely and effectively.
Tips for Removing Sticky Labels From Glass Jars
A clean look is essential for repurposed candle jars. Here’s how to get rid of sticky labels:
- Soak the jars in soapy water to loosen the labels.
- Use a scraping tool, like an old credit card, to gently remove the label.
- For persistent adhesive, rub with an oil-based substance, such as cooking oil or eucalyptus oil.
- Wipe clean with a cloth and give the jar one last wash.
With these tips, your glass jars will be ready to transform into beautiful citronella candles that fend off unwanted insects.
Selecting the Right Wax
Selecting the right type of wax is crucial in making effective DIY citronella candles. The wax you choose affects how the candle burns and how well the citronella scent is dispersed.
Benefits of Using Soy Wax for Candles
Soy wax is a popular choice for numerous reasons:
- It’s natural and derived from soybeans, making it a renewable resource.
- This wax burns cleaner, producing less soot compared to paraffin wax.
- Soy wax has a lower melting point, which means the candles burn longer.
- It’s biodegradable and easy to clean up with just soap and water.
These qualities make soy wax an excellent base for your DIY citronella candles, enhancing both function and environmental sustainability.
Alternatives to Soy Wax and Their Properties
While soy wax is ideal for many, there are alternatives worth considering:
- Beeswax: Burns brighter and cleaner without unpleasant odors. However, it’s typically more expensive.
- Paraffin Wax: Widely available and holds color and scent well, but it’s a petroleum by-product, which can be less appealing for those seeking natural ingredients.
- Palm Wax: Offers a unique crystalline finish to candles, but sourcing sustainably might be challenging.
Each wax has distinct properties to consider depending on your DIY project needs. Choosing the right wax contributes significantly to the success of your homemade citronella candles.
Setting Up the Wick
Proper wick setup is crucial for your DIY citronella candles to burn evenly and effectively. Here’s how to choose and secure the right wick for your candles.
Types of Wicks Suitable for Citronella Candles
When selecting wicks for your citronella candles, consider these types:
- Natural Fibers: Cotton or hemp wicks are preferred as they burn cleanly and are eco-friendly.
- Wood Wicks: These provide a soothing crackling sound but may require testing for proper burning.
- Pre-waxed Wicks: Often easier to handle and position within the candle.
Choose a wick that suits the size of your candle vessel for optimal burning.
Attaching Wicks to the Candle Base
Securing the wick correctly is key to ensuring your candle burns well:
- Use a Wick Holder: To keep the wick centered and upright during the pouring and setting process.
- Adhere with Hot Glue: A spot of hot glue on the bottom of the wick tab will hold it securely in place.
- Position Carefully: Ensure the wick is in the center of the container for an even burn.
Following these steps will help create a functional and aesthetic citronella candle.
Melting and Pouring the Wax
Melting wax correctly is key to making your candles. Let’s do it safely and cleanly.
Creating a Double Boiler for Wax Melting
Start by making a double boiler. You don’t need fancy equipment. Use a saucepan and a heat-safe bowl. Fill the pan with water, just below the bowl’s base when placed on top. This method prevents the wax from overheating. Keep the water simmering, not boiling.
Techniques for a Smooth Wax Pour
Once the wax is melted, it’s time to pour. Here’s how for a smooth finish:
- Let the wax cool slightly before pouring. This reduces bubbles.
- Pour the wax slowly into your prepared containers. Move the pouring vessel close to the container’s rim to minimize splashing.
- Keep your wick centered and upright while pouring the wax. Use a wick holder or even simple kitchen utensils like chopsticks or a pencil to hold the wick.
By following these techniques, your DIY citronella candles will look and burn beautifully.
Adding Citronella Oil
Adding the right amount of citronella oil is crucial for effective DIY citronella candles.
Determining the Right Amount of Oil
Start by adding citronella oil slowly to the melted wax. Use about one teaspoon per three cups of wax. This ratio ensures the candles are potent enough to repel insects while maintaining a pleasant scent.
Tips for Maximizing Insect Repelling Properties
To enhance the insect-repelling effectiveness of your citronella candles, follow these tips:
- Add the oil at the right temperature. Ensure your wax is between 130* to 150* F before mixing in the oil. If it’s too hot, the oil may lose its repellent properties.
- Stir thoroughly after adding the oil, ensuring it’s evenly distributed throughout the wax. This helps release the scent uniformly as the candle burns.
By correctly mixing and handling the citronella oil, your DIY candles will keep those pesky mosquitoes at bay, letting you enjoy your summer evenings outdoors.
Finalizing Your Citronella Candles
After pouring the wax, ensure your DIY citronella candles set correctly for optimal use.
Cooling and Solidifying the Wax
Allow the candles to cool at room temperature. Avoid moving or touching them during this time. This ensures a smooth and even solidification. Place them on a flat surface to prevent any warping or uneven surfaces. Depending on the size of your candles, cooling might take several hours.
Trimming the Wicks for Optimal Burning
Once the wax is solid, it’s time to trim the wicks. Use sharp scissors to trim the wicks to about 1/4 inch above the wax. This length is ideal for ensuring a clean and even burn. Always check that the wick is centered and upright before lighting the candle. Properly trimmed wicks will make your candles safer and more effective at repelling insects.
By following these steps, your DIY citronella candles will be ready to use. They’ll help keep your summer evenings peaceful and mosquito-free.
Creative Ideas for Candle Vessels
Crafting DIY citronella candles allows for creativity, especially when choosing containers. Here are a couple of imaginative ideas to inspire your next project.
Vintage Bowls and Aged Flowerpots
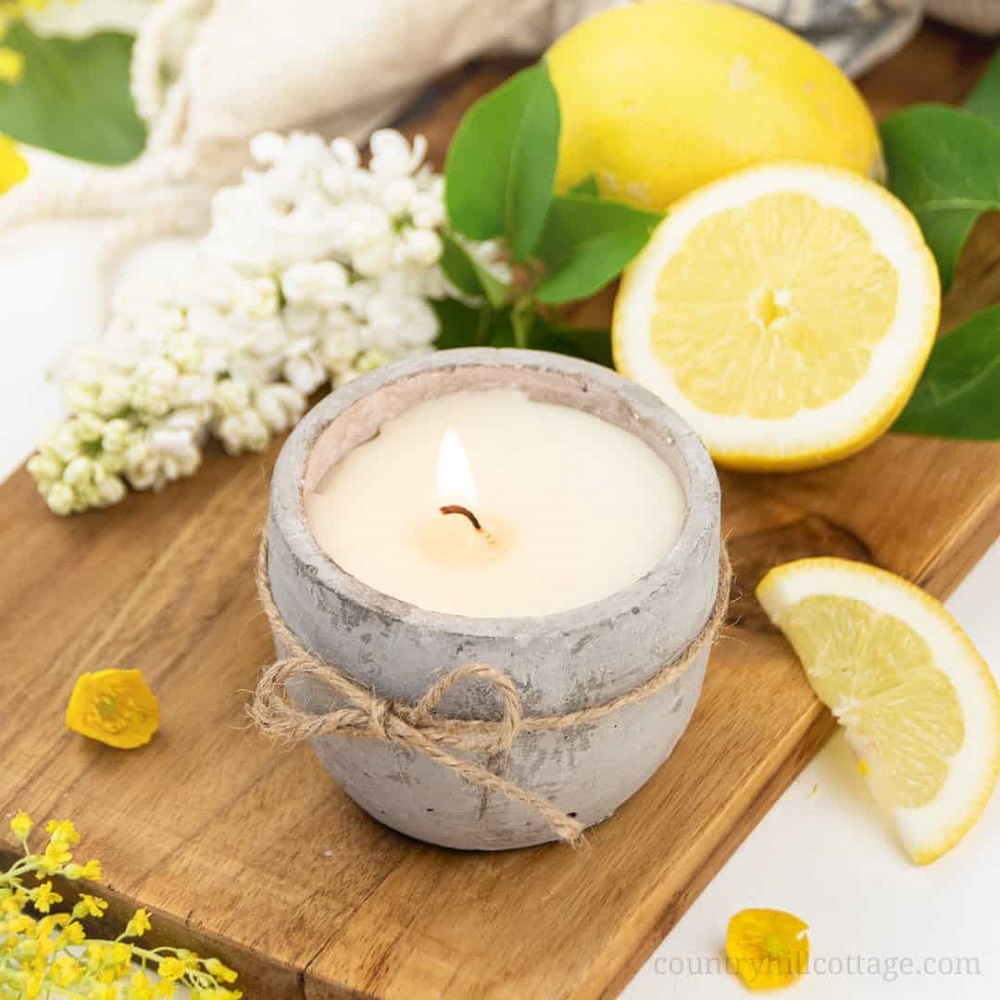
For a charming, antique touch, use vintage bowls. They add character and are often unique. Aged flowerpots give a rustic, garden feel. Perfect for outdoor evenings, they blend with natural surroundings. Be sure they are clean and safe for candle use. Delight guests with your one-of-a-kind candle vessels.
Repurposing Unique Containers for a Personal Touch
Ever thought of teacups or old kitchenware as candle holders? They make for unique and personal touches. Think outside the box. Use broken china, colorful glass jars, or even sea shells for smaller flames. These unique containers tell a story and become conversation starters. Plus, they show off your eco-friendly, creative flair. Ensure they’re heat-proof and stable for a safe, beautiful display.
