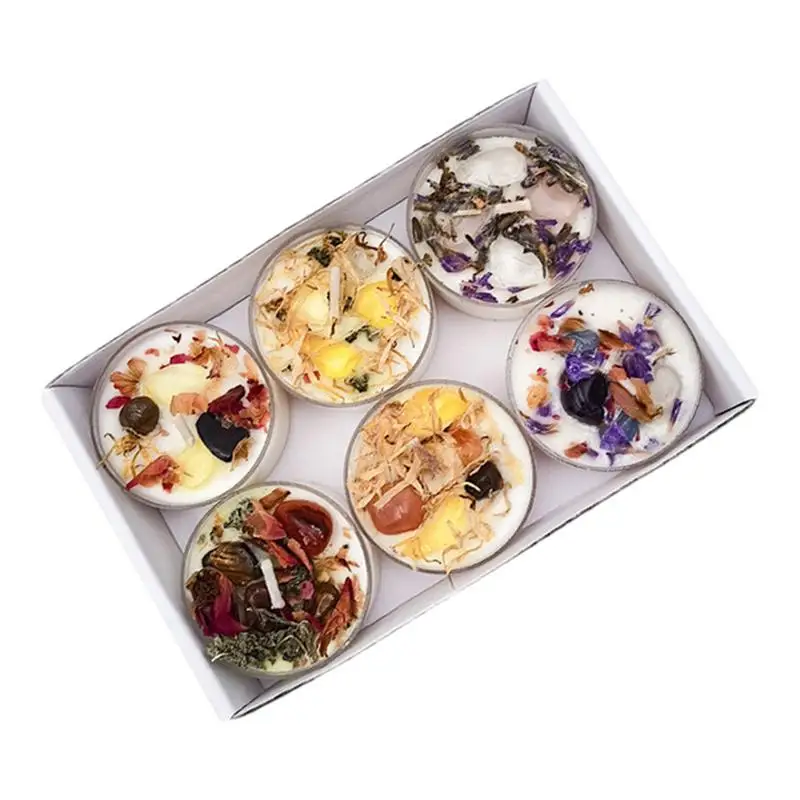
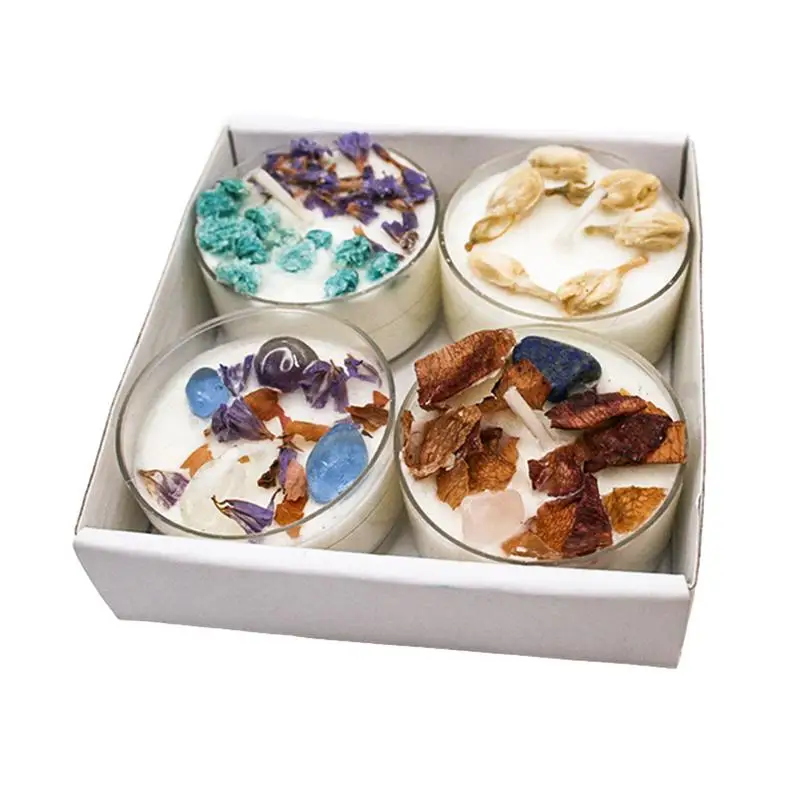
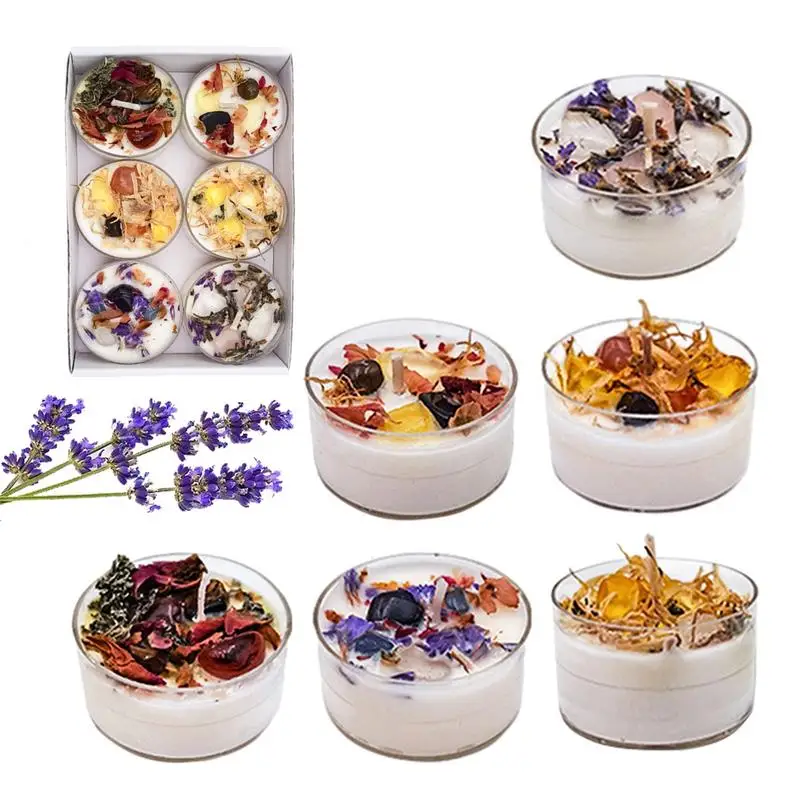
Making your own soy candles can be a rewarding and creative experience. Whether you’re looking for a relaxing hobby or a way to personalize your home décor, learning how to make soy candles is both easy and fun. In this guide, we’ll walk you through the entire process, from gathering the right materials to adding fragrances and decorating your candles. With a few simple steps and some patience, you’ll be crafting beautiful, eco-friendly candles in no time!
What You Need to Get Started with Soy Candle Making
Essential Tools and Materials for Soy Candle Making
Before you dive into the candle-making process, it’s important to gather all the necessary supplies. Thankfully, making soy candles doesn’t require a long list of complicated tools. Most of the materials are easy to find at craft stores, online retailers, or specialty candle-making suppliers. Here’s what you’ll need:
- Soy wax: This is the key ingredient. Soy wax is a natural, renewable, and biodegradable material that burns cleanly and evenly.
- Wicks: The wick is essential for lighting the candle and maintaining a steady flame. Cotton, wooden, or hemp wicks are great options for soy candles.
- Containers or Molds: You can use any heatproof container, such as glass jars, metal tins, or even ceramic bowls, to pour your melted wax into.
- Fragrance oils: For a personalized touch, choose high-quality fragrance oils designed for candles. Make sure they’re compatible with soy wax for the best results.
- Dye (optional): Candle dyes come in a range of colors, allowing you to add a little extra flair to your creations.
- Double boiler: To safely melt your wax, a double boiler is the best option. It ensures even melting without direct heat, preventing the wax from burning.
Once you have all these materials, you’re ready to begin the process of making your very own soy candles!

Step-by-Step Instructions for Making Soy Candles
Melting the Soy Wax
The first step in making soy candles is melting the wax. This process should be done slowly and carefully to prevent overheating the wax or introducing water, which can cause problems with the final product.
Start by cutting your soy wax into smaller chunks or buying pre-flaked wax to speed up the process. Use a double boiler to melt the wax—this method uses indirect heat, which helps ensure the wax melts evenly without burning. If you don’t have a double boiler, you can place a heatproof bowl over a pot of simmering water to achieve the same effect.
As the wax begins to melt, stir gently to promote even melting and avoid creating air bubbles. It’s important not to rush this process; patience is key to achieving a smooth, well-melted wax. The temperature of the wax should reach about 170-180°F (76-82°C) before moving on to the next step.
Adding Fragrance and Color to Your Soy Wax
Once your soy wax has fully melted, you can begin customizing it with fragrance and color. Adding fragrance oil to the wax is one of the most enjoyable parts of candle-making, as it allows you to create your favorite scents. However, it’s important to add the right amount of fragrance oil to ensure a strong scent throw once the candle is lit.
Generally, you’ll want to add about 6-10% fragrance oil to your melted wax. For example, if you’re using 1 pound of wax, you’d add approximately 1 ounce of fragrance oil. Stir the wax gently but thoroughly to ensure that the fragrance is evenly distributed.
If you wish to add color to your soy candles, you can use dye chips or liquid candle dye. These dyes are specifically formulated for candle-making and won’t affect the wax’s ability to burn. Add the dye to the melted wax in small amounts until you achieve the desired shade. Stir the wax to ensure the color is evenly mixed.
Preparing the Wick and Container
While your wax is cooling slightly, it’s time to prepare the wick and container. The wick is a crucial element in candle-making, as it determines how well your candle burns. There are different types of wicks available, but cotton and wooden wicks are popular choices for soy candles.
Before attaching the wick to the container, you’ll need to secure it at the bottom of the jar or mold. Use a wick sticker or a small dab of melted wax to attach the wick to the center of your container. Allow the wax to cool slightly, so it sets firmly. Make sure the wick center and upright in the container to ensure an even burn.
To keep the wick from moving during the pouring process, you can use a wick holder or pencil to hold the wick in place at the top of the container. This will prevent it from shifting as the wax is poured in.
Pouring the Melted Wax into the Container
The Right Temperature for Pouring the Wax
Once the wax has cooled to the ideal pouring temperature (around 130-140°F or 54-60°C), it’s time to pour it into your prepared container. Pouring the wax at the right temperature is important to prevent cracking, sinkholes, or an uneven surface.
Start by slowly pouring the wax into the container, allowing it to settle naturally. Fill the container to just below the rim, leaving a small amount of space at the top for safety. Pouring too quickly or too much at once can cause bubbles to form in the wax, leading to imperfections in the final candle.
If you’re making multiple candles, it’s best to pour the wax in batches to ensure a consistent finish across all of them. After pouring the wax, allow it to set for a few hours at room temperature.
How to Prevent Cracking and Air Bubbles
To avoid cracks or air bubbles in your candle, allow the wax to cool slowly. You can also top off the candles with a bit more wax after the initial pour, as the wax will likely shrink a little as it cools. This extra layer will smooth out any imperfections and ensure your candle has a perfect surface.
For the best results, let the wax cure for at least 24 hours before trimming the wick and lighting the candle. Curing time allows the wax to fully solidify, giving the candle a clean and even burn.

Decorating and Personalizing Your Soy Candles
Adding Decorative Touches to Your Candles
One of the fun aspects of making soy candles is the opportunity to get creative with decoration. Once your candles are fully set, you can personalize them by adding elements like dried flowers, glitter, or even custom labels. To decorate the top of the candle, gently press small items like dried lavender, rose petals, or herbs into the wax before it fully hardens.
If you prefer a more minimalist look, you can leave the surface of the candle smooth or add a small, stylish label that reflects your personal style. You can create labels with a custom logo, name, or a decorative design that adds a touch of sophistication to your handmade candles.
Creating Unique Candle Scents and Designs
To make your candles stand out, experiment with creating your own unique scents. You can blend different fragrance oils to come up with custom scents, such as a combination of lavender and eucalyptus for a relaxing aroma or vanilla and cinnamon for a warm, cozy vibe.
Additionally, think about different ways to present your candles. Use rustic containers like mason jars, vintage teacups, or upcycled tins for a charming look. Try different shapes and sizes to create candles that suit your home décor or make beautiful gifts for friends and family.
Troubleshooting Common Issues in Soy Candle Making
Fixing Uneven Burns or Poor Scent Throw
One of the most common issues when making soy candles is uneven burning. This can happen if the wick is too small for the container, or if there is too much or too little fragrance oil in the wax. If your candles are not burning evenly, consider trimming the wick to the right size, adjusting the wick type, or ensuring you’re using the correct ratio of fragrance to wax.
Another issue people often face is poor scent throw, where the fragrance doesn’t fill the room as expected. This can be due to using too little fragrance oil or adding it at the wrong temperature. Be sure to add fragrance oil at around 170°F (77°C), as this is the temperature at which the wax can fully absorb the scent.
Correcting Surface Imperfections in Candles
If your soy candles develop cracks, uneven tops, or sinkholes, these issues are usually a result of the wax cooling too quickly or being poured at too high a temperature. To fix this, you can reheat and top off the candles, smoothing the surface with a heat gun or hair dryer for a flawless finish.

Conclusion: Enjoy Your Homemade Soy Candles!
With a little practice, you’ll be creating beautiful soy candles in no time. From choosing the right materials to experimenting with colors and fragrances, candle-making is a rewarding hobby that lets you unleash your creativity. Whether you’re making candles for yourself or gifting them to loved ones, homemade soy candles add a personal touch that store-bought versions just can’t match. So, gather your supplies, follow these steps, and let the candle-making fun begin!


