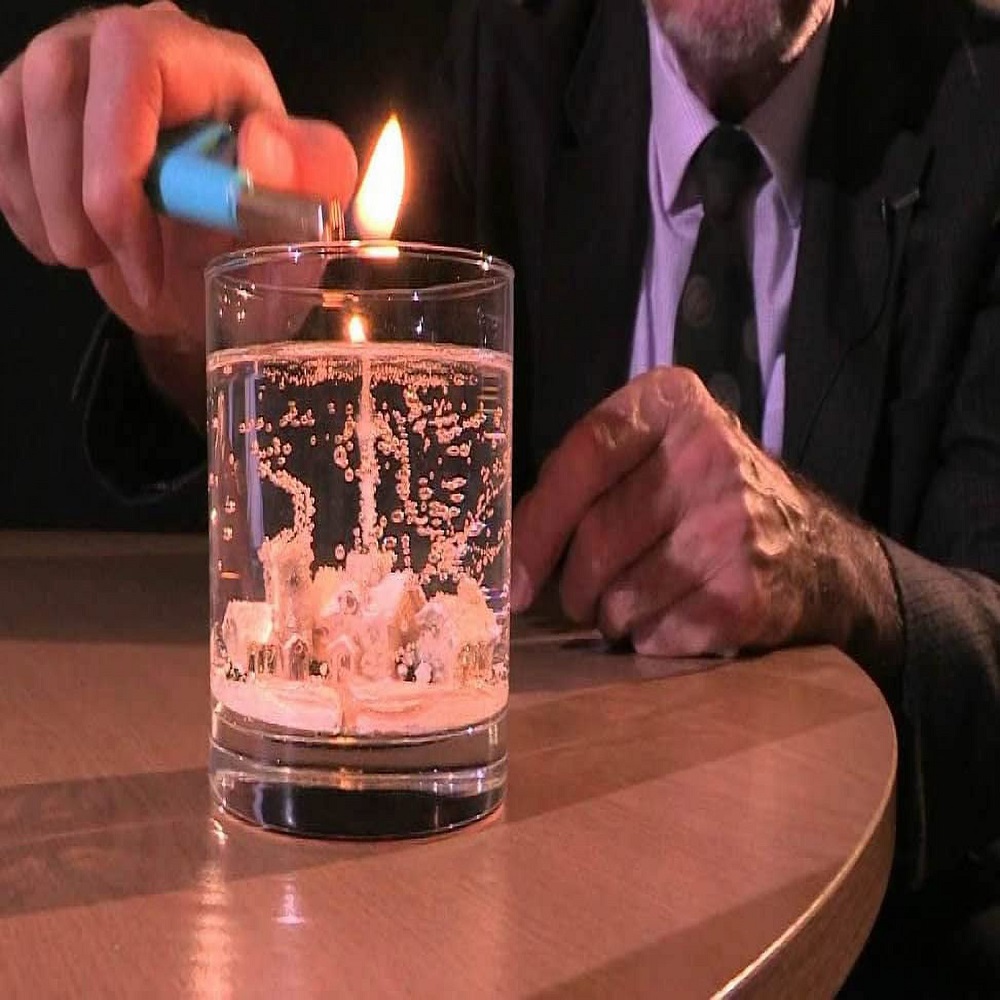
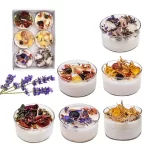
Making gel candles is a fun and creative way to craft beautiful and personalized candles. Unlike traditional wax candles, gel candles are made using a clear, gel-like substance that allows for unique effects, such as embedding decorative items, creating colorful layers, and adding intricate designs. Whether you’re looking to create a beautiful centerpiece, a thoughtful gift, or simply add a bit of ambiance to your home, gel candles offer endless possibilities. In this step-by-step guide, we will walk you through the process of creating your own custom gel candles, from gathering materials to finishing touches.
What Are Gel Candles?
Understanding Gel Candle Ingredients
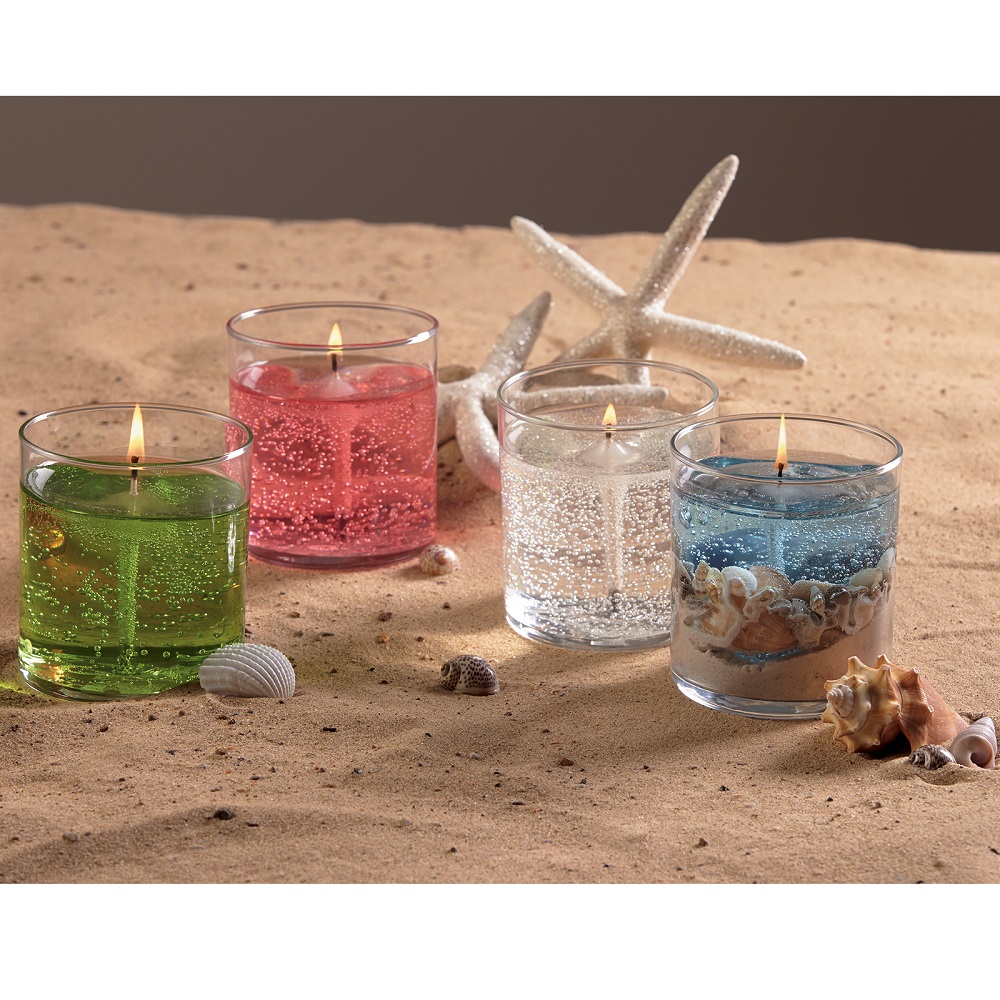
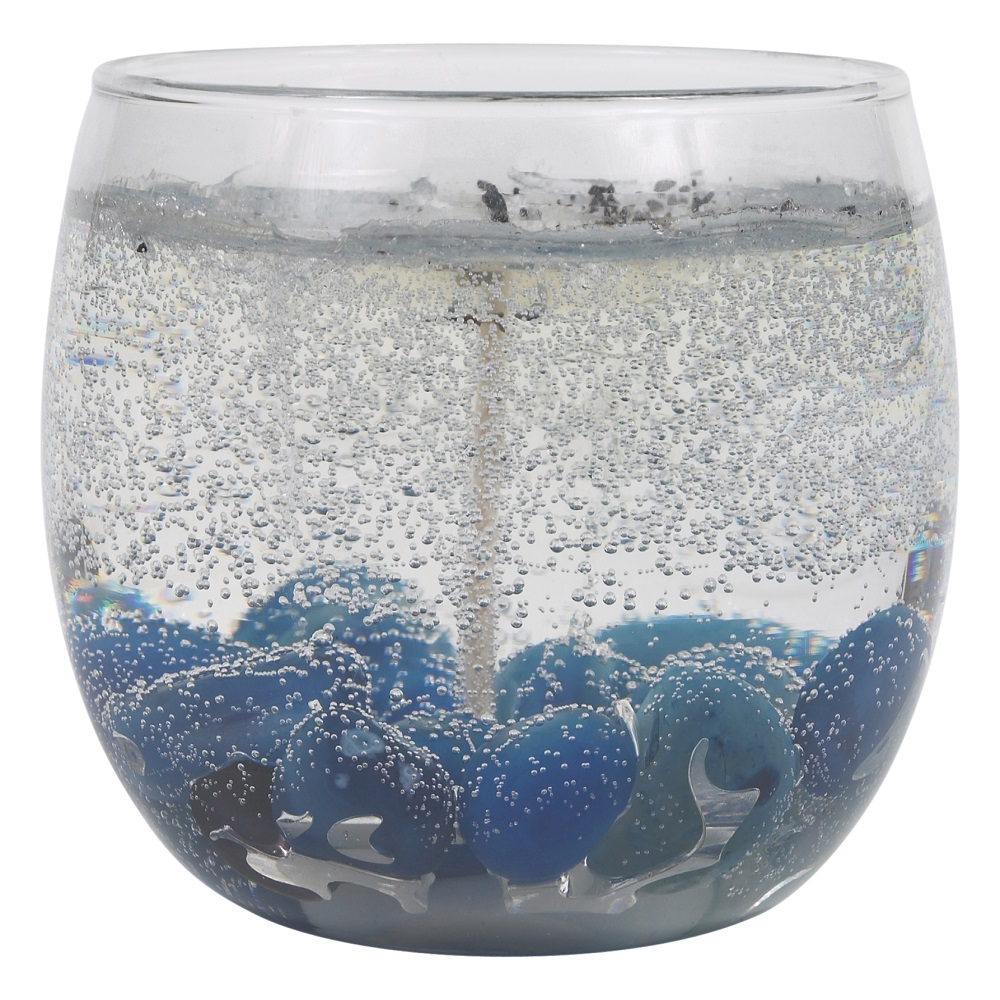
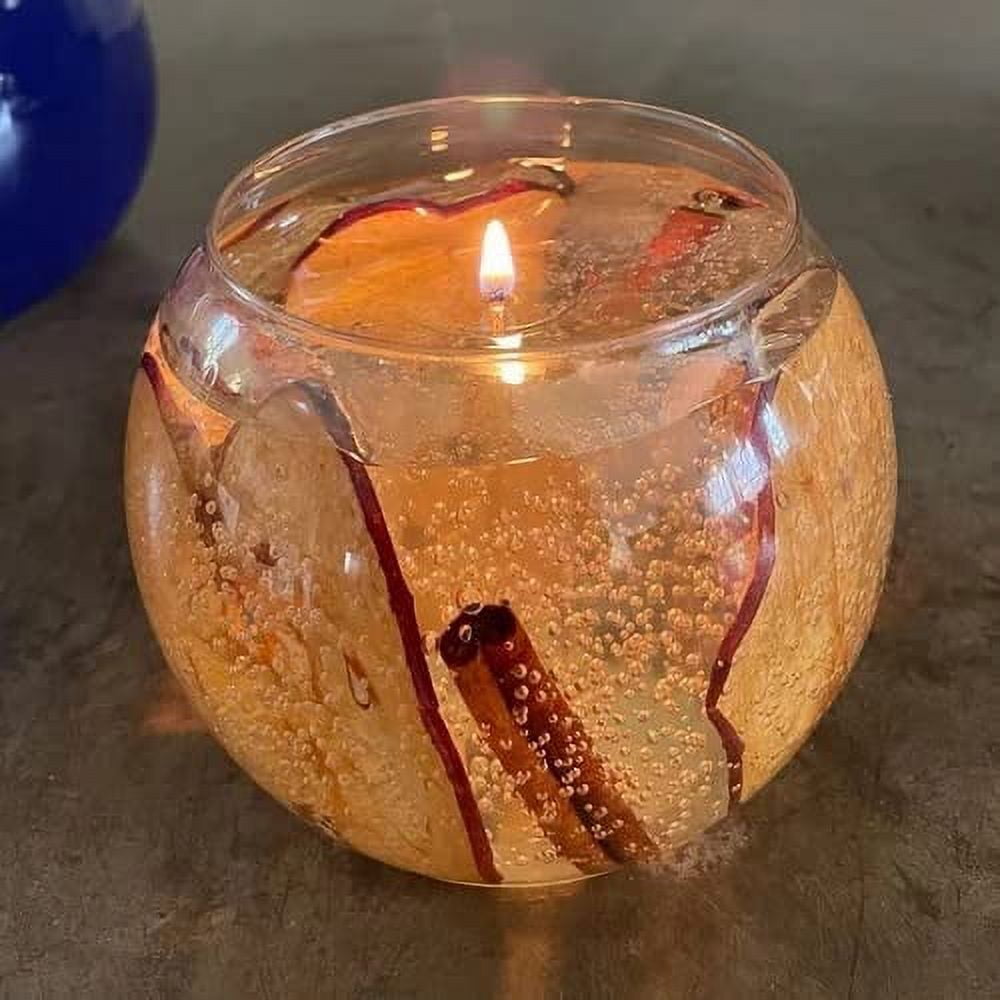
Gel candles are distinct from regular wax candles in that they are made from a combination of mineral oil and polymer resins, creating a transparent, jelly-like substance. This unique material allows the candle to burn longer than regular wax candles and creates an aesthetically pleasing appearance. Gel candles are typically made with special gel wax, which has a slightly thicker consistency than regular candle wax, enabling it to hold objects inside and retain its shape while burning. These candles can be transparent or colored and can hold a variety of items like seashells, beads, flowers, or even small figurines.
The key to their charm lies in the clarity of the gel. Since the gel wax is see-through, it creates a “candle-in-a-candle” effect, making it ideal for creating layered, intricate designs and showcasing items embedded inside. Gel candles are perfect for use as decorative pieces, providing both a functional light source and an aesthetic addition to your home or event.
Benefits of Gel Candles
Gel candles have several advantages over traditional wax candles. For starters, they are more durable and long-lasting. Gel candles can burn for up to 50% longer than typical paraffin wax candles, making them a cost-effective option for those who want candles that last longer. They also offer versatility in design, as the gel’s transparency allows you to create candles that are visually striking and unique. Additionally, the gel can be easily colored, scented, or adorned with decorative items, allowing for an incredibly wide range of customization options.
Essential Materials for Gel Candle Making
Basic Tools and Supplies
Before starting the candle-making process, it’s important to gather all the necessary materials. Here’s a list of essential items you will need:
- Gel Wax: The core material for creating gel candles. It can be purchased from craft stores or online. Make sure to choose gel wax that is specifically made for candle making to ensure the best results.
- Wicks: Choose wicks specifically designed for gel candles. These are often thicker than standard wicks because gel candles require more heat to burn properly.
- Colorants: Special gel candle colorants or dyes are available to tint your gel wax. Liquid dyes or mica powders can also be used to create a variety of colors.
- Fragrance Oils: Essential oils or candle fragrance oils add a pleasant scent to your candles. Opt for high-quality, skin-safe fragrances for the best results.
- Containers or Molds: The container you choose will depend on the design you want to create. Gel candles can be made in glass jars, clear acrylic containers, or even decorative molds.
- Thermometer: A thermometer will help you keep track of the temperature of the wax as it melts, which is crucial for ensuring proper pouring.
- Embedding Objects: To make your gel candles unique, consider adding decorative items like beads, shells, dried flowers, or small trinkets. These items will be suspended inside the gel wax, creating a beautiful visual effect.
Optional Materials
- Stirring sticks or spoons for mixing colors and fragrance into the gel wax.
- Glue dots or wick holders to secure the wick at the bottom of your container.
- Candle-safe glitter or sequins for additional sparkle and decoration.
Step-by-Step Guide to Making Gel Candles
Step 1: Preparing Your Workspace
Before you begin, ensure that your workspace is well-prepared and organized. Set up a clean, flat surface, and cover it with newspaper or disposable tablecloths to protect from spills. Keep your tools and materials nearby, and make sure your containers are clean and dry. If you plan on using embedding objects, have them ready to go so that you can place them into the gel wax once it’s poured.
Step 2: Melting the Gel Wax
Gel wax has a much higher melting point than regular wax, so you’ll need to be careful when melting it. Use a double boiler method, placing your gel wax in the top pan and gently heating it over simmering water. Stir the wax occasionally to ensure even melting and to avoid burning. It’s essential not to heat the wax too quickly, as this can cause bubbles to form or result in uneven melting.
Check the temperature of the wax with a thermometer as it melts. The ideal melting point for gel wax is between 185°F and 200°F (85°C to 93°C). Once the wax has fully melted, remove it from the heat source and let it cool slightly to a temperature between 170°F and 180°F (77°C to 82°C) before proceeding to the next step.
Step 3: Adding Color and Fragrance
At this stage, you can add color and fragrance to your gel wax. If you’re using colorants, add them gradually, stirring well after each addition until you reach your desired hue. Gel wax is transparent by nature, so you may need to experiment to find the right balance of color that suits your preferences.
For fragrance, add a few drops of fragrance oil (approximately 1 ounce of fragrance oil per pound of wax). Stir the mixture thoroughly to ensure that the scent is evenly distributed throughout the wax. Be sure to use fragrance oils specifically designed for candles, as other oils may cause the gel to burn improperly.
Step 4: Preparing the Wick
While the wax is cooling, prepare your wick. Most gel candle containers will need a wick holder or glue dots to keep the wick in place. If you’re using a glass jar or other container, place a wick sticker at the bottom of the container to hold the wick in position. Make sure the wick center and straight. If you’re using a wick with a metal base, make sure the metal is at the bottom of the container.
If you’re working with a mold, thread the wick through the hole at the base, and ensure the wick is taut and centered. A well-positioned wick ensures an even burn once the candle is lit.
Step 5: Pouring the Gel Wax
Once the wax has reached the appropriate temperature, it’s time to pour it into your container or mold. Pour the wax slowly and steadily, ensuring that it doesn’t overflow. Be sure to leave a small amount of space at the top of the container to allow for any wax shrinkage that may occur as the candle sets.
If you’re embedding decorative objects into the gel, you can add them while the wax is still liquid. Gently place the items into the wax, positioning them carefully to ensure that they stay in place as the wax cools. Avoid placing too many heavy objects in the gel, as this can cause them to sink to the bottom.
Step 6: Allowing the Gel to Set
Gel candles take longer to set compared to traditional wax candles. Allow the candle to cool and solidify for several hours or overnight, depending on the size of the candle. It’s important to keep the candle in a cool, dry area while it sets to prevent any bubbles or imperfections from forming.
If you notice any air bubbles in the gel after the wax has cooled, you can use a heat gun or hairdryer on a low setting to gently melt the surface of the candle and remove the bubbles. Be careful not to overheat the wax, as this can cause it to melt too much or ruin the shape.
Step 7: Trimming the Wick and Final Touches
Once the gel has fully set, trim the wick to about half an inch above the surface of the candle. If the wick is too long, it may cause a larger flame and potentially cause the gel to burn too quickly.
At this point, you can also add any final decorative touches. If you want to add glitter, sequins, or additional objects to the surface of the candle, you can carefully apply them to the top layer of gel using a tweezer.
Conclusion: Enjoy Your Custom Gel Candles
Making gel candles is a fun and rewarding activity that allows you to create beautiful, custom candles that can use for a variety of purposes. Whether you’re crafting them as gifts, decorations, or simply to enjoy the ambiance they create, the process of making gel candles offers plenty of room for creativity and personal expression. By following these steps and experimenting with different colors, fragrances, and decorative items, you can create one-of-a-kind gel candles that will impress everyone who sees them.
