As the weather warms up and outdoor activities become more frequent, the last thing you want to deal with is pesky mosquitoes and other insects. Citronella candles have long been a go-to solution for repelling bugs naturally, but instead of buying them from the store, why not make your own? DIY citronella candles are easy to make, cost-effective, and provide an all-natural way to enjoy your outdoor space without the constant buzz of mosquitoes. In this step-by-step guide, we will walk you through the entire process of making your own citronella candles, providing all the tips, techniques, and materials you need to get started.
Why Choose Citronella Candles for Bug Repellent?
The Power of Citronella in Repelling Insects
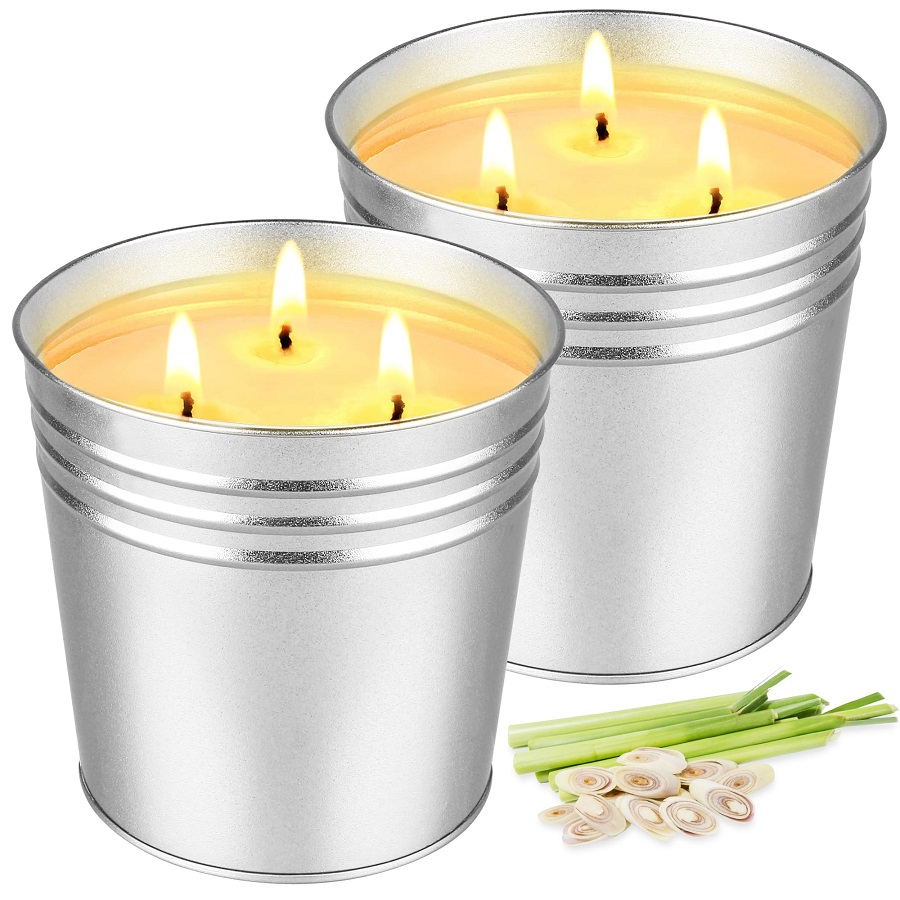
Citronella, derived from lemongrass, is well-known for its ability to naturally repel insects, particularly mosquitoes. It works by masking the scents that attract mosquitoes, such as carbon dioxide and body odors, effectively keeping these pests at bay. Using citronella in candles allows you to diffuse this powerful scent over a large area, creating a barrier against bugs while you enjoy your outdoor activities.
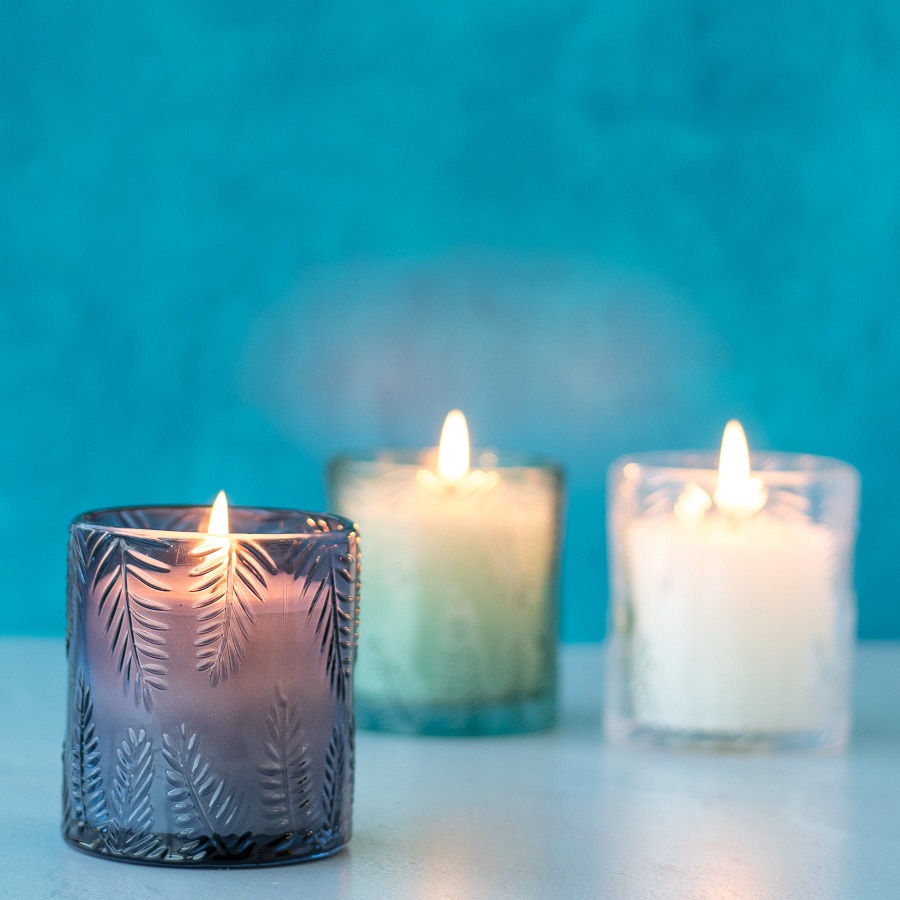
Unlike chemical-laden insect repellents, citronella candles provide a natural alternative for those who prefer to avoid harsh chemicals. In addition, citronella’s pleasant citrus fragrance is a great way to add a refreshing scent to your outdoor space without overpowering it. These candles also have a relaxing aesthetic, providing both function and beauty, especially when combined with decorative containers or jars.
Additional Benefits of DIY Citronella Candles
Another benefit of making your own citronella candles is the ability to customize them to fit your personal style and preferences. You can choose your favorite containers, add decorative elements like dried flowers or colorful wax, and even adjust the intensity of the citronella scent. Plus, DIY citronella candles are often more affordable than store-bought options, and you’ll have the satisfaction of creating something yourself.
In the following sections, we will go over everything you need to know to make your own citronella candles at home.

Materials Needed to Make Citronella Candles
Basic Ingredients for the Candles
Before you begin, gather the essential ingredients to make your own citronella candles. The primary materials you’ll need are:
- Soy Wax or Beeswax: Soy wax is a popular choice for making candles as it burns cleanly and is easy to work with. It’s also an eco-friendly option. Beeswax can also be used if you prefer a more natural alternative. Both options hold fragrance well and burn slowly.
- Citronella Essential Oil: The key ingredient for bug repelling, citronella essential oil is readily available at most craft or health stores. You can also add other essential oils such as lavender, eucalyptus, or peppermint for added scent and additional bug-repelling properties.
- Wicks: Choose candle wicks that are appropriate for the size of your container. Cotton or wood wicks are both good choices for citronella candles.
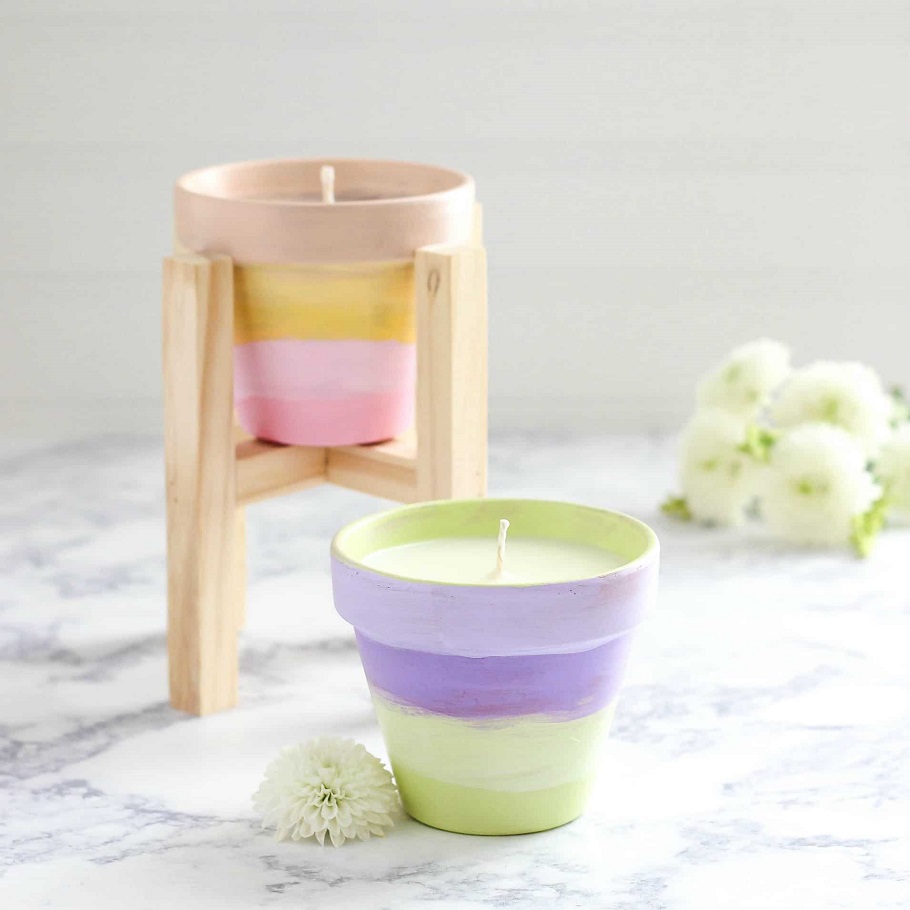
- Containers or Molds: You’ll need something to hold the wax while it sets. Mason jars, metal tins, glass containers, or even ceramic pots can all work well. If you want to get creative, you can also use decorative molds.
- Color Dye (Optional): If you want to add color to your candles, wax dye is available in various colors. Choose a color that complements your outdoor décor or your personal style.
- Thermometer: This will be used to monitor the temperature of the wax to ensure it is at the right level for adding fragrance and pouring into containers.
Optional Decorative Elements
If you’re looking to take your citronella candles to the next level, you can add decorative touches. For example, you can use dried flowers, herbs, or even small stones to create a visually appealing effect. Additionally, consider choosing colorful or textured containers that match your outdoor setup for an added touch of style.
Once you’ve gathered all your materials, you’re ready to begin the process of making your own citronella candles.
Step-by-Step Guide to Making Citronella Candles
Step 1: Prepare Your Containers
The first step in making citronella candles is to prepare your containers. Whether you are using mason jars, metal tins, or any other type of holder, make sure they are clean and dry before you begin. If you’re using glass containers, check for any cracks or chips that could affect the safety of the candle once it’s lit.
Next, attach the wick to the bottom of your container. To do this, you can use a small amount of hot glue or sticky wick tabs to secure it in place. Make sure the wick is centered and stands straight up, as this will ensure a uniform burn once the candle is lit.
Step 2: Melt the Wax
Once your containers are ready, it’s time to melt the wax. Place the soy wax or beeswax in a double boiler to melt it slowly. The double boiler method ensures that the wax does not get too hot too quickly, which can result in uneven melting or even a fire hazard.
Heat the wax until it reaches around 170°F (77°C). Use your thermometer to monitor the temperature carefully, as overheating the wax can cause it to burn or discolor. Stir the wax occasionally with a wooden stick to ensure even melting.
Step 3: Add Citronella Essential Oil
When the wax is fully melted, it’s time to add the citronella essential oil. A general rule of thumb is to use about 1 ounce of essential oil per pound of wax, but you can adjust this based on how strong you want the scent to be.
Pour the citronella oil into the melted wax and stir gently to distribute the fragrance evenly. At this point, you can also add any additional essential oils if you want to create a unique scent profile. For example, lavender and citronella together can create a calming yet bug-repelling aroma, while eucalyptus and peppermint can provide a fresh, invigorating blend.
Step 4: Pour the Wax into Containers
After the fragrance is thoroughly mixed in, let the wax cool slightly to about 140°F (60°C) before pouring it into your prepared containers. Pour the wax slowly and steadily to avoid air bubbles and to ensure a smooth finish. Be careful not to disturb the wick while pouring, as this could cause it to shift out of place.
Leave a small amount of wax in the boiler to top off the candles later if necessary. Once you’ve filled the containers, let the wax cool and harden. This may take several hours depending on the size of your containers.
Step 5: Secure the Wick and Let the Wax Set
While the wax is cooling, make sure the wick stays centered. You can use a wick holder or simply place a chopstick or pencil across the top of the container to hold the wick in place. Once the wax has hardened completely, check the wick to ensure it is straight and centered. If necessary, trim the wick to about ¼ inch above the surface of the candle.
If you notice any cracks or imperfections in the surface of the candle, you can heat up the remaining wax and top off the candle to smooth out the surface.

Tips for Using Citronella Candles Effectively
Placement of Candles
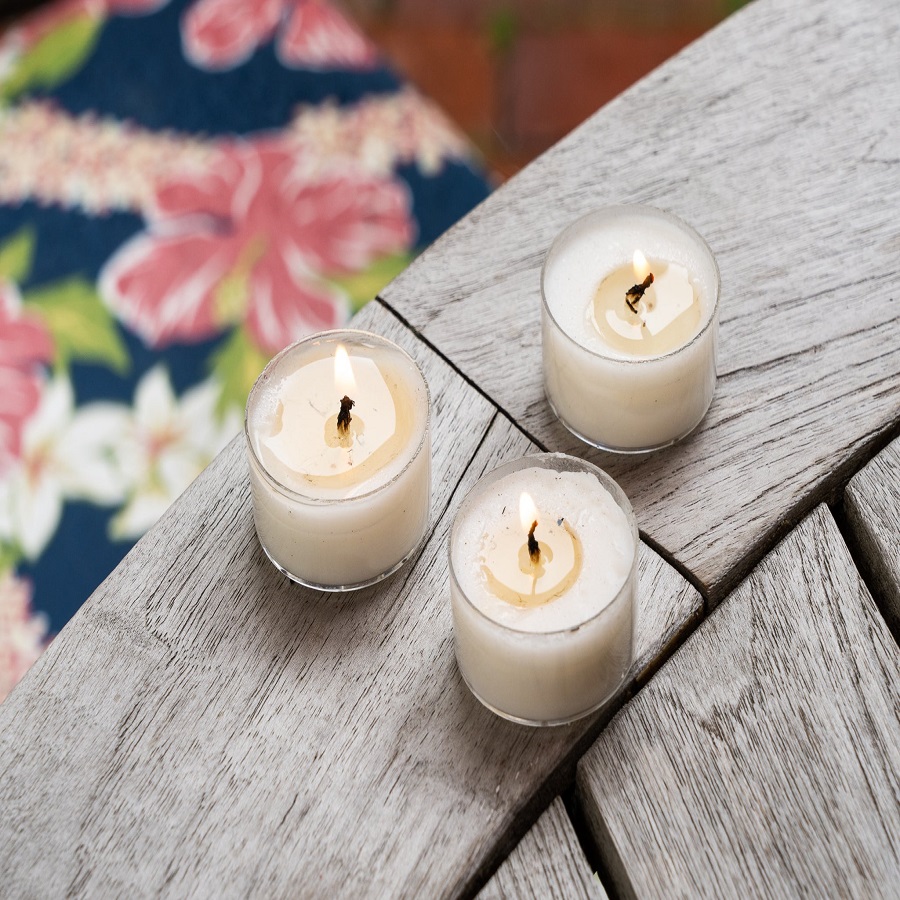
To maximize the effectiveness of your DIY citronella candles, it’s important to place them in strategic locations. Set up the candles around the perimeter of your outdoor space or in areas where you tend to gather, such as near seating areas or dining tables. The more candles you have spread around, the better the mosquito-repelling effect will be.
However, avoid placing the candles too close to each other, as this could result in the heat melting the wax too quickly, shortening the burn time. Spread them out to create a larger area of protection.
Burn Time and Safety
While citronella candles are effective at repelling mosquitoes, they are also candles, which means they come with safety risks. Always burn them in a safe, well-ventilated area, away from flammable objects. Never leave a burning candle unattended, and ensure it is completely extinguished before you leave the area.
Be sure to monitor the burn time, as most DIY citronella candles will last for around 20-30 hours, depending on the size of the container and the amount of wax used. To extend the life of your candles, trim the wick regularly to prevent it from burning too quickly.
Storing Your Citronella Candles
When not in use, store your DIY citronella candles in a cool, dry place. If you live in a particularly hot climate, it may be a good idea to keep the candles in an air-conditioned space to prevent the wax from melting. Citronella candles can last for several months when stored properly, ensuring that you’ll be prepared for the next outdoor event.

Conclusion: Enjoy a Bug-Free Outdoors with DIY Citronella Candles
DIY citronella candles are an excellent and natural way to keep bugs at bay while enjoying your outdoor spaces. By following this simple step-by-step guide, you can create personalized candles that are not only effective but also fun to make. Whether you’re hosting a summer barbecue, relaxing on your patio, or simply enjoying an evening in the garden, these citronella candles will help keep mosquitoes and other insects away.
The best part is that making your own citronella candles is an affordable, eco-friendly project that you can customize to suit your style. So gather your materials, unleash your creativity, and start making your own DIY citronella candles today!


