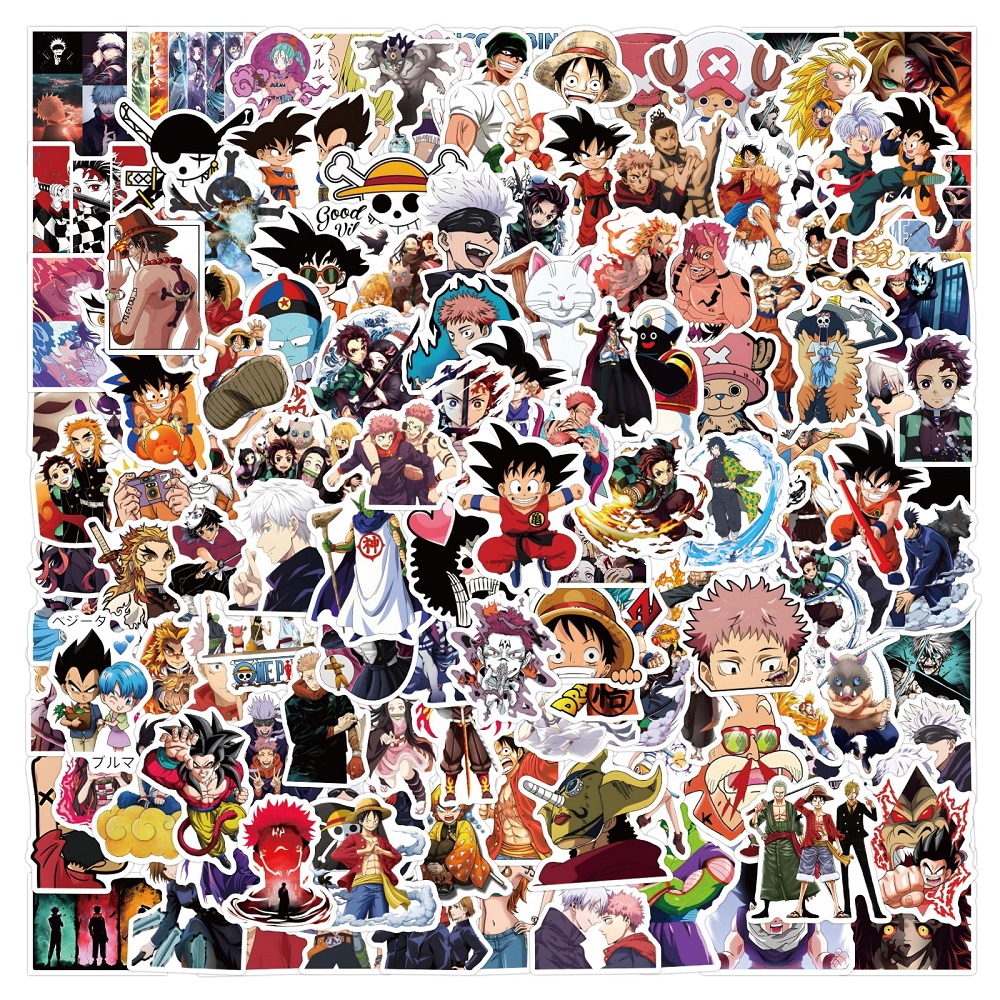
Creating personalized anime stickers at home is a fantastic DIY project that combines creativity, artistry, and a love for your favorite anime characters. With the right materials and a little bit of imagination, you can add a personal touch to your belongings, such as laptops, notebooks, and phone cases, or even gift them to friends. In this article, we’ll explore the essentials for making your own anime stickers, from the conceptualization stage to the final touches, along with tips and tricks to make your stickers standout.
Why Create Your Own Anime Stickers?
The Joy of Personalization
Creating your own anime stickers allows you to showcase your unique style and interests. Unlike buying pre-made stickers, crafting your own means you can depict your favorite characters, scenes, or original designs that aren’t readily available on the market. This personalization not only makes your stickers one-of-a-kind but also gives you joy every time you see them.
Cost-Effective Creativity
Let’s face it: buying custom-made stickers can become quite expensive, especially if you’re a sticker enthusiast. By creating your own, you save money and get to customize them to your preferences. Whether you use your own designs or images found online, the cost of materials is generally much lower than buying ready-made merchandise.
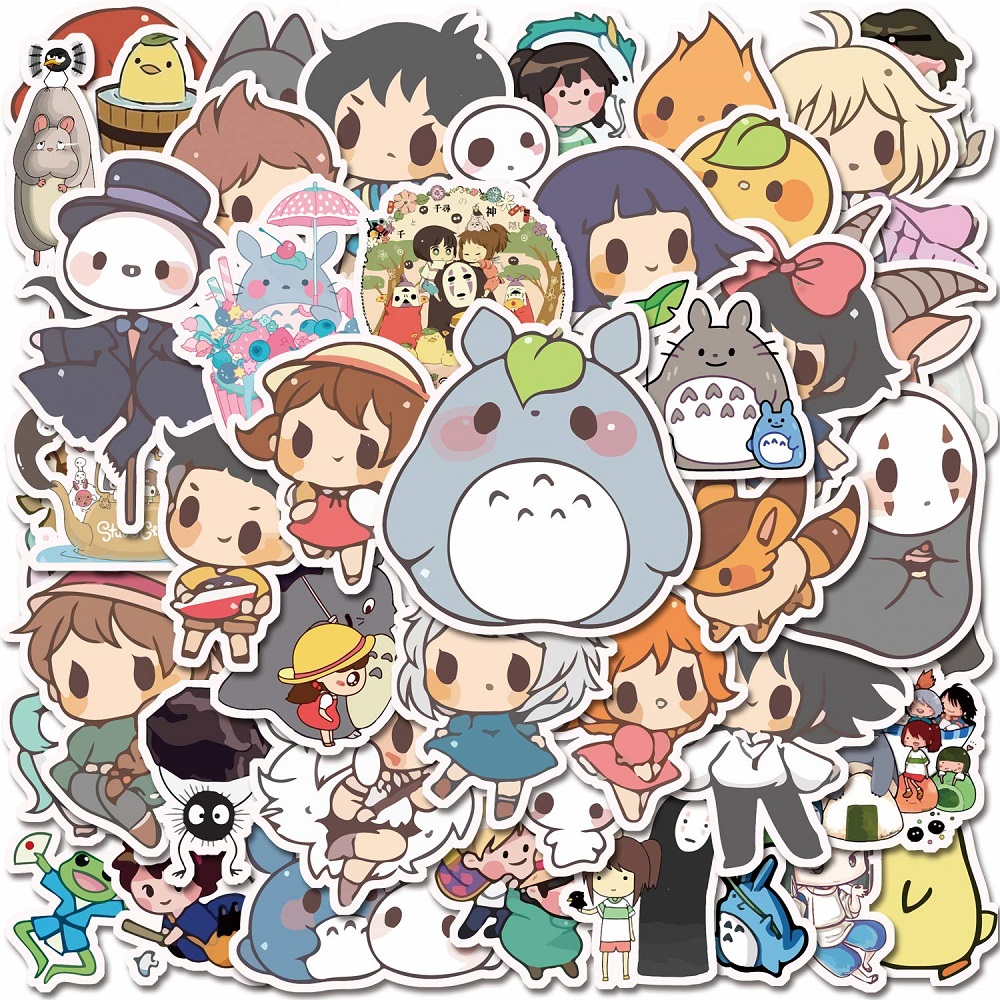
Gathering Materials: What You’ll Need
Essential Supplies for Sticker Making
Before you dive into the creative world of sticker-making, it’s crucial to gather all necessary materials. The first thing you’ll need is sticker paper, which can be purchased at craft stores or online. There are two types: glossy and matte paper, so choose one that best fits your design preferences.
In addition to sticker paper, you’ll need high-quality coloring tools like markers, colored pencils, or even digital illustration software if you’re going the digital route. Scissors, a cutting mat, and possibly a paper cutter will help you achieve clean edges. You might also need a printer, which is particularly essential for those who want to print digital designs.
Optional Tools for Advanced Techniques
If you’re serious about sticker making, consider investing in a cutting machine, like a Cricut or Silhouette. These machines can cut intricate designs with high precision, allowing for shapes that would be cumbersome to achieve by hand. Additionally, lamination sheets or spray seals can offer extra durability and a professional finish to your stickers, protecting them from wear and tear.
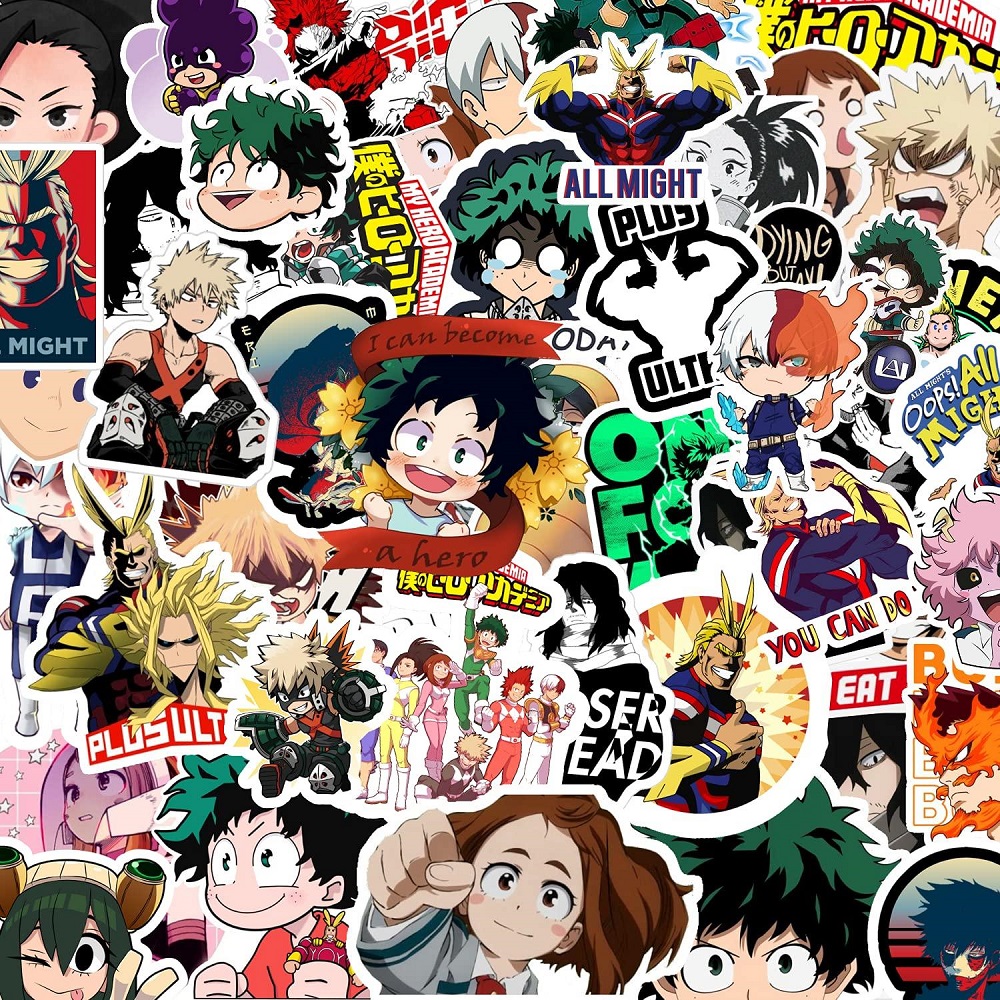
Designing Your Stickers: The Creative Process
Brainstorming Ideas
The first step in the design process is brainstorming. Take time to think about your favorite anime characters, quotes, or themes that resonate with you. Mood boards can be beneficial for visualizing your ideas. Use platforms like Pinterest to gather inspiration and keep your creative juices flowing.
Also, consider whether you want to create original artwork or utilize existing anime art. If you opt for the latter, ensure that you have permission to use the images, especially if you plan on selling your stickers. Otherwise, let your imagination run wild and start sketching your designs on paper or digitally.
Choosing Software and Tools
When it comes to designing digitally, various software options are available, catering to different skill levels. For beginner designers, programs like Canva or Procreate offer user-friendly interfaces for creating impressive graphics. If you’re comfortable with professional tools, Adobe Illustrator or Photoshop provide extensive design capabilities, perfect for intricate and complex designs.
After creating your artwork, save it in a high-resolution format to maintain quality during the printing process. This ensures that your designs will look crisp and vibrant when transferred onto sticker paper.
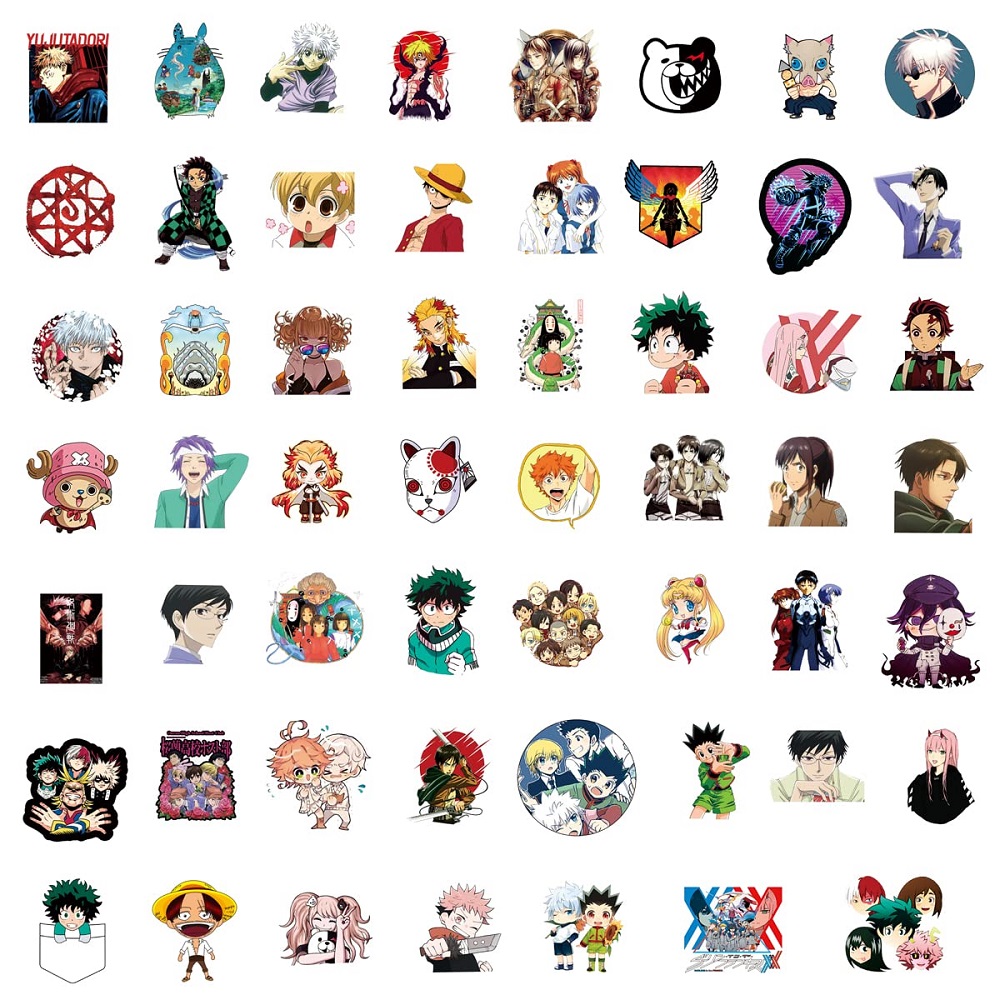
Printing Your Stickers: Tips for Quality Results
Preparing Your Design for Print
Before printing, you’ll want to set your design to the correct dimensions based on the size of the stickers you wish to create. Standard stickers typically fall between 2 to 4 inches, but feel free to customize based on your preferences. Ensure that the formatting is correct, including bleed areas to prevent any unwanted white borders after cutting.
Next, adjust the color settings. It’s essential to use CMYK color profile settings for printing, as RGB works differently on screens compared to physical prints. A test print on regular paper can help you analyze the design and make adjustments if necessary before committing to your sticker paper.
Setting Up Your Printer
For optimal results, ensure that your printer is capable of printing on sticker paper. Most home inkjet printers can do this, but check the specifications. Adjust printer settings for the best quality, typically selecting the ‘best’ or ‘photo’ option when printing.
Load the sticker paper properly, ensuring it’s compatible with your printer type—some stickers require specific orientations or print settings. Once setup is complete, print a test run and inspect for color accuracy and design clarity.
Cutting Your Stickers: Techniques and Tools
Hand Cutting vs. Machine Cutting
Once your stickers are printed, the next step is cutting them out. You can either use scissors or a craft knife for hand cutting or opt for a cutting machine for efficiency and precision. Hand-cutting allows for more control, especially with simpler shapes, while machines can handle intricate designs with ease.
If you choose to hand-cut, steadily work your way around the edge of your design to maintain consistency. For those using a machine, set the knife depth and force according to the type of sticker paper used. Perform a test cut to ensure the settings are correct before cutting all your stickers.
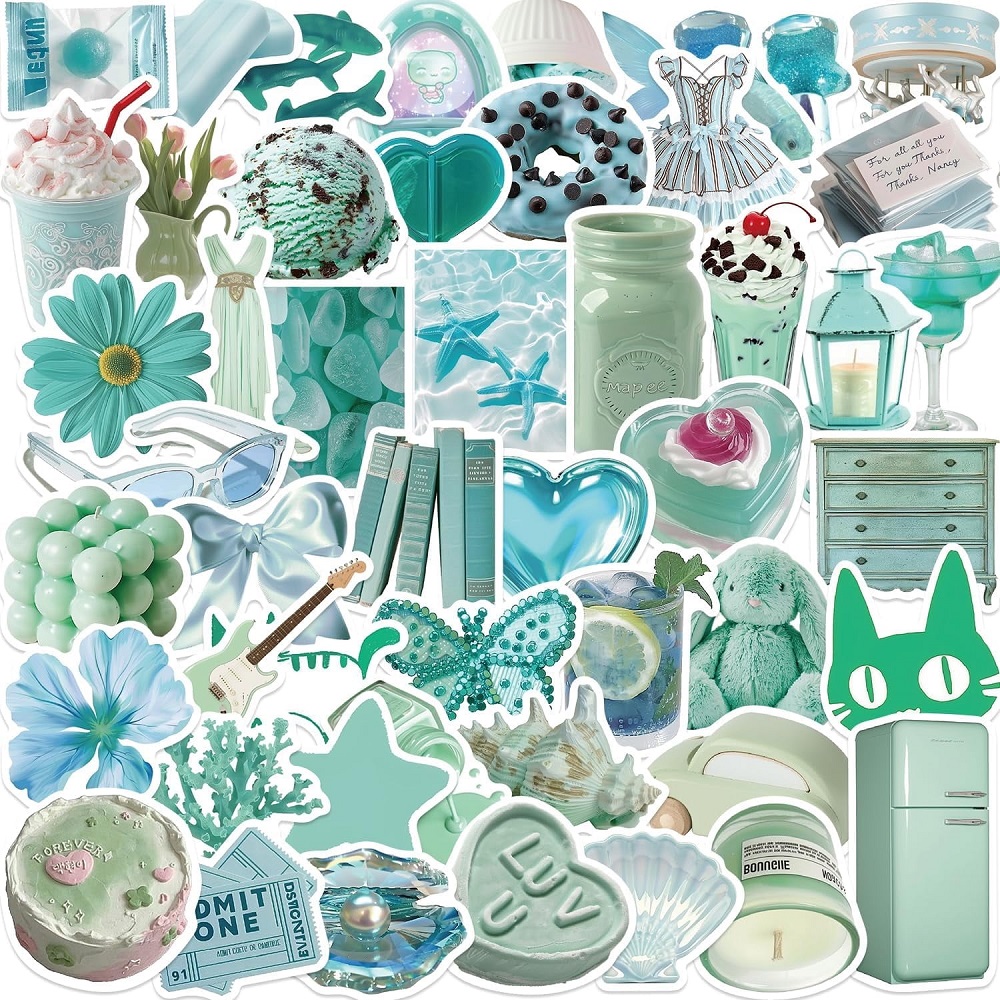
Tips for Clean Edges
To achieve the best results, it’s essential to prioritize clean cutting edges. If you’re hand cutting, steady hands and patience are necessary. It may help to use a ruler to craft straight lines. For intricate designs, take your time and make incremental cuts rather than attempting to complete large sections all at once.
If you’re using a machine, make sure the blade is sharp and the cutting mat is clean. Dust or debris can affect cutting accuracy, leading to jagged or torn edges. Upon completion, gently peel the stickers off the backing paper to avoid any ripping.
Applying Final Touches: Protect and Store Your Stickers
Lamination Techniques
To enhance the durability and longevity of your stickers, consider applying a laminate layer. This can be done by using self-adhesive laminate sheets, which come in both glossy and matte finishes. Carefully lay your stickers under the laminate, smoothing out bubbles as you secure the top layer.
Alternatively, a clear spray sealant can also be used. Lay your stickers on a flat surface and evenly spray a light coat of the sealant. Allow them to dry completely before handling. Proper sealing adds a waterproof layer, making your stickers resistant to wear, scratches, and fading.
Storage Solutions
Once your stickers are complete, consider how best to store them. Keeping stickers flat is essential to prevent curling or damage. Use a portfolio binder with plastic sleeves for organization or keep them in a dedicated box that provides protection from dust and humidity. Labeling your storage can also help you easily identify your sticker collections.
Showcasing Your Stickers: Creative Ways to Use Them
Decorating Everyday Items
Once you’ve created your custom anime stickers, the possibilities for showcasing them are endless. Use them to personalize items like laptops, water bottles, phone cases, or sketchbooks. Adding stickers to everyday items not only exhibits your personality but can also make great conversation starters.
Gifting or Trading Stickers
Another fun way to use your stickers is by gifting them to friends or fellow anime enthusiasts. Consider creating sticker packs that bundle multiple designs for a thoughtful gift. You can also engage with sticker trading communities online, which are particularly popular on platforms like Reddit or Instagram. Trading stickers allows you to explore different designs and connect with other fans who share similar interests.

Conclusion: Embracing Your Creativity
Creating custom anime stickers at home opens up a world of creativity and self-expression. Engaging in this DIY project not only allows you to personalize your belongings but also enhances your artistic skills. From gathering materials to designing and applying final touches, each step contributes to a rewarding experience that you can share with friends and family.
So whether you’re a seasoned artist or just starting your creative journey, making your own stickers can be an enjoyable pastime. Put on your favorite anime soundtrack, gather your materials, and let your imagination lead the way. With each sticker you make, you’re not just producing art, but composing bits of your personality for others to see and admire. Happy crafting!
