Creating a warm and inviting atmosphere in your home can often come down to the simple touches you add. One of those special touches is candlelight. While there are many commercial options available, making your own soy candles allows for a personal touch, unique scents, and a sense of accomplishment. In this article, we will walk through the process of creating your own soy candles, discussing the benefits of using soy wax, the materials necessary, techniques for achieving your desired scents and aesthetics, and how to use them to enhance your cozy ambiance.
Why Choose Soy Wax for Your Candles?
Benefits of Soy Wax
When it comes to homemade candles, soy wax has become a popular choice for many DIY enthusiasts. Derived from soybeans, soy wax is a renewable and biodegradable alternative to paraffin wax, which is a byproduct of petroleum. This natural source not only makes soy candles an environmentally friendly option but also contributes to a cleaner burn with less soot released into the air. This is especially important for those who may have respiratory sensitivities or allergies, as using soy wax can help maintain better indoor air quality.
Moreover, soy wax has a lower melting point compared to paraffin, which means it melts more slowly. This feature allows for a longer-lasting candle, giving you more hours of enjoyment from your creations. Soy wax is also known for its ability to hold fragrance oils well, ensuring that your candles emit delightful scents while burning. For these reasons, many crafters find soy wax to be an ideal choice when embarking on their candle-making adventures, especially when the goal is to create a cozy ambiance at home.
Sustainability and Ethical Considerations
In addition to its practicality, soy wax is commendable for its sustainability. The soy beans are often grown in the U.S. and are usually produced by American farmers, making it a more locally sourced product compared to paraffin wax, which relies on non-renewable fossil fuels. When choosing soy wax, you are not only making a safer choice for yourself but also contributing to a more ecologically balanced world. Many brands offer products that are 100% soy or blend soy with other plant-based waxes, ensuring a more environmentally responsible option without sacrificing quality.
Furthermore, as awareness of sustainability grows, many consumers are becoming more conscious of the products they purchase. By opting to make your own soy candles, you can take full control of your consumption by choosing high-quality, ethically sourced ingredients and avoiding harmful chemicals often found in mass-produced candles. Crafting your own candles is not only a fulfilling hobby but also a way to align your practices with your values. Thus, soy wax rises as a preferred medium for many DIY candle makers aiming for an ethical, sustainable approach.
Materials Needed for DIY Soy Candles
Essential Supplies
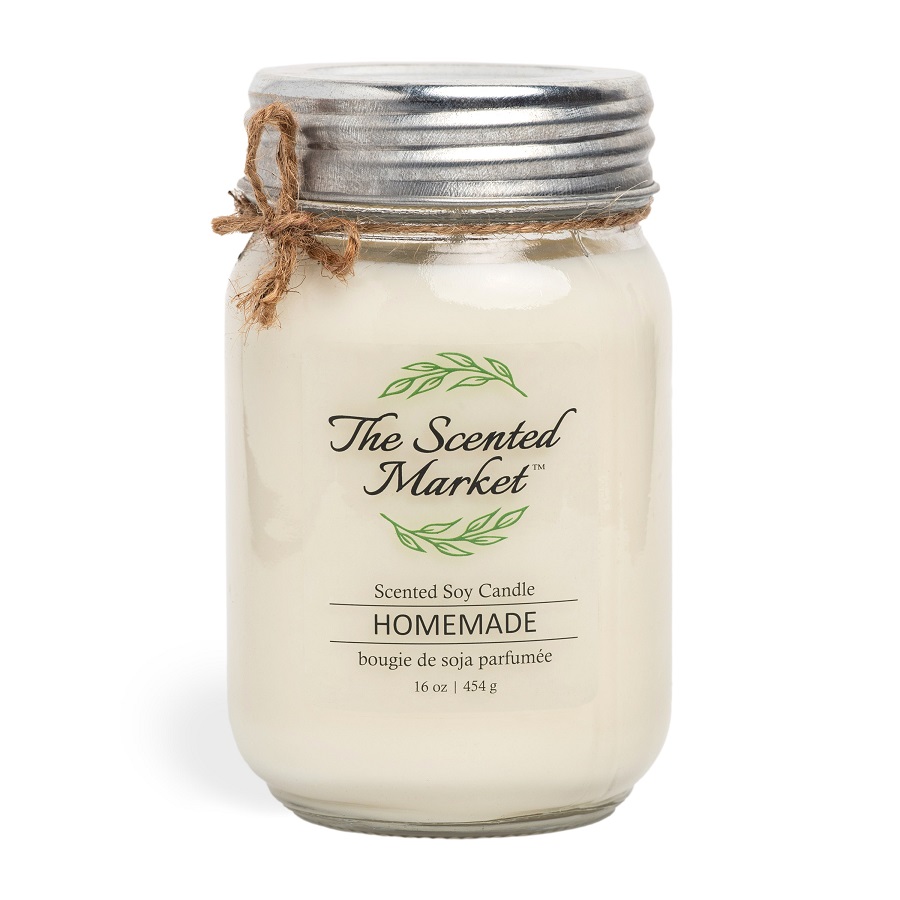
Creating your own soy candles is a fun and rewarding project that doesn’t require many materials. To get started, gather the following essential supplies: 100% soy wax, fragrance oils (optional), candle wicks, a double boiler or a microwave-safe container for melting the wax, a thermometer, and containers or molds for your candles. You can choose simple mason jars, ceramic dishes, or even specialized candle containers to suit your aesthetic.
You’ll need a wick that is the right size for your container; a wick that’s too thin may burn unevenly, while one that’s too thick can burn too hot, causing the candle to tunnel. Wicks come in various materials like cotton or wood, and each produces slightly different effects and burn characteristics. Once you’ve gathered your materials, you’re ready to dive into the exciting process of crafting your soy candles.
Additional Optional Supplies
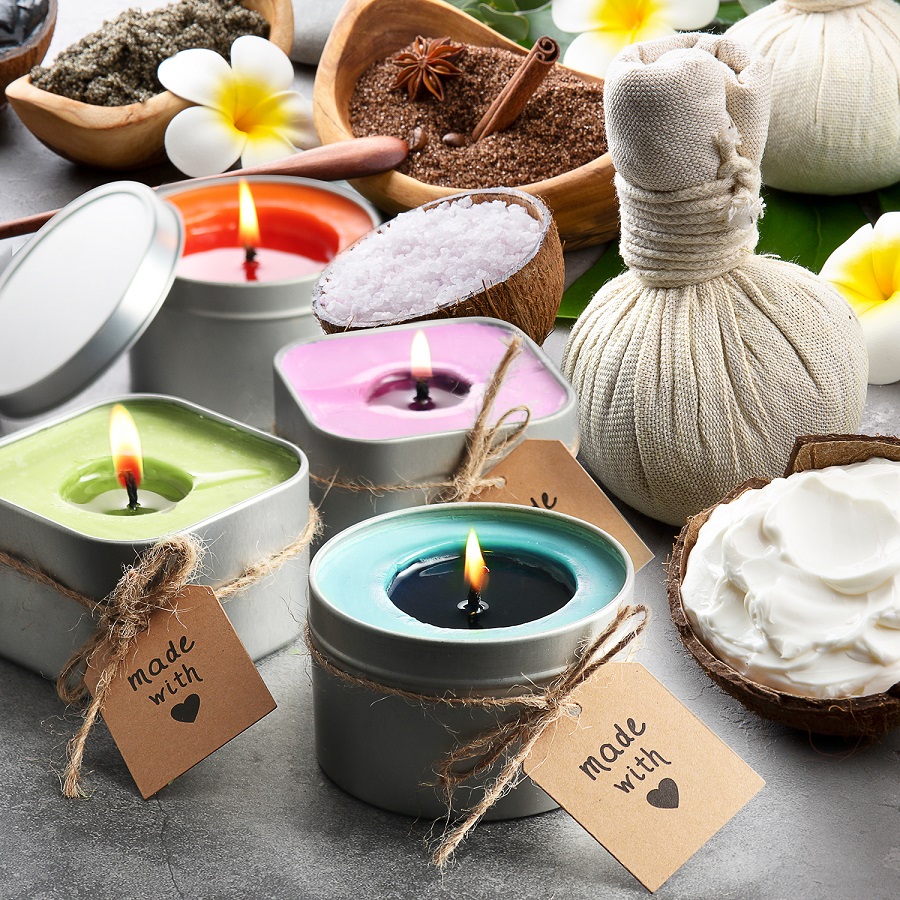
While the basic materials will get you started, consider adding some optional items to enhance your candle-making experience. For instance, dyes can be used to create colored candles, allowing you to match the aesthetic of any room in your home. If you’re crafting for a particular occasion, like holidays or celebrations, some festive hues can elevate the overall atmosphere.
Decorative accents such as dried flowers, herbs, or spices can also be added to rustic candle designs for artistic flair. You can even experiment with layering different scents for a more dynamic olfactory experience. Finally, having a scale for precise measurement is handy, especially if you want to experiment with different scents or make larger batches of candles. By investing in these optional supplies, you’ll enhance the creativity and personalization of your DIY soy candles.
Steps to Make Your Own Soy Candles
Melting the Soy Wax
The process of making soy candles can be divided into manageable steps, beginning with melting the soy wax. Start by measuring out the amount of soy wax you’ll need based on your container’s volume. A general rule of thumb is to fill your container with wax flakes, then multiply that volume by 0.9 to account for the wax’s density when melted. Once measured, transfer the wax into your double boiler or microwave-safe container.
If you’re using a double boiler, fill the bottom pot with water and bring it to a simmer. Place your wax in the top pot, stirring occasionally as it melts. If you’re using a microwave, heat the wax in short intervals of around 30 seconds, stirring in between, until fully melted. Regardless of your melting method, be cautious not to overheat the wax, as it can cause discoloration and burning. The ideal melting temperature ranges between 170°F and 185°F (77°C – 85°C).
Adding Fragrance and Dyes
Once your wax is fully melted, it’s time to add fragrance oils and any colorants you may want to use. If you’re using fragrance oils, refer to the specific guidelines provided by the brand, but a general recommendation is to add around 1 ounce of fragrance per pound of wax. This proportion can be adjusted based on your scent strength preference. When incorporating colorants, add them before pouring the wax into your containers so that they blend seamlessly.
Stir your wax thoroughly for about two minutes to ensure that both the fragrance and dye are evenly distributed. Make sure to check the temperature of the melted wax; ideally, the wax should cool slightly to around 160°F (71°C) before pouring. This allows you to pour the wax into your containers without scorching the wick or compromising the final product. After stirring well, you’re ready to pour the wax and create something beautiful.
Pouring and Setting Your Candles
Pouring the Wax
With your wax at the right temperature, it’s time to pour it into your prepared containers. Carefully position the wick in the center of each container, using a wick holder or some adhesive to anchor it at the base. Slowly pour the melted wax into the container, filling it to the desired height. Avoid creating bubbles by pouring gently down the side of the container, and keep a steady hand for an even fill.
Leave a small space at the top of your container to ensure the candle has a buffer for expansion when burned. Allow the wax to settle for a moment, and if you notice any air bubbles rising, use a wooden skewer to gently pop them. This step will give your candles a clean finish, free of imperfections. Once poured, your candles will need time to cool and harden.
Allowing to Cool
Cooling time is crucial for the quality of your finished product. Allow your candles to solidify at room temperature undisturbed for several hours. You will notice the wax transition from a liquid to a solid state. If you are impatient and try to speed up the cooling process by placing them in the refrigerator, you might risk creating a frosting effect or cracking on the surface of your candle.
Once fully cooled and hard, you can trim the wick to about ¼ inch above the wax surface for the perfect burn. If you prefer, you can decorate your containers further, perhaps by adding labels or embellishments that reflect your personal style. Your candles are now ready to adorn your space, providing both fragrance and warmth while enhancing the cozy ambiance of your home.
Using Your DIY Soy Candles to Create a Cozy Ambiance
Placement and Arrangement
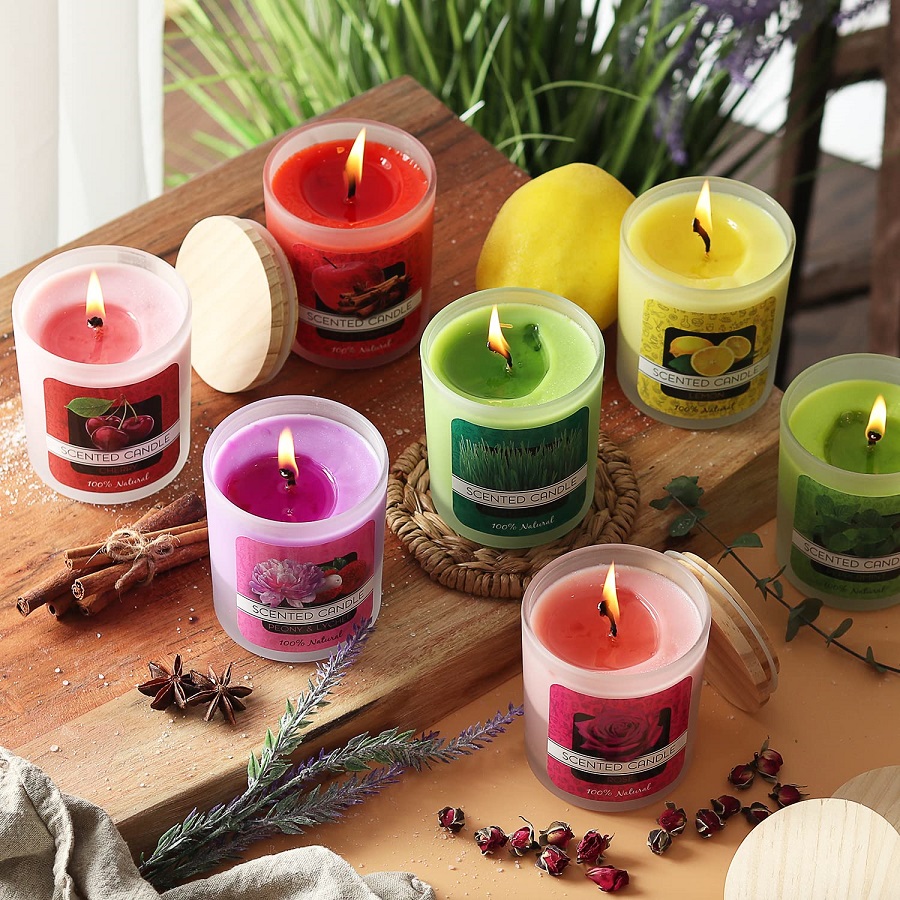
Now that you have successfully made your soy candles, it’s time to incorporate them into your living space to maximize their cozy potential. The placement and arrangement of your candles can significantly influence the atmosphere of your environment. Consider creating groupings of candles on a tray or in a centerpiece setting for a striking effect. Mixing sizes and heights will add depth to your decor.
For added coziness, place candles in areas where you would enjoy a warm glow, such as around your living room, dining area, or even your bedroom. Low tables, window sills, and mantels are fantastic spots for displaying candles. Ensure they are out of reach of pets and children, as safety should always be a priority. Additionally, using multiple candles with varying scents creates a layered olfactory experience, enhancing the overall ambiance.
Creating Seasonal Themes
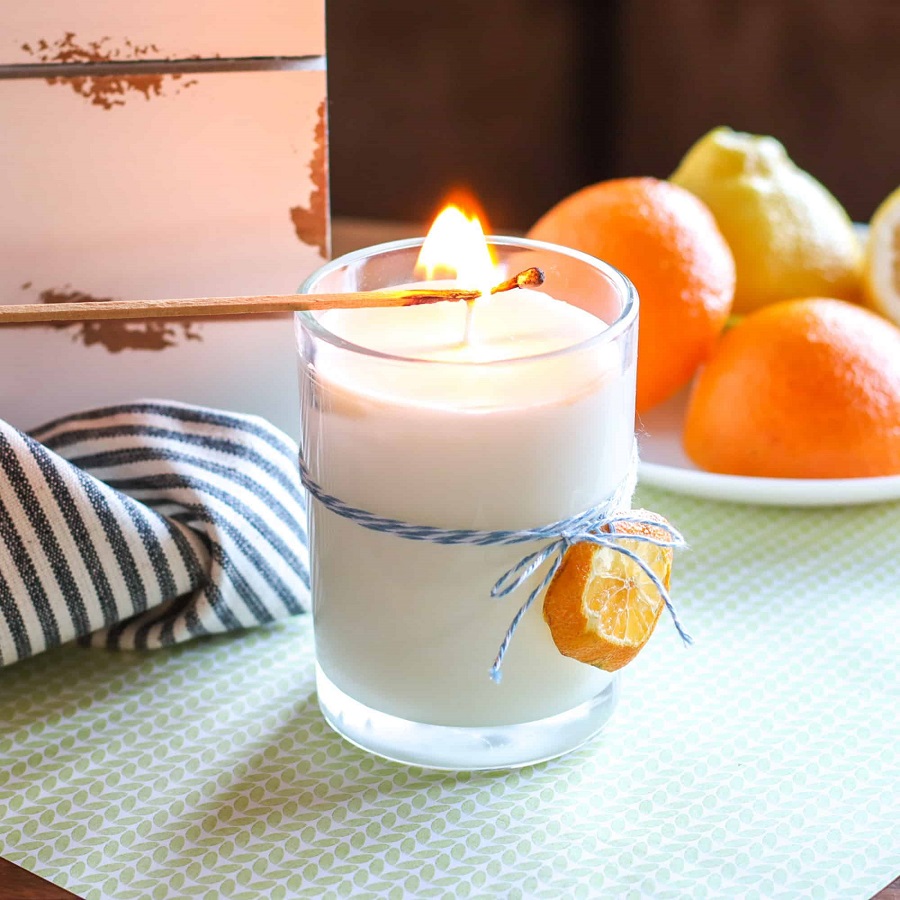
One of the benefits of making your own soy candles is the ability to customize their scents to suit particular seasons or moods. You can create seasonal themes by using fragrance oils that capture the essence of each time of year. For spring, consider floral scents like lavender or lilac; in summer, fruity notes like citrus or berry; for autumn, warm spices like cinnamon or pumpkin; and during winter, cozy scents such as pine or holiday spices can set a festive mood.
Decorating your candles to reflect the seasons adds another layer of charm. For example, wrap colorful twine around the jars in summer or add pinecones or dried leaves in autumn. These seasonal tweaks will enhance your home’s aesthetic and provide a sensory experience that resonates with the current time of year. As you experiment with various scents, you’ll find that DIY soy candles can significantly enhance the coziness of your living spaces, aligning perfectly with your lifestyle and preferences.
Conclusion: Embrace Your Candle-Making Journey
Finding Joy in Creativity
Making your own soy candles is not just a crafting project; it’s a joyful and therapeutic experience that opens up a world of creativity. The act of melting and mixing scents can be remarkably grounding, providing an escape from the hustle and bustle of everyday life. As you navigate the process, you’ll find satisfaction in creating something personal and meaningful to enhance your surroundings. Each candle tells a story—whether it’s a memory of a favorite scent, a special occasion, or a cherished gathering.
The Warmth of Homemade Memories
For those seeking coziness in their environment, nothing compares to the ambiance created by soft candlelight and delightful fragrances wafting through the air. As you light your DIY soy candles, you’ll not only illuminate your space physically but also emotionally—creating a nurturing atmosphere that invites comfort and connection. To further personalize your experience, consider gifting handmade candles to friends or loved ones, spreading the warmth and joy of your creations.
Whether you are new to candle-making or a seasoned expert, remember to enjoy the process and embrace the creativity it brings. With just a few materials and ample imagination, you can illuminate your space and fill it with a cozy ambiance, perfect for any occasion or simply for brightening your day-to-day life.
