Introduction to DIY Floating Candles
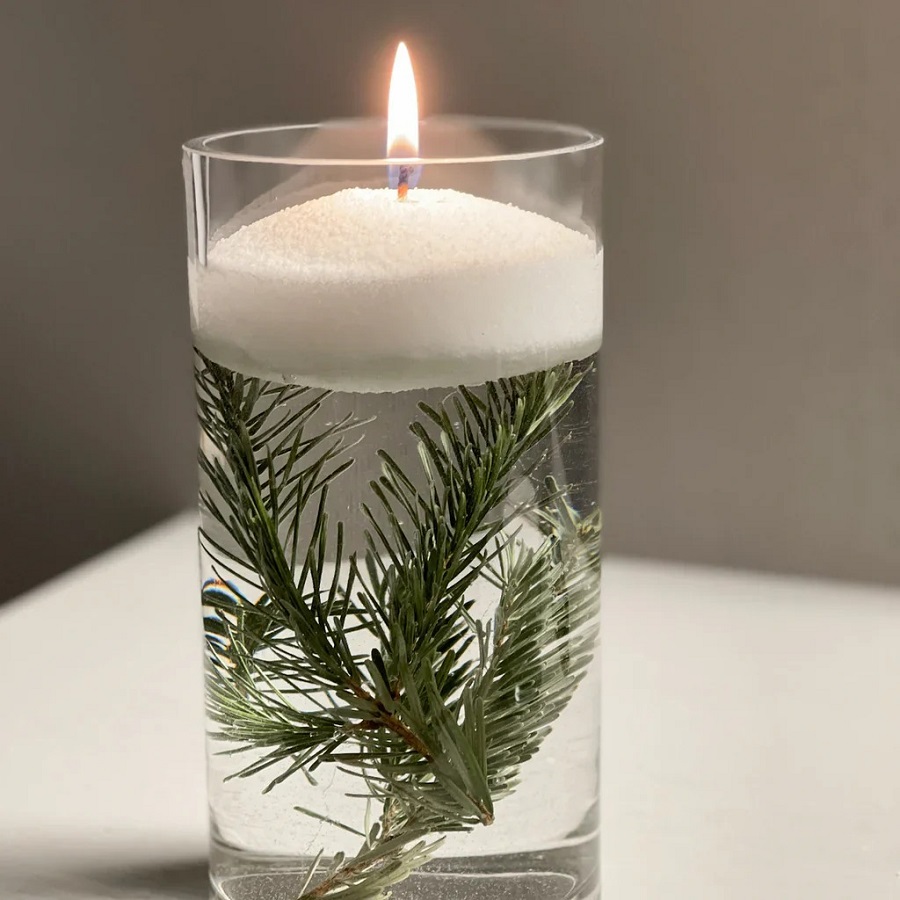
Floating candles create a magical atmosphere in any setting. Ideal for special occasions, they add a romantic and mystical touch to your decor. Intrigued about making your own floating candles? This guide will lead you through the process. From selecting the right materials to detailed steps, you’ll learn everything necessary to craft these enchanting light sources. Read on to embark on a creative journey that illuminates your surroundings with charm and elegance. Whether it’s a festive celebration or a tranquil evening, floating candles enhance the ambiance with their subtle glow and aesthetic appeal.
Essential Materials for Floating Candles
To embark on your DIY floating candles project, you’ll need some specific materials. Here’s what you should gather to ensure success:
- Semi Refined Paraffin Wax: This wax type is perfect due to its ability to hold scent and color well.
- Candle Coloring Dye: Choose your preferred colors to customize your candles’ appearance. High-grade powders work best for vibrant results.
- Essential Oils: Adding these can enhance the aroma of your candles, creating a more relaxing atmosphere.
- Pre-Waxed Candle Wicks: These are easier to handle and aid in cleaner burning, producing minimal smoke.
- Metal Candle Wick Holder: This tool helps in positioning wicks properly and keeping them centered while the wax sets.
- Small Candle Jars or Candle Molds: If you prefer a structured look, opt for molds tailored for floating candles.
- Double Boiler: Essential for melting the wax properly without direct exposure to heat, which could be hazardous.
- Thermometer: This will help you monitor the wax’s temperature to avoid overheating.
With these materials, you can start crafting candles that float beautifully and safely at your events. Each material plays a crucial role in the creation process to ensure the candles perform well and look amazing.
Step-by-Step Guide to Crafting Your Candles
Crafting your own floating candles is both enjoyable and gratifying. Follow these detailed steps to create enchanting floating candles that add a magical touch to any setting.
- Prepare the Wax: Start by placing semi refined paraffin wax in a double boiler. This setup prevents the wax from burning. Monitor the wax’s temperature with a thermometer ensuring it does not exceed 150 degrees Fahrenheit.
- Add Color and Scent: Once the wax melts, stir in candle coloring dye and a few drops of essential oils. This adds beautiful color and a soothing fragrance to your candles.
- Set Up the Wicks: Dip the pre-waxed candle wicks into the wax to get them coated. Then, place them in the center of the molds or jars using a metal wick holder to keep them in position.
- Pour the Wax: Carefully pour the melted wax into the molds. Make sure the wicks remain straight and centered.
- Allow to Settle: Let the candles cool and solidify. This may take up to a couple of hours based on the size of your candles.
- Remove and Clean: Once the wax has hardened, gently remove the candles from the molds. If they stick, place the molds in the freezer for a few minutes to help release them.
- Final Touches: Trim the wicks to about half an inch above the wax. This ensures a cleaner burn. Now, your floating candles are ready for use.
By following these steps, you’ll be able to create stunning floating candles that not only enhance the ambience but also add a personal touch to your home or event.
Tips for Customizing Your Floating Candles
Floating candles are not just about light; they’re a craft of personal expression. Here are simple tips for customizing your DIY floating candles:
- Choose Unique Colors: Pick colors that match your event’s theme or your decor. Use high-grade candle dye for vibrant results.
- Experiment with Scents: Essential oils bring life to candles with aroma. Select scents that complement the occasion, like lavender for relaxation.
- Play with Shapes and Sizes: Use varied molds to create different shapes. Mix and match sizes for a dynamic display.
- Add Decorative Elements: Press dry flowers, glitter, or small ornaments into the wax before it sets for a unique touch.
- Layer Colors: For more intricate candles, layer different colored waxes. Pour them in stages, letting each layer cool before adding the next.
- Create Themes: For holidays or themed parties, tailor your candles to the celebration. Think pumpkins for Halloween or hearts for Valentine’s Day.
- Use Color Effects: Try techniques like marbling or ombre for standout candles. Swirl colors for a marbled effect, or blend them softly for an ombre look.
- Embed Items: Embed non-flammable items like seashells or beads into the wax. Ensure they’re placed away from the wick and fully encased in wax.
These customization ideas can help make your floating candles unique. Remember, the key is to have fun and let your creativity shine!
Safety Considerations While Making Floating Candles
Creating floating candles can be a delightful DIY project, but keeping safety in mind is crucial. Here are some key safety considerations to follow when making your candles:
- Never Leave Melting Wax Unattended: Always stay close when melting wax as it can be flammable.
- Use Correct Temperature: A thermometer is essential to avoid overheating the wax. Never let it exceed 150 degrees Fahrenheit.
- Avoid Direct Heat: A double boiler method is safer than direct heating to prevent wax from catching fire.
- Secure Work Area: Keep your work area clear of clutter, and ensure it’s away from children and pets.
- Handle Hot Wax Carefully: Pour wax slowly and use heat-resistant gloves to prevent burns.
- Proper Wick Placement: Ensure wicks are centered and secured before pouring wax to prevent uneven burning.
- Let Candles Cool Safely: After pouring the wax, allow candles to cool in an area away from drafts or heat sources.
- Be Prepared for Spills: Keep a fire extinguisher nearby and know how to use it in case of emergency.
By following these safety tips, you can enjoy crafting floating candles without any undue risks.
Decorating Ideas for Different Occasions
Floating candles can transform any event into a magical experience. Here are some decorating ideas tailored for various occasions:
For Romantic Dinners
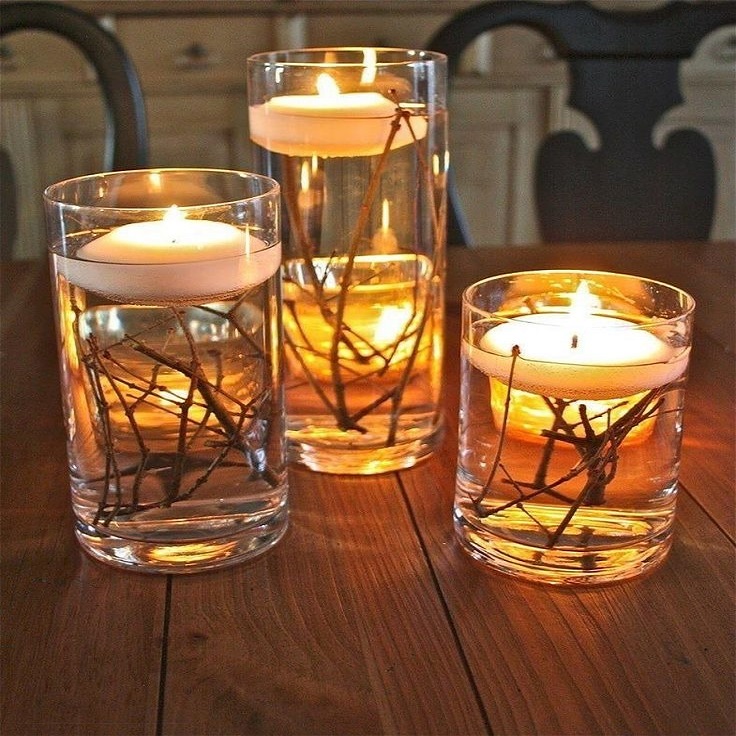
- Place candles on a water-filled bowl as a centerpiece.
- Scatter rose petals around the candles for added romance.
- Opt for warm colors like red or pink for the candles to enhance the loving ambiance.
During Festive Celebrations
- Create a festive array with candles of different sizes and colors.
- Include floating candles in pool decorations, if applicable, for outdoor gatherings.
- Add glitters or metallic dye to your candles to reflect the joy of the celebration.
For Meditative and Relaxing Spaces
- Choose blue or green candles to promote tranquility.
- Incorporate floating candles into your yoga or meditation room, setting them adrift in a serene water feature.
- Utilize soothing scents like lavender or eucalyptus to help relax your mind and body.
Halloween Theme
- Select orange and black colors and shape candles like pumpkins or ghosts.
- Float them alongside plastic bones or spiders for a spooky effect.
- Place them in dark corners to create eerie pools of light.
Weddings and Receptions
- Use white or light pastel candles to complement the elegant theme.
- Float candles alongside flower arrangements for a sophisticated touch.
- Place them on mirrored surfaces to double the magical effect.
Seasonal Celebrations
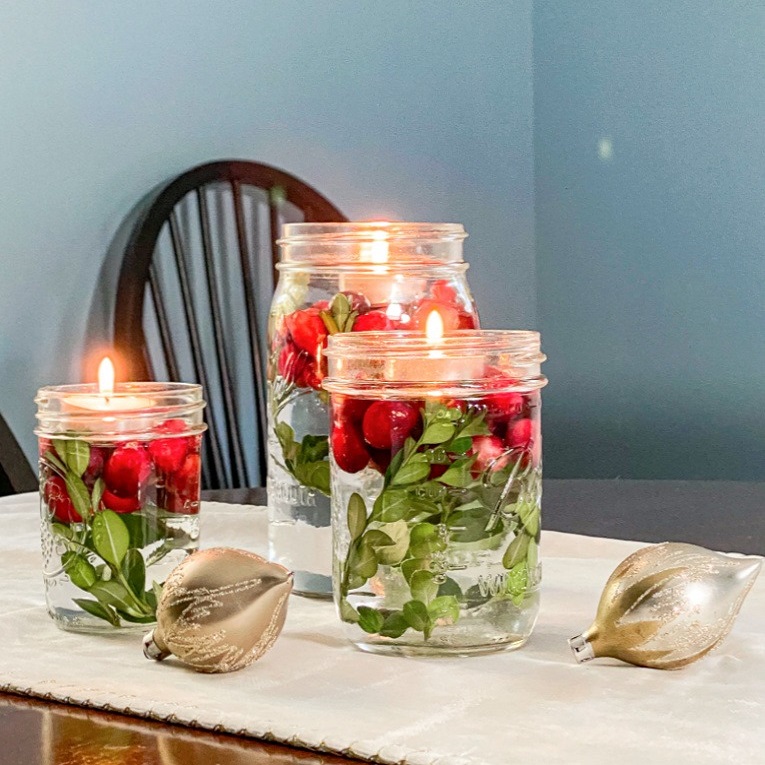
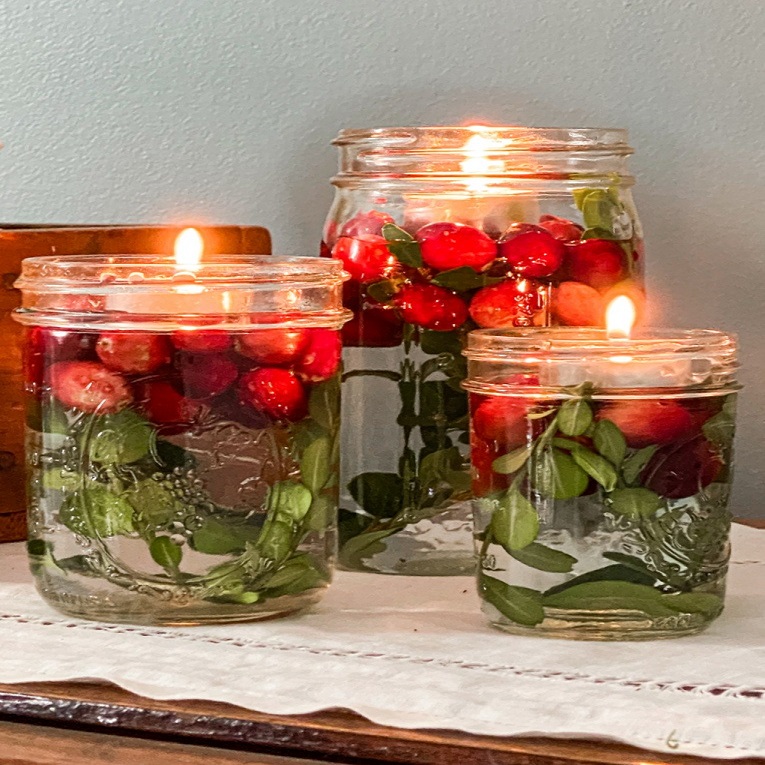
- Tailor colors and shapes to the season, such as red and green for Christmas.
- Position candles among pine cones and holiday ornaments for a festive atmosphere.
- Consider scents that match the season like cinnamon for fall or pine for winter.
These ideas should inspire you to create beautiful floating candle displays that suit any occasion, enhancing the atmosphere with their gently flickering light. Remember to safely place the candles in areas where they can be admired without posing a hazard.
Maintenance and Care for Floating Candles
Taking care of your floating candles can extend their life and ensure they burn safely. Here are some tips to help you maintain your DIY floating candles:
- Keep Them Clean: After each use, wipe your candles with a dry cloth to remove debris. This helps preserve their appearance and prevents dirt from affecting the burn.
- Trim the Wicks: Before lighting, trim the wick to 1/4 inch. This encourages an even burn and reduces smoke.
- Store Properly: Keep candles in a cool, dry place away from direct sunlight. This prevents warping and fading of colors.
- Avoid Drafts: When in use, place floating candles away from drafts to prevent rapid burning and potential hazards.
- Use Appropriate Holders: Ensure the container or bowl is flame-resistant and large enough to accommodate the floating candles without crowding.
- Monitor Water Level: Check that there’s enough water in the holder to allow the candles to float without tipping over.
- Never Leave Unattended: Always stay in the same room with your candles when they are lit. Extinguish them before leaving.
- Replenish Water: If using for extended periods, you might need to add more water as it evaporates.
By following these maintenance tips, your floating candles will be a safe and beautiful addition to any ambiance.
Conclusion: Unveiling Your Magical Creation
Crafting your own floating candles ends with a delightful reveal. Your creativity comes to life as they gently bob in the water, casting a soft, inviting glow. These handmade pieces not only brighten spaces but also carry your personal touch. They are perfect for any setting and serve as a symbol of your craft skills.
As you watch them flicker, you’ll feel pride in the DIY journey. Each step, from choosing materials to the careful crafting, was worth it. Your floating candles are now ready to set the mood for intimate dinners, festive parties, or tranquil evenings. They serve as proof that a little effort can turn simple materials into a magical display.
Remember, the beauty of DIY is in the customization. Your candles are unique, made with colors and scents you picked. They reflect your style and the occasion’s spirit. Let them float, and watch as your guests admire the enchanting scene you’ve created.
With these floating candles, you’ve added a touch of wonder. They’re more than just light; they’re a conversation starter and a testament to your gift for making the ordinary extraordinary. Congratulations on your successful DIY project. May your floating candles illuminate many memorable moments to come.
