Overview of Wallpaper Removal
Removing wallpaper can seem daunting. But with the right approach, it’s a task most homeowners can complete. It’s important to understand that this task requires patience and the proper tools. Why remove wallpaper? Many choose to update the look of a room or to fix wallpaper that is peeling or outdated. The process consists of several steps. They include preparing the room, scoring the wallpaper, applying a solution to loosen the adhesive, and carefully removing the wallpaper from the walls. Afterward, you’ll likely need to remove any residue left behind. With these steps in mind, let’s look at how to remove wallpaper efficiently and with minimal damage to your walls.
Preparing the Room for Wallpaper Removal
Before you begin the task of how to remove wallpaper, adequate room preparation is key. Ensure a smooth process by following these steps. First, clear the room. Remove furniture and decor to prevent damage and create space. Cover the remaining items with drop cloths. Next, protect your flooring. Lay down drop cloths or plastic sheeting on the floor. This will catch any wet residue or scraps. Turn off the electricity. Remove outlet covers and switch plates. Use painter’s tape to cover switches and outlets. This step prevents possible electrical hazards. Lastly, set up your tools and materials. Keep them within reach to avoid interruptions once you start.
Tools and Materials Needed
To start removing wallpaper, gather the right tools and materials. This preparation makes the process smoother. Here’s what you need:
- Scoring Tool: To create small holes in the wallpaper. This helps the solution seep behind the paper.
- Spray Bottle or Pump Sprayer: For applying the wallpaper removal solution evenly.
- Wallpaper Removal Solution: You can use a commercial remover or make one with water and vinegar.
- Putty Knife or Scraper: To ease the wallpaper off the walls without causing damage.
- Sponge and Bucket: For washing the walls after removing the paper and glue.
- Drop Cloths or Plastic Sheeting: To protect your floors from water and debris.
- Ladder: To reach the higher sections of your walls with ease.
- Gloves: To protect your hands from the solution and prevent scrapes.
- Painter’s Tape: To shield outlets and switches already mentioned in the room preparation step.
Ensure you have all these items before you start. The right tools can make ‘how to remove wallpaper’ a much easier task. Now that you’re equipped, you’re ready for the next step: the scoring process.
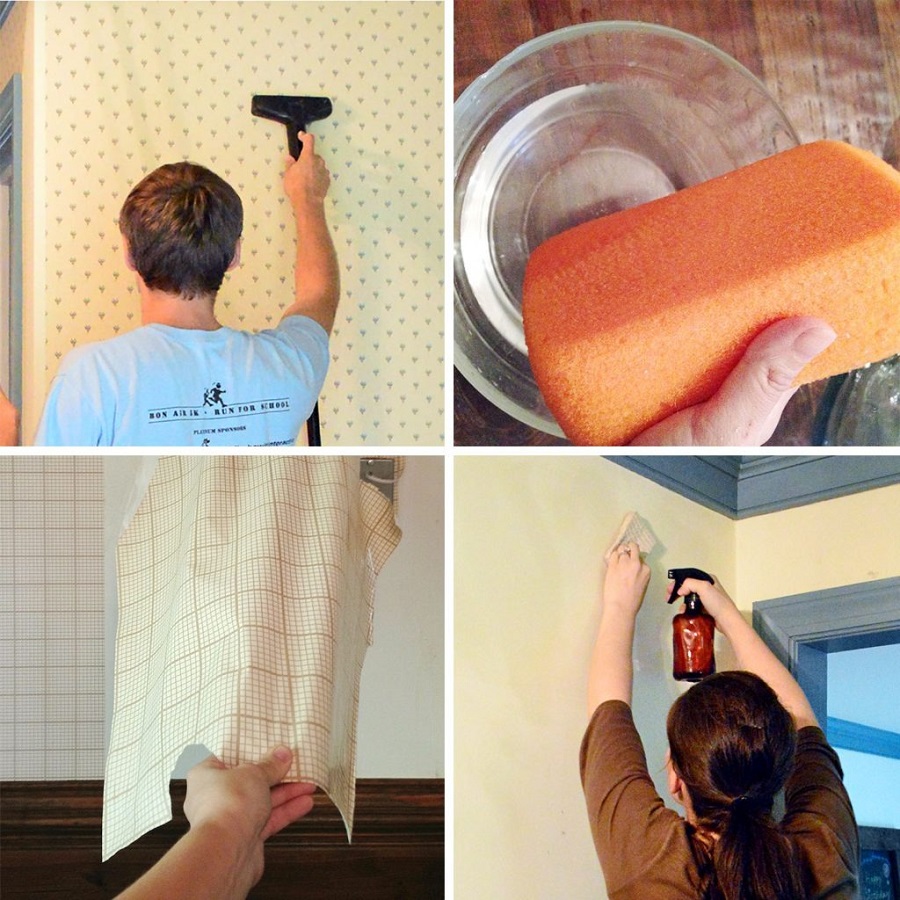
The Scoring Process
To remove wallpaper efficiently, start with scoring. Scoring helps the removal solution penetrate and break down the adhesive. Use your scoring tool gently. Press lightly to avoid harming the wall beneath. Roll the scoring tool over the entire wallpaper surface. Focus on areas where the paper seems firmly attached. Take your time with this step. A thorough scoring process can ease the following steps significantly. Move in a pattern that covers all areas. Overlap your paths to ensure you miss no spots. Remember, the goal is to allow the removal solution to work its magic later on. Once you complete the scoring, the wallpaper is ready for the next phase: applying the removal solution.
Applying Wallpaper Removal Solution
Once you’ve scored the wallpaper, it’s time to apply the wallpaper removal solution. This step is crucial in how to remove wallpaper effectively. Make sure to follow these guidelines for a successful application:
- Mix Solution: If you’re using a homemade solution, mix one part vinegar with one part water. For commercial removers, follow the instructions on the label.
- Apply Generously: Use your spray bottle or pump sprayer to saturate the wallpaper. Cover the walls thoroughly, particularly in the scored areas. Care should be taken to not oversaturate, which could damage the drywall.
- Wait Patiently: Allow the solution to soak into the wallpaper. This can take about 15 minutes. The time may vary depending on the type of wallpaper and the strength of the adhesive.
- Reapply if Needed: If the wallpaper proves stubborn, you may need to apply a second coat of the solution. Wait for the first application to fully penetrate before reapplying.
During this process, the removal solution weakens the adhesive bond of the wallpaper to the wall. This will make the peeling off step, which follows, much easier. Remember to wear your gloves throughout this process, to protect your hands from any irritants.
As you apply the wallpaper removal solution, patience is key. Take your time to ensure even coverage. The right application can reduce the effort required in the following steps of how to remove wallpaper. With the solution applied, you’re ready to begin peeling off the wallpaper.
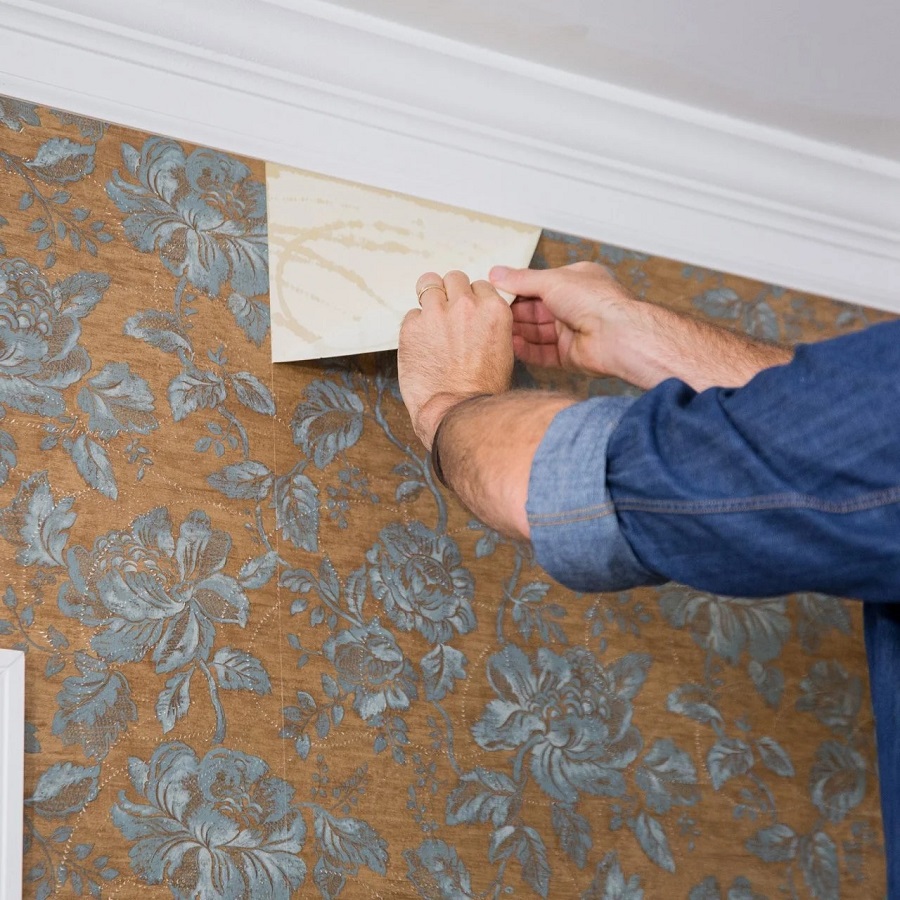
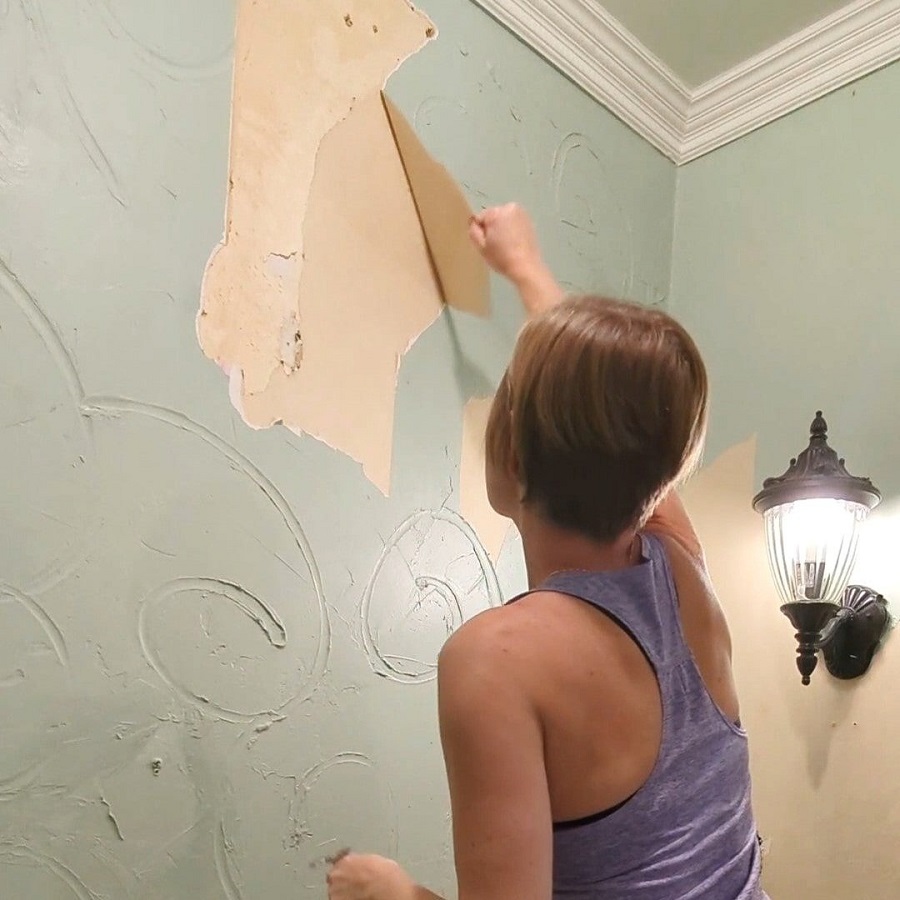
Peeling Off the Wallpaper
After letting the wallpaper removal solution work its wonders, it’s time to peel. Start at a corner or edge of the scored wallpaper. Use your fingers to lift the paper gently. Then, grab your putty knife or scraper. Slide it under the wallpaper’s edge. Slowly move the tool to ease the paper from the wall. Keep the angle of the knife low to avoid wall damage.
Move carefully as you peel. Pull the wallpaper away in strips if possible. If the paper tears, reposition your tool and continue gently. Take care not to tug too hard. This could cause damage to the wall surface beneath.
For stubborn areas, you may need more solution. Apply the mixture again and wait a few more minutes. Then, try peeling off the wallpaper again. Sometimes, a little extra patience pays off.
During this step, remember ‘how to remove wallpaper’ is not a rush job. Take breaks if you need them. Working methodically results in cleaner removal, leaving less residue behind. So take your time and the paper should come away more easily.
As you progress, wipe away any adhesive that remains on the wall with a damp sponge. Do this while the glue is still wet. It will be much harder to remove once it dries out.
Peeling off the wallpaper can be satisfying as you see your walls return to their bare state. Keep the rhythm steady and the movement smooth for the best results. With patience and the right technique, you’ll have all the wallpaper down in no time.
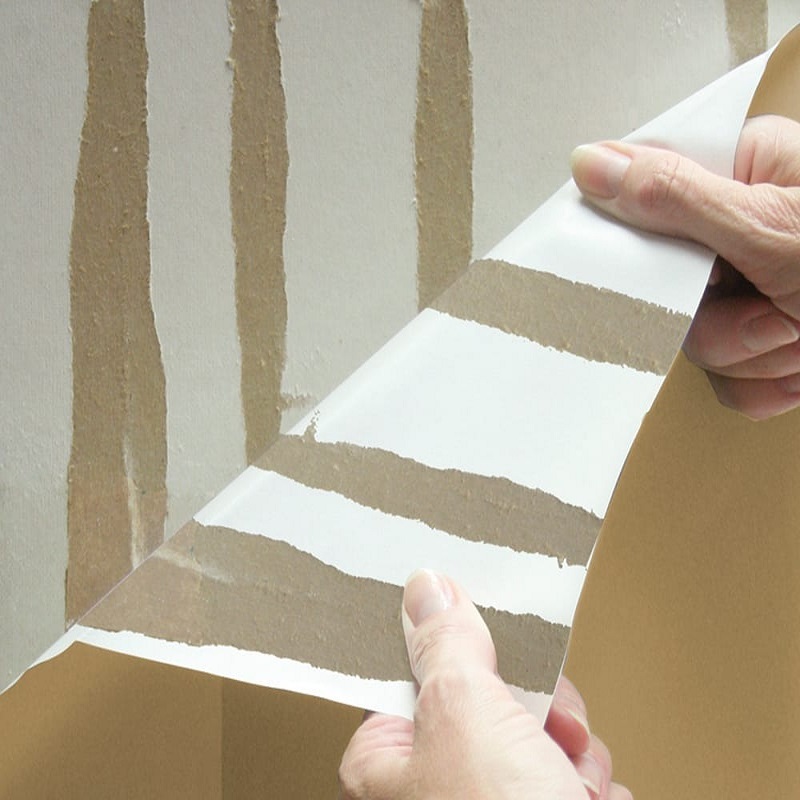
Removing Wallpaper Residue
After peeling off the wallpaper, you will likely encounter some residue. This residue can be stubborn to remove. Here are key steps to ensure it doesn’t linger:
- Soak the Residue: Apply more wallpaper removal solution to the leftover residue. The solution will help to dissolve the glue.
- Scrape Gently: Once the solution has softened the residue, gently scrape it off. Use a putty knife or scraper for this task.
- Wash the Walls: With the residue gone, wash the walls. Use a sponge and clean water. This step will remove any lingering solution or glue.
- Dry the Walls: After washing, allow the walls to dry completely. This is crucial before painting or applying new wallpaper.
Remember to work in sections and proceed with care. Use these steps as part of your ‘how to remove wallpaper’ process. They will save you time and effort in the long run. With the residue gone, your walls will be ready for a fresh start.
Tips for a Smooth Wallpaper Removal Experience
Achieving a smooth wallpaper removal experience involves a blend of preparation, patience, and technique. Here are some additional tips to enhance the process:
- Test a Small Area First: Before full-scale removal, test your method on a small patch. This helps you adjust your technique without committing to a large area.
- Regulate Room Temperature: Moderate temperatures can aid the effectiveness of the solution. Too hot or too cold can impact how well the solution works.
- Use Sharp Tools: Ensure your putty knife or scraper is sharp. This minimizes wall damage and makes residue removal easier.
- Be Mindful of Timing: Don’t rush. Give the solution enough time to penetrate the wallpaper and adhesive.
- Stay Organized: Keep your work area tidy. Remove scraps and clean up drips as you go to make the job more manageable.
- Avoid Dry Scraping: Always wet the wallpaper before scraping. Dry scraping can damage walls and make the job harder.
- Use Proper Safety Gear: Wear gloves and safety glasses. This protects you from splashes and debris.
- Keep Ventilation in Mind: Work in a well-ventilated area to avoid fume accumulation, especially if using chemical removers.
- Know When to Call a Professional: If you encounter issues like multiple wallpaper layers or damage-prone walls, hiring a professional might be worth it.
Remember, removing wallpaper is a step-by-step process. These tips can help you navigate ‘how to remove wallpaper’ more effectively and achieve a clean, ready-for-painting wall surface.