Checkered rugs are a timeless and versatile addition to any home decor. They add a touch of sophistication and visual interest to a space. Instead of purchasing a pre-made checkered rug, why not embark on a creative journey and design your very own? In this essay, we will provide you with valuable DIY tips and step-by-step instructions for designing a one-of-a-kind checkered rug that will perfectly complement your personal style and home.
Choosing the Right Materials
The first step in creating your DIY checkered rug is selecting the appropriate materials. Start by deciding on the size and shape of your rug. Consider the space where it will be placed and the dimensions you desire. Once you have determined the size, choose a durable and washable fabric that suits your needs. Cotton and jute are excellent choices due to their durability and ability to hold up well in high-traffic areas.
Decide on a Checkered Pattern
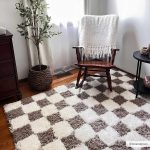
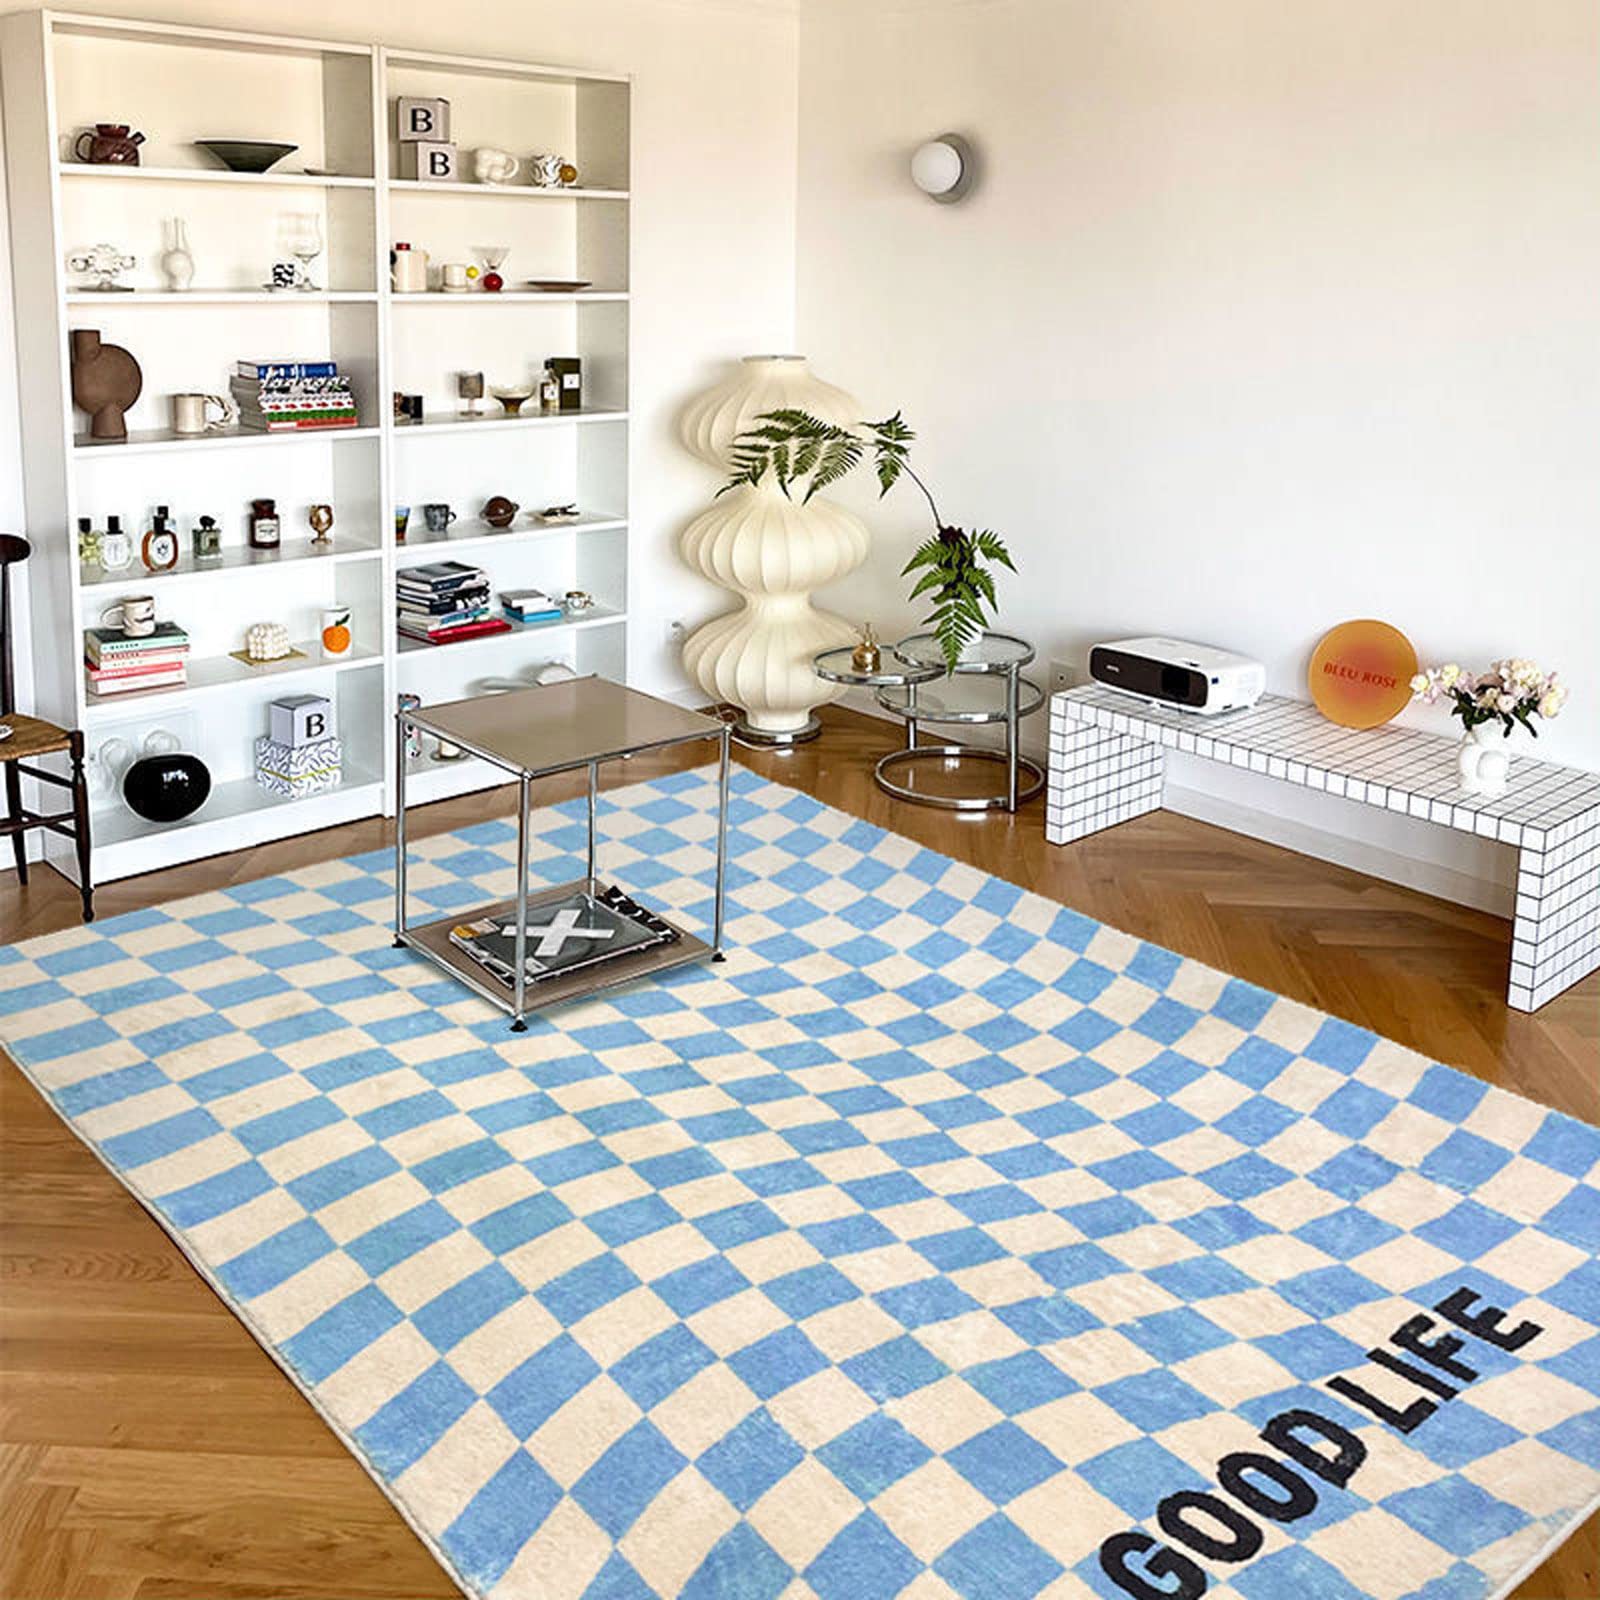
The beauty of designing your own checkered rug lies in the freedom to choose the pattern that best suits your taste. Traditional checkered patterns consist of alternating squares of two different colors. However, you can explore various styles such as oversized checkers, diagonal lines, or even asymmetrical designs. Sketch out your desired pattern on paper before proceeding to the next step.
Gathering the Necessary Tools
Before diving into the creation process, it is essential to gather the tools necessary for constructing your checkered rug. You will need a ruler or measuring tape, fabric scissors, a marking tool, a sewing machine, and fabric glue. These tools will help you achieve precise measurements, clean cuts, and secure seams.
Cutting and Assembling
Now that you have your materials and pattern ready, it’s time to start cutting and assembling your checkered rug. Measure and mark the fabric according to the dimensions of each square in your pattern. Use fabric scissors to cut out each square, ensuring clean and straight edges. For accuracy, a ruler or measuring tape can be helpful in this process.
Assembling the squares is the next step. Lay them out according to your desired pattern, ensuring they are precisely aligned. Secure the squares together by using fabric glue along the edges. Alternatively, for a more durable finish, stitch the squares together using a sewing machine. Remember to leave a small seam allowance to prevent fraying.
Finishing Touches
To add a polished touch to your DIY checkered rug, consider adding a fabric border. This will help define the edges and provide a finished look. Measure and cut strips of fabric for the border, ensuring they are slightly longer than the length of each side. Sew or glue the border to the edges of your checkered rug, making sure it is securely attached.
Care and Maintenance
Congratulations! You have successfully designed your own unique checkered rug. Now, let’s discuss some care and maintenance tips to keep your creation looking its best. Vacuum your rug regularly to remove any dirt or debris. If there are any spills or stains, attend to them immediately by blotting the area with a clean cloth or sponge. For deeper cleaning, follow the manufacturer’s instructions for washing or use a professional rug cleaner.
Conclusion
Designing your own checkered rug is a fulfilling and creative project that allows you to personalize your home decor. By choosing the right materials, determining your desired pattern, and utilizing the proper tools and techniques, you can create a stunning and unique rug that will be the envy of your guests. So, unleash your creativity, and start designing your own checkered rug today!