Introduction:
Installing drawer slides is an essential step in building functional and organized kitchen cabinets. Properly installed drawer slides ensure smooth and effortless operation of drawers, maximizing storage efficiency and convenience. In this comprehensive guide, we’ll walk you through the step-by-step process of installing kitchen drawer slides, from preparation to final adjustments.
Gather Your Tools and Materials:
Before you begin, gather all the necessary tools and materials for the installation process. You’ll need drawer slides (either side-mount or under-mount, depending on your cabinet design), a drill with appropriate drill bits, screws, a tape measure, a pencil, a level, and a screwdriver. Ensure that you have the correct size and type of drawer slides for your cabinets.
Measure and Mark Placement:
Start by measuring and marking the placement of the drawer slides inside the cabinet. For side-mount slides, measure the distance from the cabinet opening to the desired position of the drawer slides on both sides. For under-mount slides, measure the distance from the cabinet bottom to the desired position of the slides. Use a pencil to mark these measurements accurately.
Install the Drawer Slide Hardware:
Next, install the drawer slide hardware onto the drawer box. For side-mount slides, attach the slide members to the sides of the drawer box using screws, ensuring they are level and parallel to each other. For under-mount slides, attach the slide members to the bottom of the drawer box, following the manufacturer’s instructions. Make sure the slides are positioned correctly and securely attached to the drawer box.
Attach the Cabinet Slide Members:
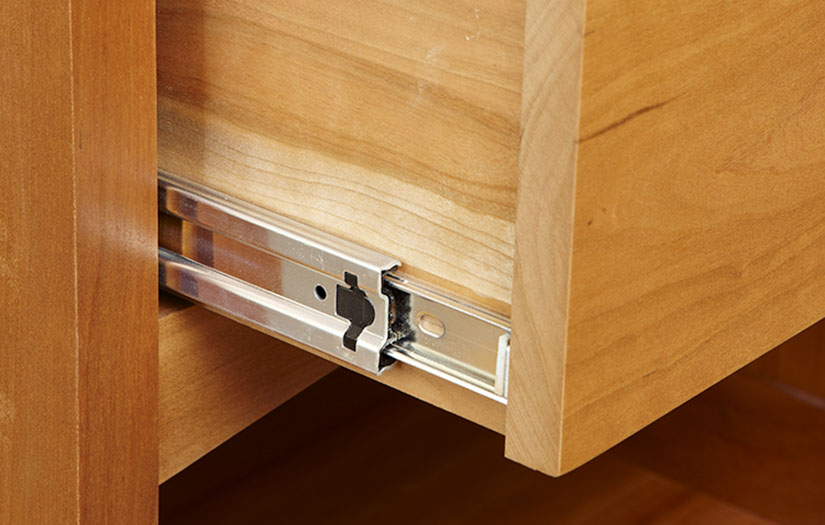
With the drawer slide hardware installed on the drawer box, it’s time to attach the cabinet slide members inside the cabinet. For side-mount slides, position the slide members parallel to the cabinet opening and attach them using screws. Use a level to ensure the slides are straight and level. For under-mount slides, follow the manufacturer’s instructions for attaching the slide members to the cabinet sides or front and back rails.
Test the Drawer Slides:
Before proceeding further, test the drawer slides to ensure they operate smoothly and without any obstructions. Slide the drawer box into the cabinet along the installed slide members, checking for proper alignment and smooth movement. Make any necessary adjustments to the slide members or drawer box to ensure a perfect fit and smooth operation.
Install the Remaining Drawer Boxes:
Once you’re satisfied with the operation of the first drawer box, repeat the installation process for the remaining drawer boxes in the cabinet. Measure and mark the placement of the drawer slides, install the slide hardware onto the drawer boxes, and attach the cabinet slide members as previously described. Take your time to ensure each drawer box is properly aligned and operates smoothly.
Make Final Adjustments:
After installing all the drawer boxes, make any final adjustments to ensure proper alignment and operation. Check for consistent spacing between the drawers and adjust as needed. Use a level to confirm that the drawers are all level and parallel to each other. Tighten any loose screws and make any necessary tweaks to achieve optimal performance.
Test the Drawer Slides Again:
Once you’ve made all the final adjustments, test the drawer slides again to confirm that everything is functioning correctly. Open and close each drawer multiple times to ensure smooth operation and proper alignment. Pay attention to any areas that may be sticking or binding, and make further adjustments if necessary.
Add Drawer Fronts and Hardware:
With the drawer slides installed and properly adjusted, it’s time to add the drawer fronts and hardware. Attach the drawer fronts to the drawer boxes using screws or adhesive, ensuring they are aligned properly and have consistent spacing between them. Install drawer pulls or knobs according to your preferences, completing the installation process.
Conclusion:
Installing kitchen drawer slides may seem like a daunting task, but with the right tools and techniques, it can be accomplished with ease. By following this step-by-step guide, you’ll be able to install drawer slides confidently and efficiently, ensuring smooth and reliable operation of your kitchen drawers for years to come. With properly installed drawer slides, you’ll enjoy improved storage efficiency and convenience in your kitchen cabinets.