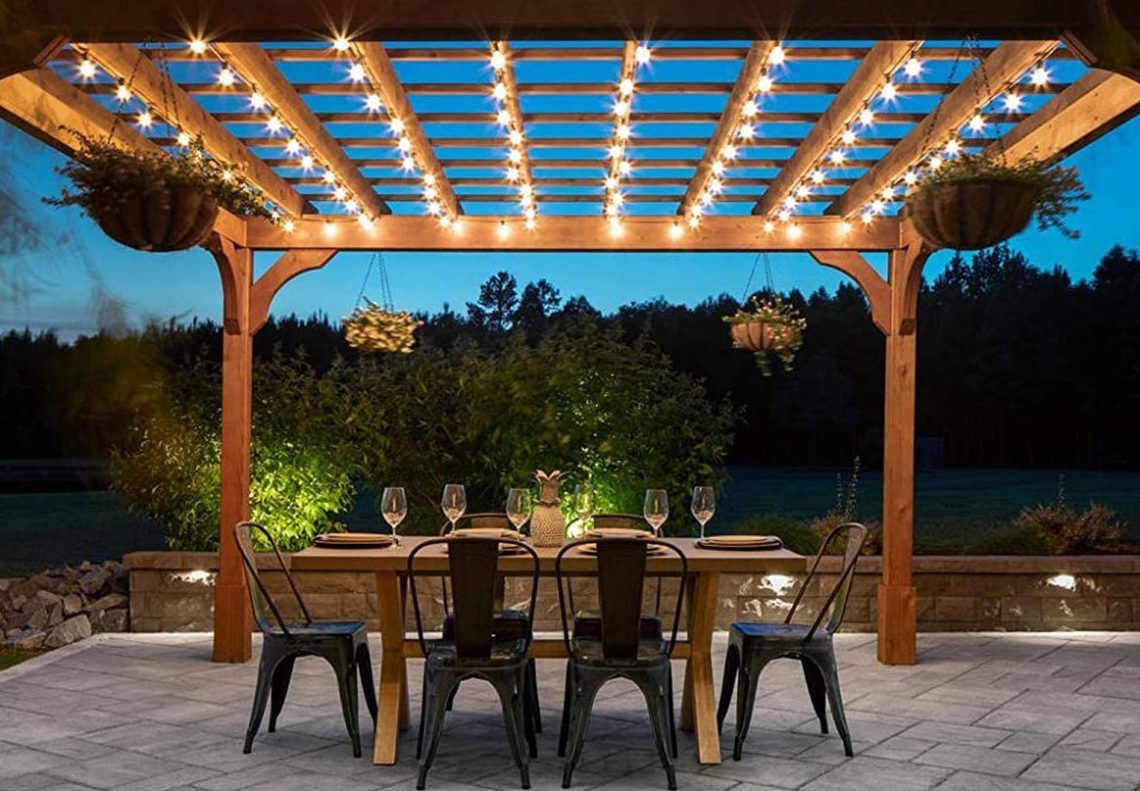
Introduction to Hanging String Lights on a Pergola
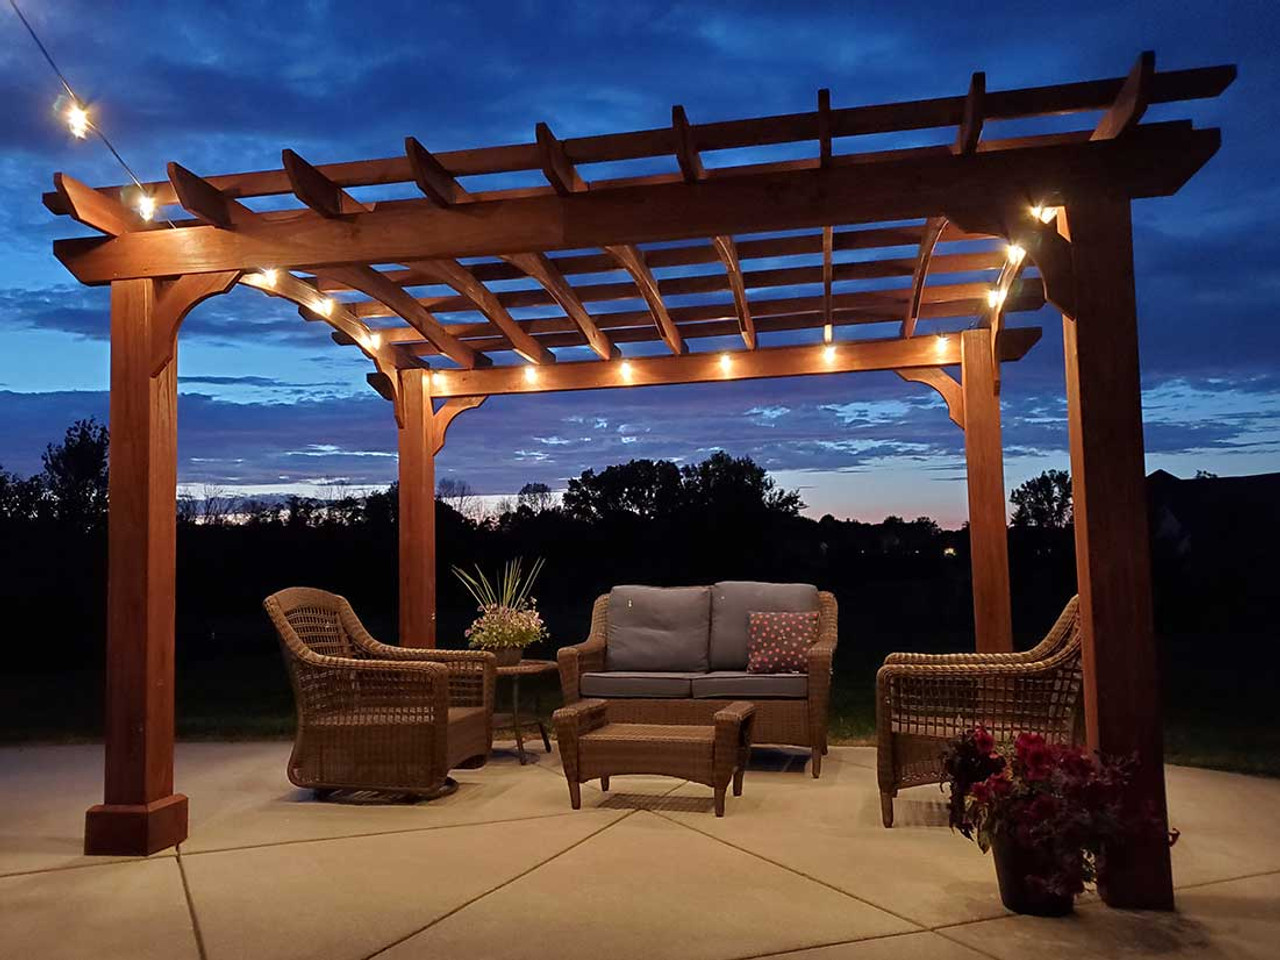
Pergolas are beautiful structures that can transform any outdoor space into an inviting, comfortable area. One of the most effective ways to enhance the ambiance of your pergola is by adding string lights. These lights not only illuminate the space but also add a touch of elegance and charm, making it perfect for evening gatherings or a relaxing night under the stars. Hanging string lights on a pergola might seem straightforward, but to achieve a professional and aesthetically pleasing result, you’ll need to follow specific steps and consider several factors. This guide will walk you through the entire process, from planning and selecting the right lights to installing and maintaining them, ensuring your pergola becomes a stunning focal point in your outdoor living area.
Planning Your Lighting Design
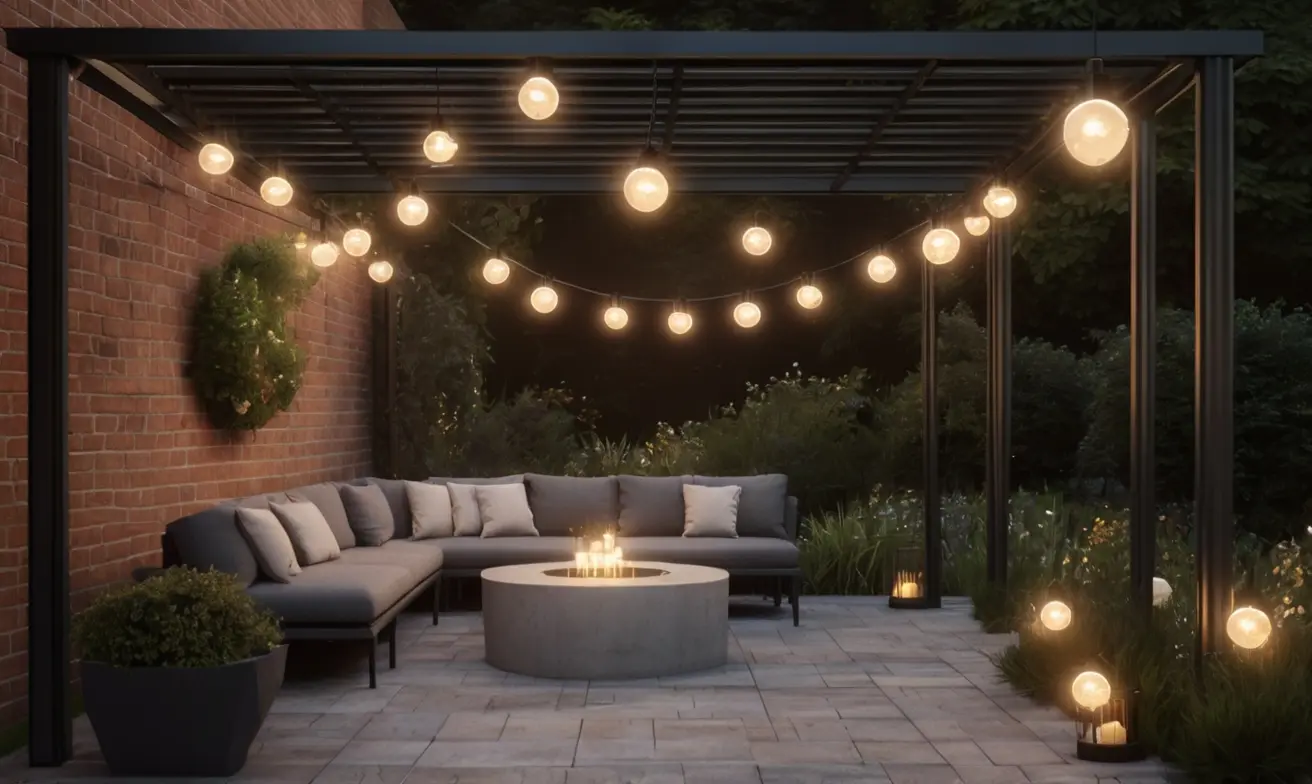
Before purchasing string lights or beginning the installation process, it’s crucial to plan your lighting design thoroughly. Start by considering the purpose of the lights: do you need bright lights for functional lighting, or are you aiming for a soft, ambient glow? Next, measure your pergola’s dimensions to determine how many lights you will need. Sketch a rough layout of your pergola and decide where you want the lights to hang. Popular patterns include zigzags, crisscrosses, or parallel lines. Ensure that the design complements the structure of your pergola and fits seamlessly with your outdoor decor. Additionally, consider the power source location and the length of extension cords needed. Proper planning will save time, effort, and potential frustration during the actual installation process.
Choosing the Right String Lights
Selecting the appropriate string lights for your pergola involves more than just picking a style you like. Consider the type of bulb, such as LED or incandescent. LEDs are energy-efficient, last longer, and remain cool to the touch, making them a safe and economical choice. Incandescent bulbs, on the other hand, emit a warm, inviting glow but consume more energy and generate heat. The bulb shape and size also matter; globe bulbs, Edison bulbs, and fairy lights each offer different aesthetic effects. Furthermore, ensure the lights are rated for outdoor use to withstand weather conditions. Check for waterproof or water-resistant features and robust construction to ensure durability. Finally, think about the color temperature of the lights. Warm white lights create a cozy atmosphere, while cool white or colored lights can be used for festive occasions. The right choice of string lights will significantly influence the overall look and feel of your pergola.
Gathering Necessary Tools and Materials
Once you have planned your design and chosen the lights, gather all the necessary tools and materials before starting the installation. Basic tools might include a ladder, measuring tape, zip ties or hooks, and an extension cord. Depending on your pergola’s material, you may also need a drill with appropriate bits, screws, and possibly some weatherproofing supplies if you’re drilling into wood. If you prefer not to drill, consider using adhesive hooks or clips designed for outdoor use. Make sure you have enough zip ties or hooks to securely attach the lights according to your planned design. Having all the required tools and materials at hand will streamline the installation process and prevent interruptions. Being well-prepared ensures a smooth, efficient installation and helps achieve a professional-looking finish.
Installing Anchor Points
Setting up anchor points is a crucial step in hanging string lights on a pergola. These points will hold the lights securely in place and help maintain the desired pattern. Begin by marking the locations where you want to install the anchor points based on your planned lighting design. Use a measuring tape to ensure even spacing and alignment. If using hooks, drill pilot holes and screw them into the pergola’s beams or posts. For adhesive hooks or clips, clean the surface thoroughly before attaching them to ensure a strong bond. If your pergola has existing hardware, such as eye bolts or brackets, these can serve as anchor points. In some cases, you might also use zip ties to secure the lights to the pergola’s structure. Properly installed anchor points are essential for keeping the lights taut and preventing sagging, contributing to a neat and aesthetically pleasing appearance.
Hanging the String Lights
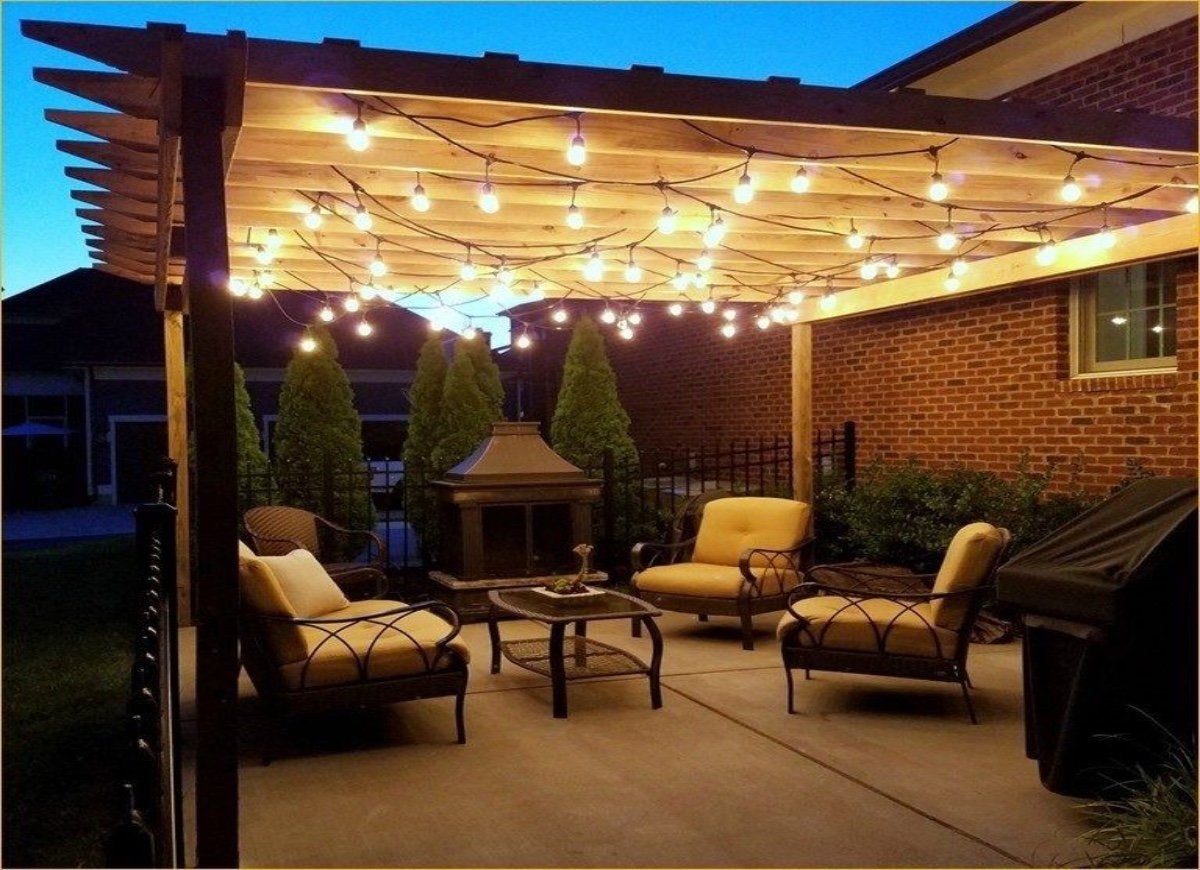
With the anchor points in place, you can begin hanging the string lights. Start at the nearest power source and work your way across the pergola according to your planned design. If your lights have plugs, make sure they are positioned near an outlet or extension cord. Attach the lights to the anchor points using zip ties, hooks, or clips, ensuring they are securely fastened but not overly tight to avoid damaging the wires. As you progress, periodically step back to check the alignment and adjust if necessary. If you encounter any obstacles such as beams or posts, carefully drape the lights around them, securing with additional ties or hooks as needed. For a professional look, ensure the lights form straight lines or evenly spaced curves, depending on your design. Take your time during this step, as the positioning of the lights will greatly influence the final visual effect.
Connecting and Securing the Power Supply
Once the string lights are hung, the next step is to connect and secure the power supply. Plug the lights into an outdoor-rated extension cord if needed, ensuring the cord is long enough to reach the nearest outlet without straining. To protect the connections from the elements, use weatherproof covers or wrap the plugs with electrical tape designed for outdoor use. Secure the extension cord along the pergola’s structure with zip ties or clips to keep it off the ground and reduce tripping hazards. If your pergola is far from an outlet, consider installing an outdoor power outlet closer to the structure. Additionally, using a timer or smart plug can automate the lights, adding convenience and potentially saving energy. Ensuring a safe and reliable power connection is crucial for both functionality and longevity of your string lights.
Testing the Lights
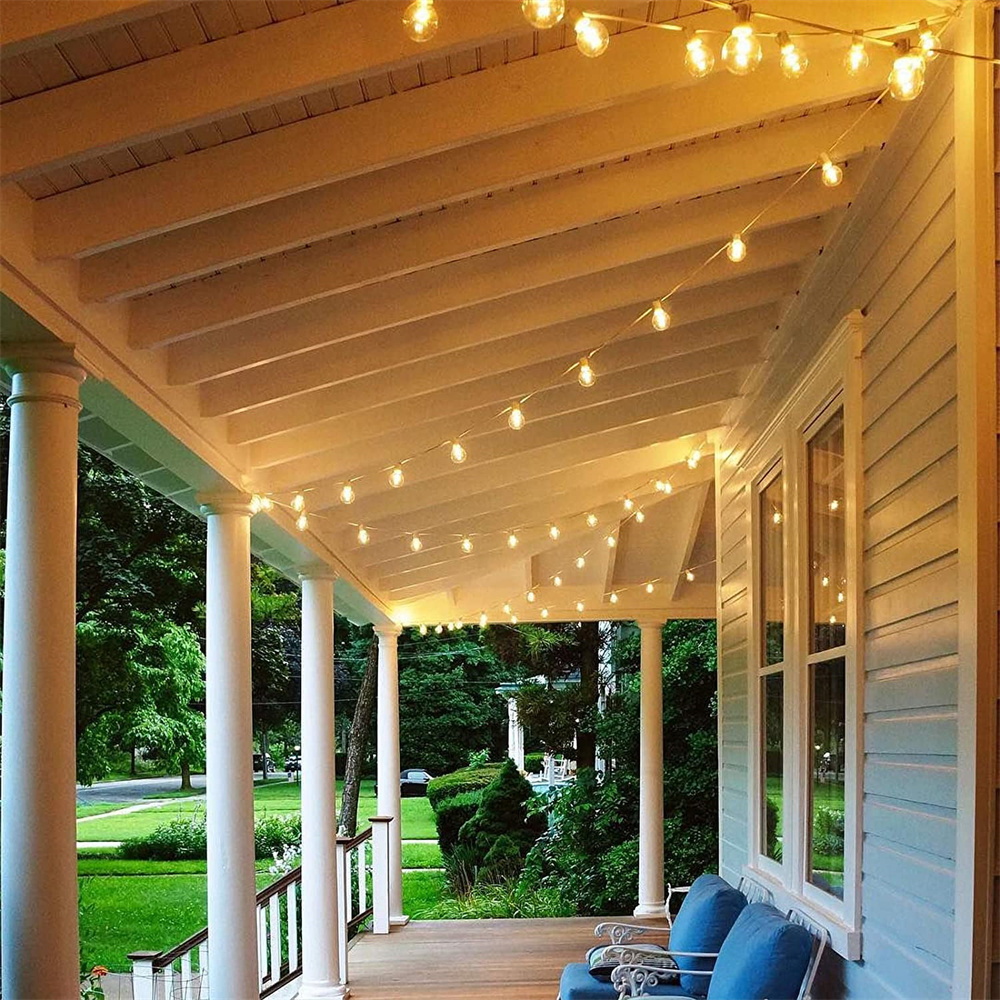
After connecting the power supply, it’s essential to test the lights before finalizing the setup. Turn on the lights and check for any sections that aren’t illuminated. If there are issues, inspect the bulbs and connections to ensure everything is properly secured and operational. Replace any faulty bulbs and make sure the plugs are fully inserted. Walk around the pergola to view the lights from different angles, ensuring the pattern is even and there are no sagging sections. If adjustments are needed, make them now while the lights are on, so you can see the impact immediately. Testing the lights at this stage helps identify and rectify any problems early, ensuring a flawless final display. It also gives you a chance to see the overall effect and make any aesthetic adjustments to perfect the setup.
Final Adjustments and Tidying Up
Once you are satisfied with the placement and functionality of the lights, it’s time to make final adjustments and tidy up the installation. Ensure all zip ties or hooks are securely fastened and trim any excess material from the zip ties for a cleaner look. Tuck away any visible cables or cords, securing them along the pergola’s structure to maintain a neat appearance. If you’ve used an extension cord, coil any extra length neatly and secure it out of sight. Double-check all connections to confirm they are weatherproofed and safely positioned. Make sure the lights are evenly spaced and adjust any sections that appear uneven or drooping. Taking the time to tidy up and make final adjustments not only enhances the overall aesthetics but also ensures the longevity and safety of your lighting setup.

Conclusion
Hanging string lights on a pergola is a rewarding project that can significantly enhance the beauty and functionality of your outdoor space. By carefully planning your design, choosing the right lights, and following proper installation steps, you can achieve a professional and aesthetically pleasing result. Regular maintenance and safety precautions will ensure your lights remain in good condition, providing a charming and inviting atmosphere for years to come. With the flexibility to adapt and decorate for different seasons and occasions, your illuminated pergola will be a versatile and cherished feature of your home. Enjoy the process and the stunning transformation of your pergola into a magical outdoor haven.
