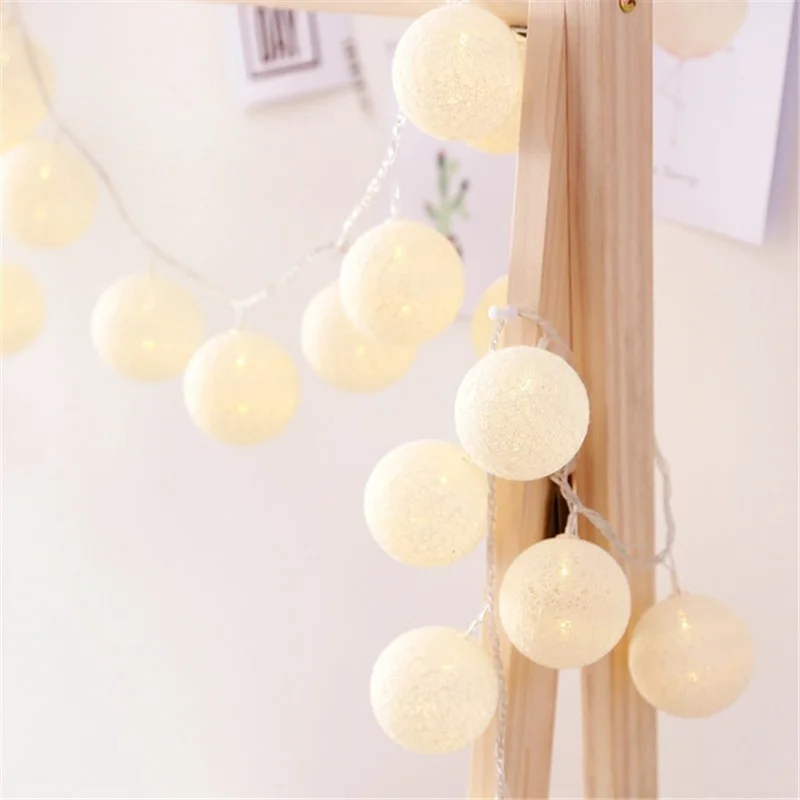
String lights have become an essential part of home decor, adding a warm and festive touch to any space. From patios to living rooms, string lights can transform an ordinary area into a magical setting. However, attaching string lights to your house can be a challenge if you’re looking for a professional and long-lasting finish. In this article, we’ll explore the best techniques to attach string lights to your house, ensuring they stay secure and illuminate your home beautifully.
Planning Your String Lights Layout
Before you start attaching string lights to your house, a little planning can go a long way. This ensures you have the right amount of lights, suitable materials, and a hassle-free installation process.
Measure the Area: Begin by measuring the spaces where you plan to hang your string lights. Use a measuring tape to determine the total length required, considering any twists and turns the lights might take. Add an extra 10-15% to your measurement to account for slack and ease of handling.
Choose Your Lights: String lights come in various styles, lengths, and power sources. Decide if you want to use plug-in, battery-operated, or solar-powered lights based on your preferences and the availability of power outlets. Consider the type of bulbs—LEDs are energy-efficient and have a longer lifespan compared to incandescent bulbs.
Design the Look: Sketch a rough layout of where you want the lights to go. Decide whether you want a linear path, zig-zag pattern, or a canopy effect. Planning the design will help you visualize the final look and determine where to place hooks, nails, or clips.
Safety Considerations: Safety should always be a priority. Ensure that the string lights you choose are suitable for outdoor use if they’ll be exposed to the elements. Check for proper insulation and waterproof ratings for outdoor lights. For indoor lights, make sure they meet the necessary safety standards.
Proper planning sets the foundation for a smooth installation process and a visually appealing result.
Using Hooks and Clips
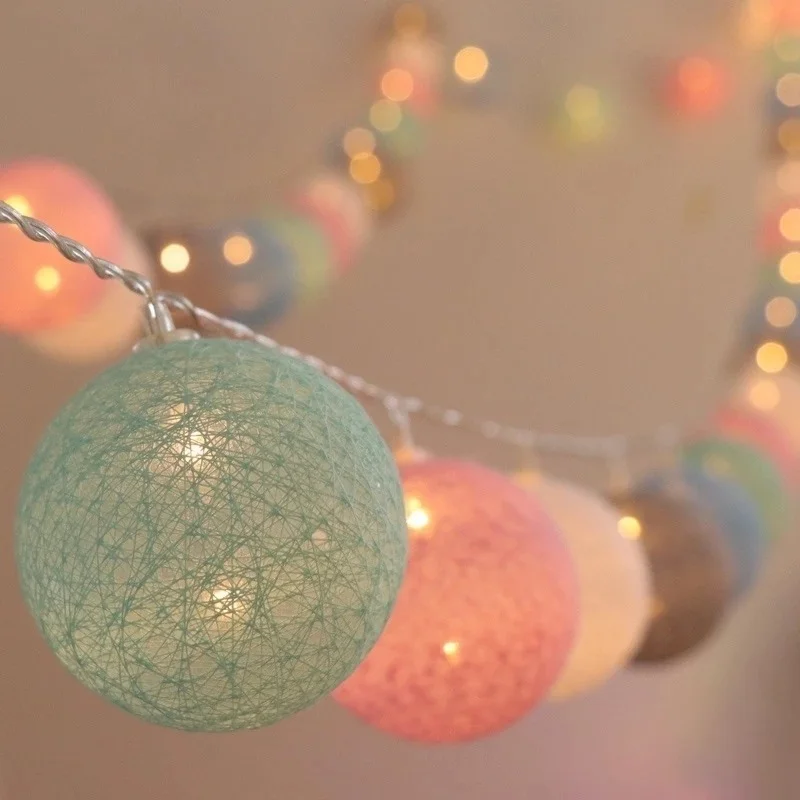
Hooks and clips are some of the most versatile and reliable methods for attaching string lights to your house. They provide a secure hold while allowing for easy installation and removal.
Types of Hooks and Clips: There are various types of hooks and clips available, including adhesive hooks, screw-in hooks, and gutter clips. Adhesive hooks are excellent for temporary installations and are easy to remove without damaging surfaces. Screw-in hooks offer a more permanent solution and are ideal for heavier lights. Gutter clips are designed to attach lights to the edges of roofs and gutters without the need for tools.
Installation Process: For adhesive hooks, start by cleaning the surface where you plan to attach the hooks. This ensures a strong bond. Press the hook firmly against the surface for the adhesive to take hold. Place the hooks at regular intervals along your planned path.
For screw-in hooks, use a drill to make small pilot holes where you want to place the hooks. Screw the hooks into place, ensuring they are secure but not overtightened.
Gutter Clips: Gutter clips are ideal for attaching string lights to the roofline. Simply slide the clip under the edge of the gutter or shingles and attach the string lights to the clip. This method requires no tools and is quick to install and remove.
Using hooks and clips allows for a clean and professional finish, making it easy to achieve your desired layout.
Stapling String Lights
Stapling string lights can be an effective method, especially when dealing with wooden surfaces like fences, decks, or pergolas. However, it’s crucial to use the right technique to avoid damaging the lights or the surface.
Choosing the Right Staples: Use staples that are specifically designed for electrical wires. These staples typically have a plastic or rubber shield to protect the wires from being punctured or crushed, which can lead to short circuits.
Proper Technique: Use a staple gun to attach the lights, but make sure not to press too hard or drive the staple all the way through the wire. Position the stapler so that the wire runs in the center and use gentle pressure to secure the wire without damaging it.
Spacing and Angles: Space the staples evenly along the path of your string lights, typically 12-18 inches apart. This ensures that the lights are secure but still have some flexibility. When stapling around corners or curves, use additional staples to maintain tension and shape.
Safety Precautions: Always unplug the lights before stapling to avoid any electrical hazards. Wear safety glasses to protect your eyes from any unexpected staples or debris.
Stapling, when done correctly, provides a secure and discreet way to attach string lights, particularly for wooden surfaces.
Using Nails and Wire
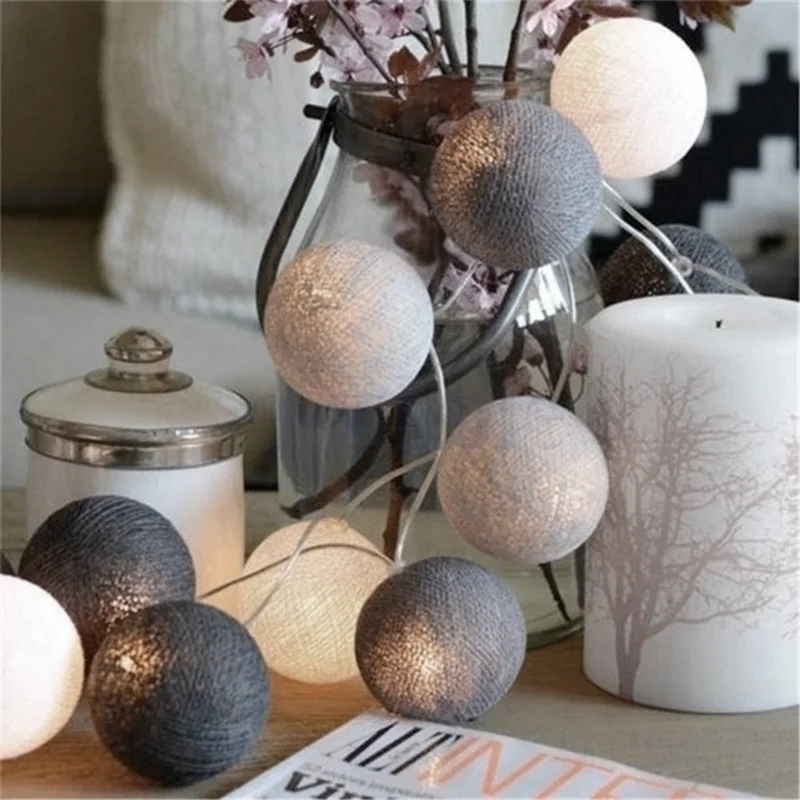
Nails and wire can be a particularly effective method for attaching string lights to more permanent structures like brick walls, wooden beams, or even along fences. This technique provides robust support, especially for heavier lights or long runs.
Selecting Nails and Wire: Choose galvanized nails to prevent rusting, especially if the lights will be exposed to weather. For the wire, a strong, flexible option such as steel or plastic-coated wire is suitable. The wire should be thin enough to be unobtrusive but strong enough to hold the weight of the lights.
Installation Process: Start by marking where you plan to place the nails along your layout. Drive the nails halfway into the surface, leaving enough room to wrap the wire around. Secure the wire tightly around each nail to create a sturdy guide along which you can attach the string lights.
Attaching the Lights: Once the wire is securely in place, start attaching the lights. Use twist ties, small hooks, or even additional pieces of wire to fasten the lights to the guide wire. This method allows you to achieve a clean, taut appearance, ensuring the lights hang evenly and securely.
Adjusting Tension: As you attach the lights, periodically check the tension. The lights should be secure without sagging, but they should also have enough give to prevent overstressing the wire or the bulbs.
Using nails and wire is particularly advantageous for larger installations or heavier string lights, providing the needed support and versatility.
Adhesive Strips and Hooks
Adhesive strips and hooks are excellent for temporary installations or for surfaces where drilling or nailing isn’t an option. They’re particularly useful for indoor settings or rentals where preserving the integrity of walls and surfaces is crucial.
Types of Adhesive Products: Look for products like Command Strips or other branded adhesive hooks that promise damage-free removal. These come in various sizes and weight capacities, so choose one that matches the weight of your string lights.
Surface Preparation: Clean the surface where the adhesive will be applied to ensure it’s dry and free from dust or grease. This ensures a stronger bond and prevents the hooks from falling off over time.
Application: Follow the manufacturer’s instructions closely. This usually involves pressing the hook or strip firmly against the surface and holding it in place for the recommended duration. Allow the adhesive to set for the specified amount of time before hanging the lights.
Spacing: Plan the spacing of your hooks carefully. Evenly spaced hooks ensure the string lights hang nicely and stay secure. Typically, place hooks 12-18 inches apart, but this may vary based on the weight and design of your string lights.
Adhesive strips and hooks provide a flexible and damage-free solution for attaching string lights, making them ideal for both temporary and permanent setups.
Using Tension Wire
Using tension wire is a highly effective technique for creating a professional and clean look, especially for longer runs and outdoor installations. This method is often used in commercial settings but can be easily adapted for home use.
Choosing Tension Wire: Opt for galvanized steel or plastic-coated tension wire, which is strong, durable, and resistant to weather conditions. You will also need turnbuckles and eye bolts to secure and tighten the wire.
Installation: Begin by marking the points where you’ll attach the eye bolts. Drill pilot holes for the eye bolts, ensuring they are securely anchored into the surface. Feed the wire through the eye bolts and attach the turnbuckles. Tighten the turnbuckles to create the desired tension in the wire.
Attaching the Lights: Once your tension wire is securely in place, attach your string lights. Clip or tie the lights to the tension wire at regular intervals. This ensures that the lights remain taut and evenly spaced along the wire.
Adjustments: Periodically check and adjust the tension as needed. Changes in temperature and weather conditions can cause the wire to loosen over time, so occasional tightening may be necessary.
Using tension wire ensures a robust and long-lasting installation, providing a clean and professional appearance particularly suited for large or outdoor spaces.
Conclusion
Attaching string lights to your house can transform your living spaces into magical realms of light and ambiance. With proper planning, choosing the right materials, and applying the best techniques, you can ensure a secure and attractive installation. From using hooks and clips to tension wires and adhesive methods, each technique offers unique benefits suited to different settings and requirements.
Temporary installations are made simple with garland ties, suction cups, and zip ties, allowing you to celebrate special occasions effortlessly. For more permanent setups, using nails, wire, and tension wire ensures robust and long-lasting results. Illuminate unique areas like patios, pathways, and trees to create enchanting environments both inside and outside your home.
Don’t forget to opt for energy-efficient options like LED lights and solar-powered lights to minimize your environmental impact while enjoying beautifully lit spaces. By following the best techniques outlined in this guide, you can attach string lights to your house with confidence and creativity, enhancing the beauty and warmth of your home.
