Decorating for the holiday season is a cherished tradition that brings joy and warmth to homes worldwide. Among the numerous decorations, Christmas lights hold a special place. They have the ability to transform your home into a winter wonderland, captivating the hearts of all who pass by. However, stringing Christmas lights can be a daunting task for many, often ending in tangled messes and uneven illumination. But fear not! This step-by-step guide to stringing Christmas lights like a pro will help you achieve a dazzling display with ease and precision.
Planning Your Christmas Light Display
Before you even touch a string of lights, planning is key. Begin by determining the scope of your decoration. Are you planning to illuminate just the exterior of your house, or do you aim to include your trees, garden, and interior spaces as well? Sketch out a rough map of your property or the area you plan to decorate. This will help you visualize the layout and gauge how many strings of lights you’ll need. Measure the length of the areas you want to cover to ensure you purchase the right amount of lights. Include some extra length to account for any obstacles or adjustments necessary.
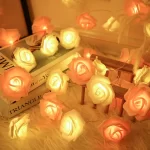
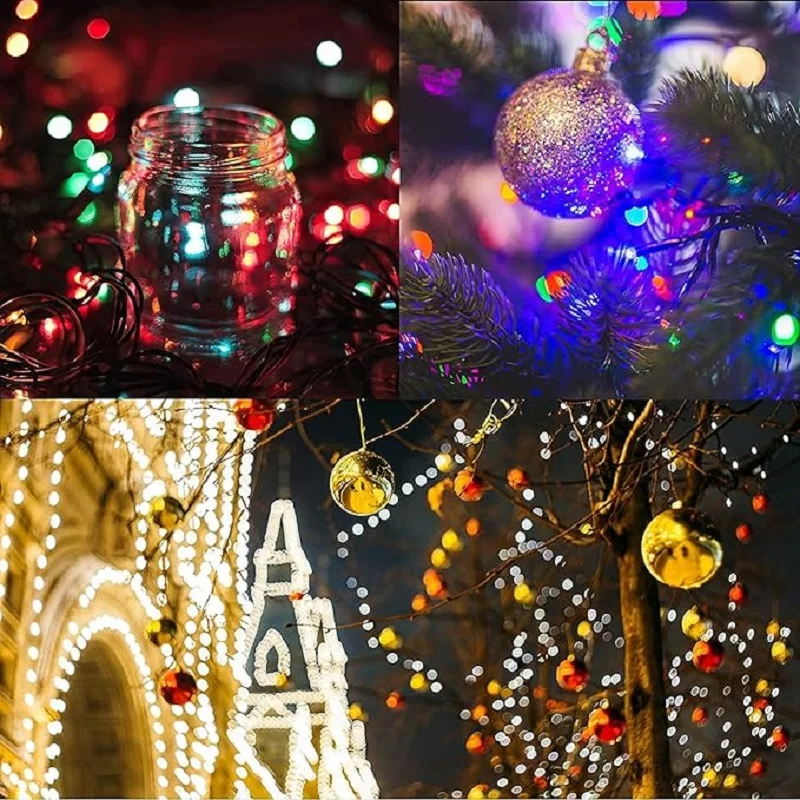
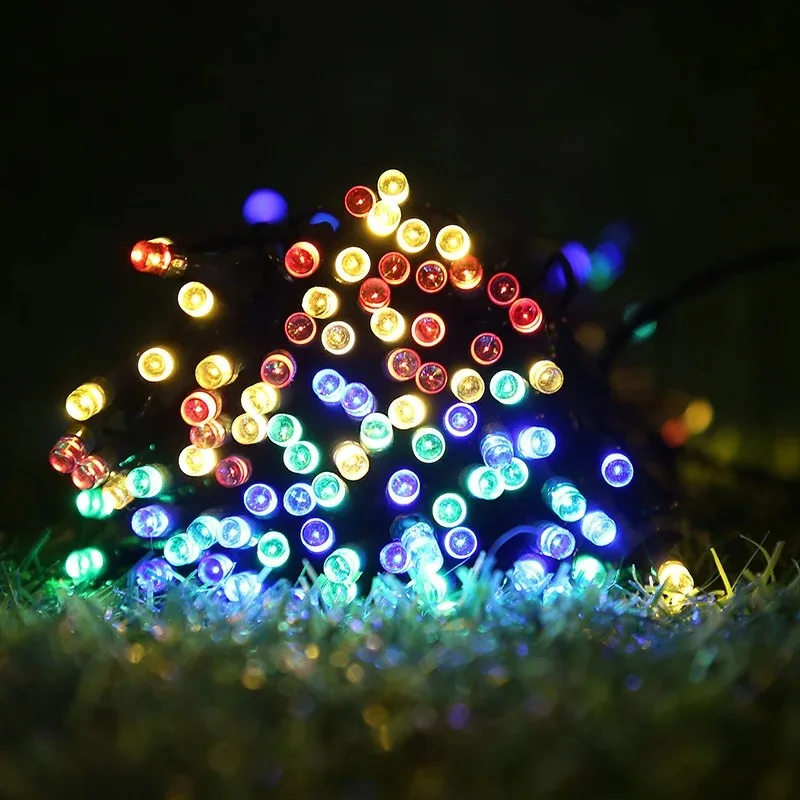
Equally important is deciding on a theme or color scheme. Do you want a classic warm white glow, a colorful kaleidoscope of shades, or perhaps a modern monochrome look? Consistency is crucial for a professional-looking display, so sticking to a theme will keep your decorations cohesive. It’s also important to take into consideration the power sources available to you. Make sure you have enough outdoor electrical outlets, or plan for power strips and extension cords that are weatherproof.
Choosing the Right Christmas Lights
The market is flooded with various types of Christmas lights, each with its own pros and cons. Knowing the differences between them will help you make an informed decision. The most common types are incandescent and LED lights. While incandescent lights are generally cheaper, they consume more energy and have a shorter lifespan compared to LED lights. LEDs, on the other hand, are more energy-efficient and durable, making them a cost-effective option in the long run.
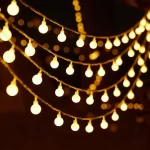
Next, consider the style of lights. String lights are versatile and popular, available in various bulb shapes and sizes like mini, C7, and C9. Net lights are best for bushes and shrubs, providing even coverage with minimal effort. Icicle lights create a classic winter look, ideal for eaves and edges. Lastly, rope lights are flexible and perfect for outlining windows, doors, and walkways.
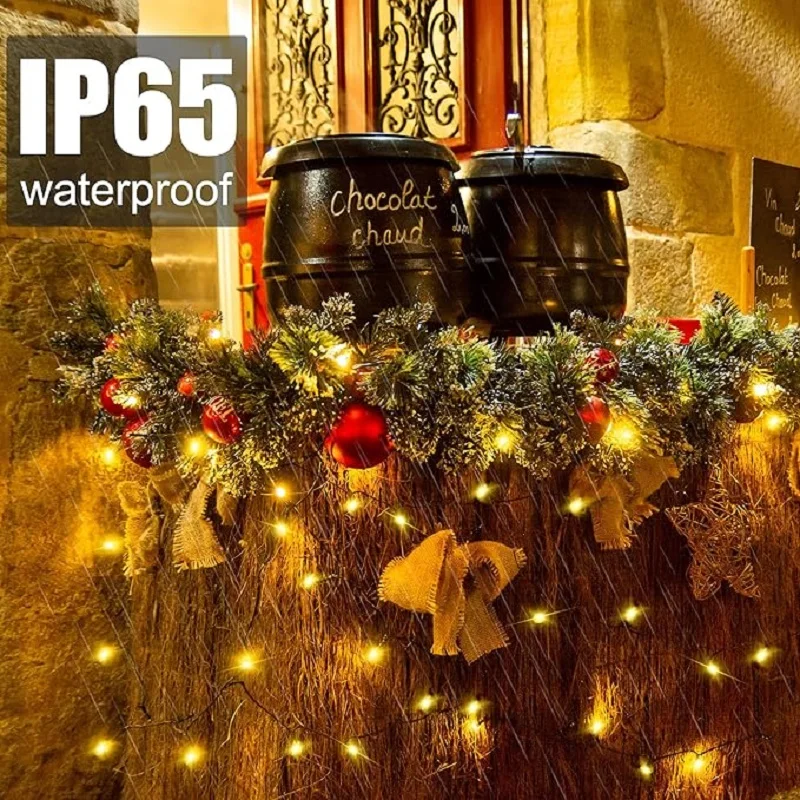
When selecting your lights, check for essential features like weather resistance, especially if your display will be exposed to the elements. Opt for lights with a UL (Underwriters Laboratories) rating for safety assurance. Additionally, make sure the bulbs are replaceable, and purchase some extra bulbs and fuses to prepare for the inevitable burnouts.
Testing Your Lights
Before you start stringing your lights, take a moment to test each strand. This crucial step can save you from a lot of frustration later. Plug in each string of lights to ensure all bulbs are working. If you encounter a broken or missing bulb, replace it immediately. It’s a good idea to do this in a safe and accessible location, like your garage or living room, rather than discovering a dead string while you’re halfway up a ladder.
For LED lights, check for consistent brightness. Sometimes, individual LEDs can go dim rather than completely out, resulting in uneven lighting. Be sure to gently untangle any knots and ensure that the wires are intact. Handling this beforehand will streamline the installation process and reduce the risk of electrical faults.
Preparing Your Tools and Supplies
Once you’ve tested your lights, gather all the tools and supplies you’ll need. Essential items include a sturdy ladder, outdoor extension cords, power strips, and light clips for attaching the lights to various surfaces. Light clips are particularly useful as they can securely hold lights without damaging gutters, shingles, or other parts of your home. Depending on your layout, you might also need zip ties, stakes for ground lights, and a timer for automating your display.
Don’t forget safety gear such as gloves and a hard hat. Gloves will protect your hands from sharp objects and cold weather, while a hard hat is a must if you are working on high installations. Have someone assist you in case of emergencies and to hand you tools, preventing unnecessary trips up and down the ladder.
Starting with the Roofline
Begin your decoration journey with the roofline, as it forms the structure of your light display. Start at a power source, whether it’s an outdoor outlet or an extension cord connected indoors. Secure your light string with light clips, spacing them evenly to avoid sagging. Run the first strand along the edge of the roof, making sure it’s taut and aligned. When you reach the end of one strand, connect the next strand and continue along the roofline.
While working on the roof, ensure your ladder is placed on stable ground and maintain three points of contact at all times (two feet and one hand or two hands and one foot). If your roof has dormers, chimneys, or other architectural features, outline them to accentuate these unique elements. Remember to leave extra length at corners to avoid tension, which can cause the bulbs or wires to break.
Moving to the Trees and Bushes
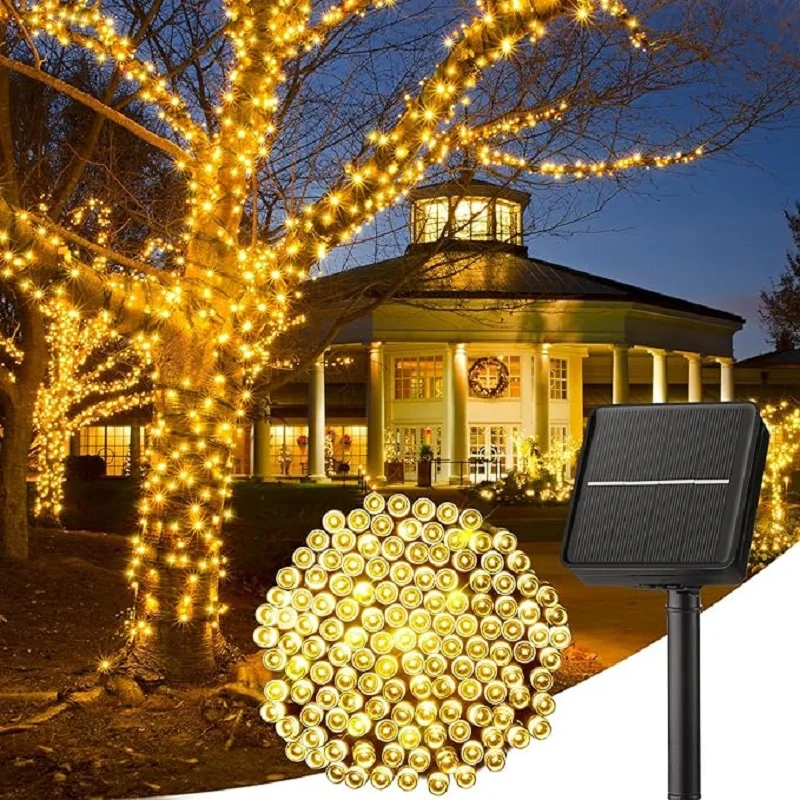
Once the roofline is complete, it’s time to move to the trees and bushes. For trees, start at the base and wrap the lights around the trunk, moving upward in a spiral pattern. You can choose to cover the primary branches for a more detailed look. The key here is to maintain even spacing and tension. To achieve a layered effect, you can use different colors or types of light for the trunk and branches.
For bushes, net lights are a game-changer. Simply drape the net over the bush, instead of painstakingly wrapping each branch. This method ensures even coverage and saves a considerable amount of time. Secure the nets with ground stakes if necessary to keep them in place. If you prefer string lights, drape them back and forth horizontally, overlapping slightly as you move upwards.
Decorating Pathways and Walkways
Illuminated pathways and walkways not only add a magical touch but also improve safety for guests and family members. Rope lights are perfect for this job, as they can be staked into the ground or laid along the edges of the pathway. If you’re stringing regular lights along a walkway, use ground stakes to keep them in place and prevent them from moving around.
For added flair, consider using different colors or patterns to create an inviting entrance. Spiral light stakes and candy cane lights are popular options that double as decorative markers and boundary indicators. Solar-powered pathway lights can be an eco-friendly addition, requiring no extension cords and turning on automatically at dusk.
Enhancing Windows, Doors, and Other Features
Windows and doors are focal points of your home and deserve special attention. Frame them with string or rope lights, ensuring the lines are straight and corners are sharp for a polished look. Use clips or adhesive hooks designed for temporary use to avoid damaging your frames.
Don’t forget other features such as porch railings, balconies, and fences. Wrapping these areas can extend the festive glow throughout your space. For railings, loops of garlands combined with lights can create a lush, glowing effect. Balconies and fences can be illuminated with icicle lights or traditional string lights, making sure the lights are uniformly spaced and securely fastened.
Final Touches and Troubleshooting
Once all the lights are installed, step back and survey your handiwork. Look for gaps or uneven sections and make adjustments as necessary. Ensure that all connections are secure, and use waterproof caps for added protection on the cords and outlets. If some lights are not working, check the connections and fuses. A handy trick is to use a light tester to quickly identify faulty bulbs or sections within a string.
For an extra layer of sophistication, synchronize your lights with music. Commercially available light controllers can automate and coordinate your lights to sparkle and change colors in time with your favorite holiday tunes. This advanced technique may require some additional setup and programming, but the result is a mesmerizing show that will captivate viewers.
Conclusion: A Masterful Holiday Display
By following this step-by-step guide to stringing Christmas lights like a pro, you can create a holiday display that is both stunning and safe. With careful planning, the right materials, and a bit of patience, your home can radiate festive cheer and become the talk of the neighborhood. Whether you’re going for a simple, elegant look or an elaborate, show-stopping spectacle, mastering the art of stringing Christmas lights will elevate your holiday decorating to a whole new level. Happy decorating!