Enhancing your outdoor living space with string lights can create an inviting and beautiful atmosphere for both casual gatherings and special occasions. When it comes to hanging string lights on stucco, however, it can seem like a daunting task. The textured surface of stucco presents unique challenges that require specific tools and techniques. This comprehensive guide will provide you with a step-by-step tutorial on how to hang string lights on stucco, ensuring a secure, durable, and visually appealing installation.
Understanding Stucco and Its Challenges
Stucco is a popular exterior finish for homes due to its durability and aesthetic appeal. Made from a mixture of cement, sand, and lime, it forms a hard, textured surface that can last for decades. However, this very texture that makes it so durable also complicates the process of attaching items like string lights. Traditional mounting methods, such as nails or screws, may not work well, and the rough surface can make adhesives less effective.
In addition to its texture, stucco can be fragile if not handled correctly. Drilling or hammering without proper preparation can cause cracks or chips, mar the surface, and potentially compromise the structural integrity of the wall. Therefore, understanding the unique properties and challenges of stucco is essential before starting any installation.
Essential Tools and Materials
Before you begin the installation process, gather all the necessary tools and materials to ensure a smooth and efficient process. Here’s a list of what you’ll need:
- String Lights: Choose weather-resistant string lights suitable for outdoor use.
- Measuring Tape: To measure distances and ensure accurate placement.
- Pencil or Chalk: For marking locations on the stucco.
- Ladder: To reach higher areas safely.
- Masonry Drill Bits: Designed for drilling into stucco without causing damage.
- Drill: Necessary for making holes in stucco.
- Masonry Anchors or Wall Anchors: Provide secure mounting points for hooks or screws.
- Screw Hooks or Cup Hooks: For hanging the string lights.
- Silicone Caulk: To seal any holes and prevent moisture from entering.
- Adhesive Hooks (Optional): For areas where drilling is not feasible.
- Safety Gear: Including gloves and safety glasses.
Planning the Layout
Proper planning is crucial for a successful and aesthetically pleasing installation. Start by deciding where you want to hang the string lights. Look at the entire outdoor area and consider factors like power sources, existing outdoor furniture, and walkways. You might want the lights to outline a patio, drape across a pergola, or create a canopy effect over a seating area.
Use measuring tape to determine the exact lengths needed for your string lights. Mark the desired locations with a pencil or chalk to guide your installation. It’s essential to think about both the functional and visual aspects—ensuring the lights provide enough illumination while enhancing the overall ambiance of your outdoor space.
Consider the distance between mounting points and ensure accurate spacing for a balanced look. If you plan to connect multiple strings, be sure to check the maximum interconnected distance supported by the manufacturer to avoid overloading circuits.
Drilling Holes and Installing Anchors
Once you’ve planned your layout, it’s time to prepare your mounting points by drilling into the stucco. Always wear safety goggles and gloves to protect yourself from debris. Follow these steps for accurate and safe drilling:
- Mark the Drilling Points: Use a pencil or chalk to mark the exact spots where you want to install hooks or anchors.
- Choose the Right Drill Bit: Select a masonry drill bit that matches the size of your anchors. Masonry bits are specially designed to handle the hardness of stucco.
- Drill the Holes: Hold the drill at a 90-degree angle to the wall to ensure a straight hole. Start drilling at a low speed to penetrate the stucco surface and then increase the speed as needed. Drill to the depth specified by the length of your anchors.
- Insert the Anchors: Tap the masonry anchors into the drilled holes using a hammer. Make sure they are flush with the wall surface for a secure fit.
- Seal the Holes: Apply a small bead of silicone caulk around the anchors to seal any gaps and prevent moisture from entering, which could lead to damage over time.
Attaching Screw Hooks or Cup Hooks
With the anchors firmly in place, the next step is to install the hooks that will hold your string lights:
- Screw in the Hooks: Insert screw hooks or cup hooks into the masonry anchors. Turn them clockwise until they are tight and secure. Be careful not to overtighten, as this could damage the anchors or stucco.
- Check Stability: Once all hooks are in place, give them a gentle tug to ensure they are secure. Properly installed hooks should not move or come loose with moderate pressure.
Hanging the String Lights
Now comes the fun part: hanging your string lights. Follow these steps to ensure a smooth and effective installation:
- Unravel and Inspect the Lights: Before hanging, unravel the string lights and check for any damaged bulbs or frayed wires. Replace any compromised bulbs to ensure consistent lighting and safety.
- Start at the Power Source: Begin hanging the lights starting at the power outlet. This ensures you have enough cord length to connect to the power source.
- Attach Lights to Hooks: Gently drape the string lights over the installed hooks. Adjust the tension and slack to create a balanced look. Depending on your design, you may need to loop the lights around the hooks or simply let them hang.
- Secure the Ends: Once all the lights are in place, secure the end of the string either by wrapping it around the last hook or using a zip tie for extra stability.
- Test the Lights: Plug in the string lights to check for proper illumination. Make any necessary adjustments to ensure even spacing and alignment.
Ensuring Electrical Safety
Safety should always be a priority, especially when dealing with electrical installations outdoors. Here are some essential tips to ensure your string lights are installed safely:
- Use Outdoor-Rated Lights: Ensure that the string lights you choose are rated for outdoor use. Outdoor lights are designed to withstand elements like rain, wind, and temperature fluctuations.
- Check for GFCI Outlets: Use a Ground Fault Circuit Interrupter (GFCI) outlet for outdoor installations. A GFCI outlet reduces the risk of electrical shock.
- Elevate Connections: Keep all electrical connections off the ground to prevent exposure to moisture. Use a waterproof cover for the plug connection to protect it from rain.
- Inspect Before Use: Regularly inspect the string lights and power cords for any signs of wear, fraying, or damage. Replace any damaged components immediately.
- Follow Manufacturer’s Instructions: Adhere to the manufacturer’s instructions regarding the maximum number of interconnected string lights and safe usage guidelines.
Enhancing the Aesthetics
Enhancing the aesthetics of your outdoor space with string lights goes beyond just hanging them. Here are a few tips to create a stunning visual effect:
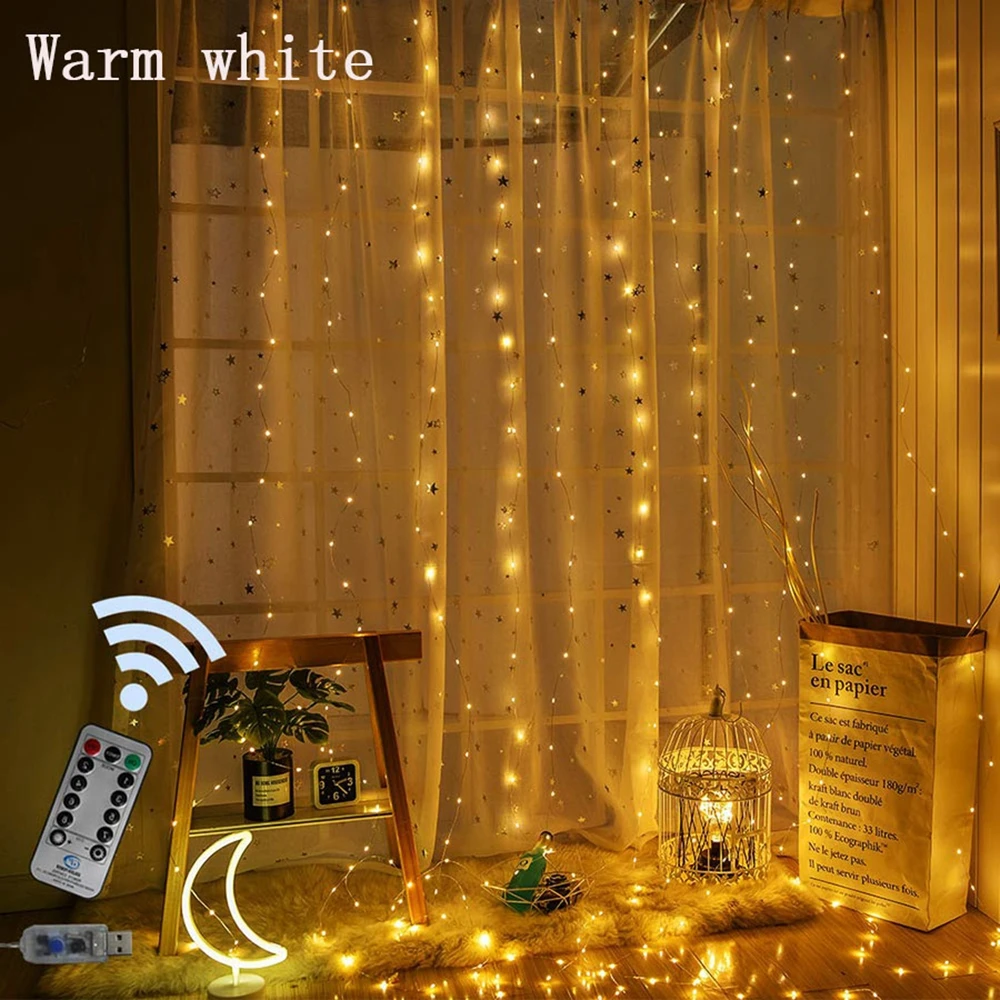
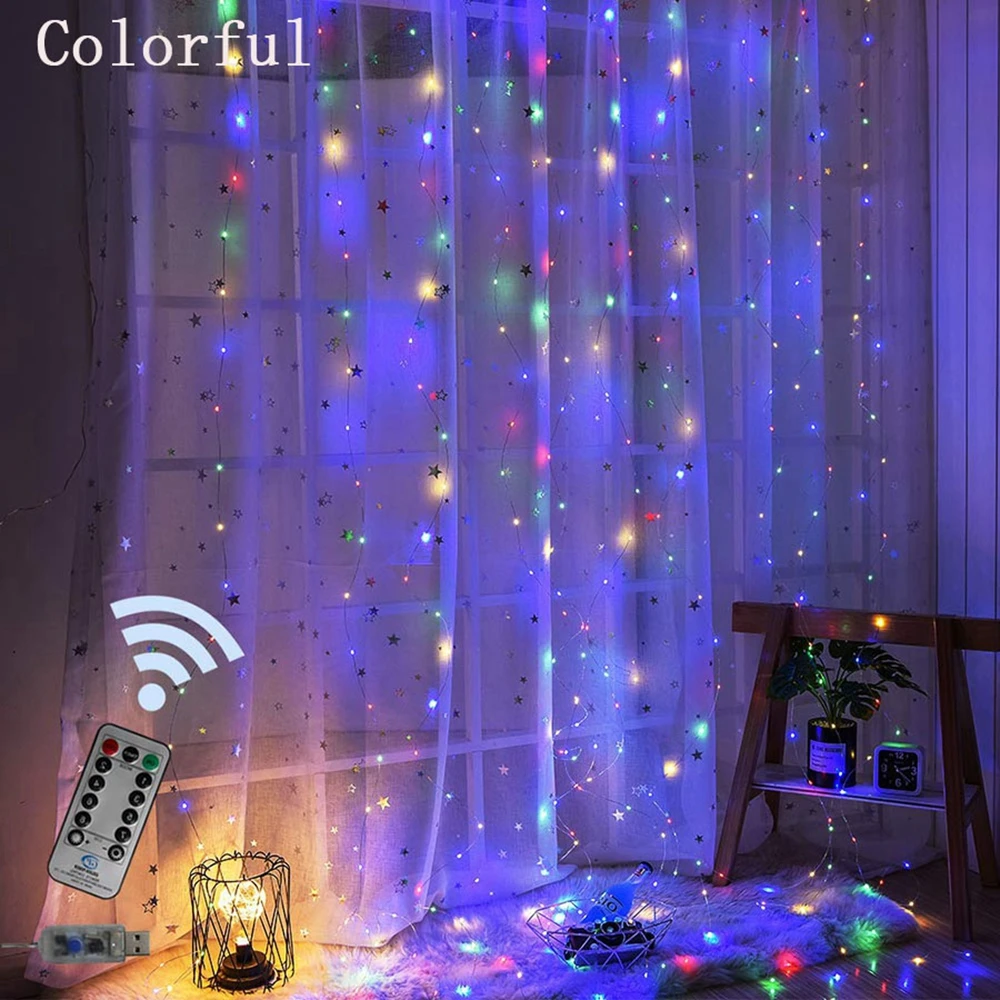
- Choose the Right Style: Opt for string lights that match the ambiance you want to create. Fairy lights offer a delicate, whimsical feel, while Edison bulbs provide a warm, vintage look.
- Create Patterns: Experiment with different hanging patterns such as zig-zags, straight lines, or a canopy effect. Tailor the design to fit your outdoor space and the mood you want to set.
- Combine with Other Lighting: Add other lighting elements like lanterns, candles, or spotlights to complement your string lights and create layers of light.
- Use Natural Elements: Integrate your string lights with natural elements such as trees, plants, or pergolas for a cohesive and organic look.
- Adjust Brightness: Consider using dimmable string lights or adding a dimmer switch to control the brightness and adapt the lighting to various occasions.
Conclusion
Hanging string lights on stucco might initially seem like a challenging task, but with the right tools, techniques, and planning, it can be a straightforward and rewarding project. This step-by-step guide has provided you with all the necessary information to securely and aesthetically hang string lights on stucco, transforming your outdoor space into a magical oasis.
From understanding the challenges of working with stucco to selecting the right tools and ensuring electrical safety, every step is crucial for a successful installation. By following the outlined procedures, you can achieve a durable and visually appealing setup that enhances the ambiance of your outdoor space.
