Candle-making is an ancient art form that has evolved into a popular hobby for many. Whether you want to craft unique gifts, create a cozy atmosphere in your home, or even start a small business, making candles at home can be a fulfilling and rewarding experience. This guide covers everything you need to know to begin your candle-making journey, from the tools and materials you’ll need to advanced techniques and tips for creativity.
Understanding the Basics of Candle Making
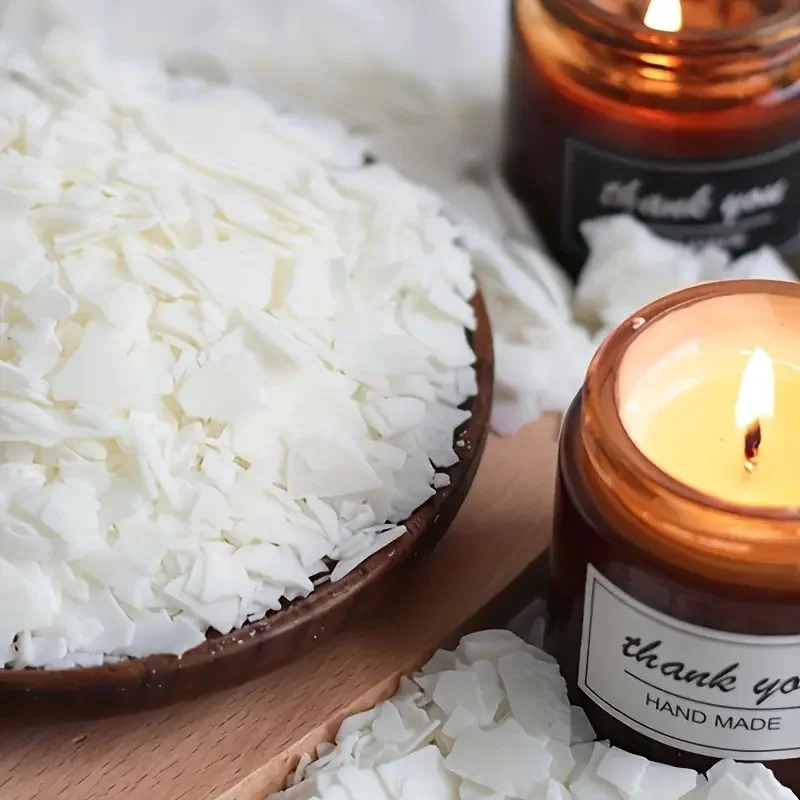
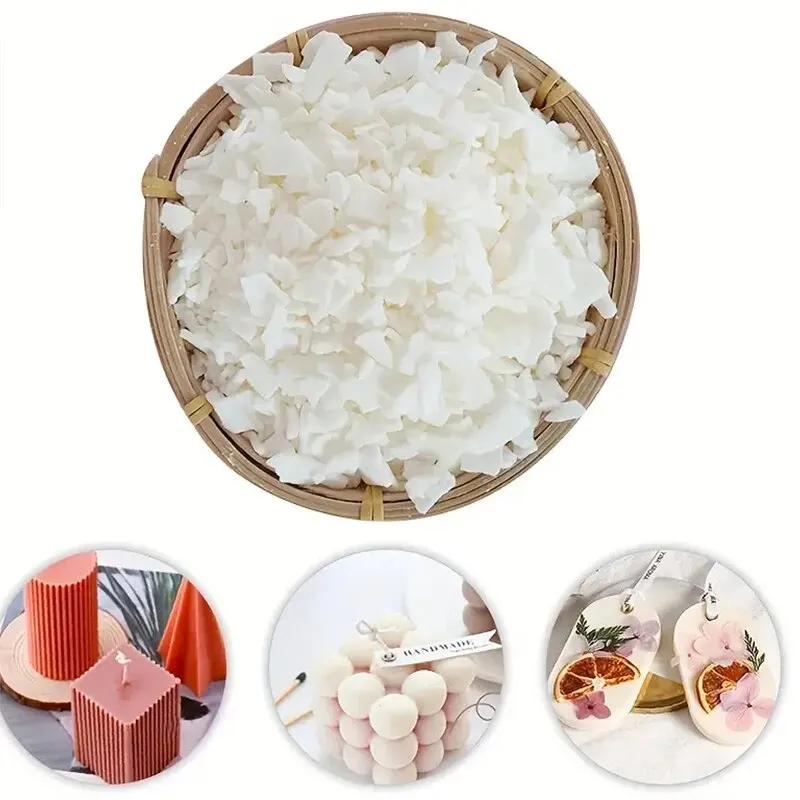
Before diving into the candle-making process, it’s essential to understand the fundamental components involved. Candles are primarily made of wax, wick, and fragrance. Wax can be derived from various sources, such as paraffin, soy, beeswax, and palm, each offering different characteristics. For beginners, choosing soy wax is often recommended due to its ease of use and eco-friendliness.
The wick is another vital element; it serves as the fuel delivery system that allows your candle to burn properly. Wicks come in various sizes and materials, and selecting the right type for your candle can greatly impact its burn quality. Additionally, fragrance oils can add a delightful scent to your creation, turning an ordinary candle into a sensory experience.
To sum up, familiarizing yourself with these basic components will lay a strong foundation for your candle-making journey. Each element works harmoniously to create a beautiful and functional finished product.
Essential Tools and Materials
Creating your own candles requires various tools and materials. Before you begin, gather the following essential items:
- Wax: As mentioned earlier, options include paraffin, soy, and beeswax. Choose one based on your desired characteristics.
- Wicks: Experiment with different sizes and materials to find the best match for your chosen wax and candle size.
- Fragrance oils: Easily available online or in craft stores, choose scents that appeal to your olfactory senses.
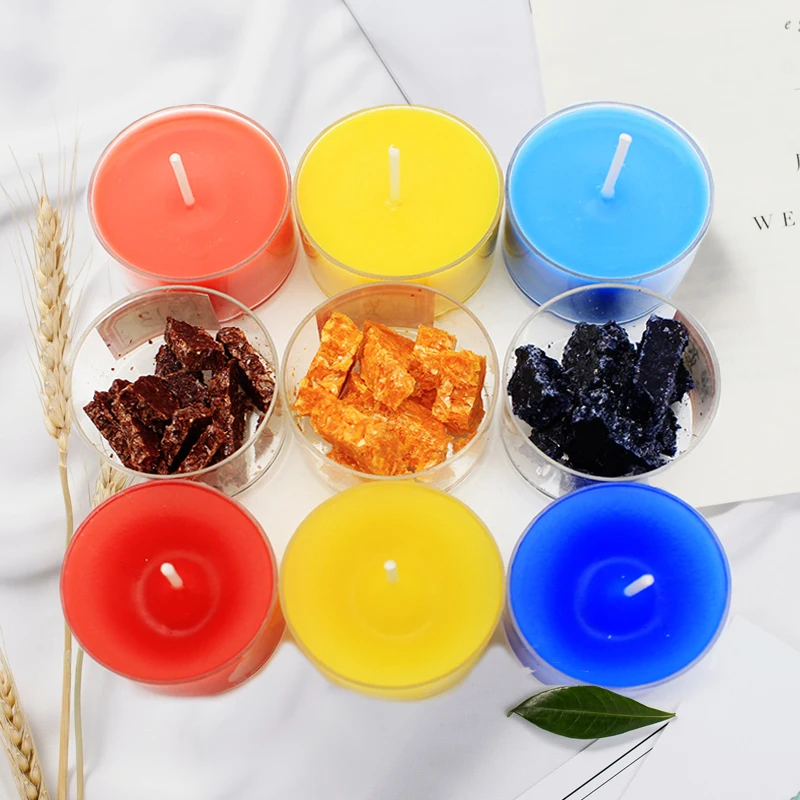
- Dyes: Candle dyes can be added to wax to give your candles color. Opt for liquid dyes or color blocks.
- Double boiler or microwave: For melting your wax, a double boiler is preferred to ensure even heating, though a microwave can also do the job if monitored carefully.
- Thermometer: Essential for checking the wax temperature when pouring.
- Pouring pitcher: A specific container to pour melted wax, helping to avoid spills and maintain a clean workspace.
- Stirring stick: A simple wooden stick works well for mixing fragrance and dye into the melted wax.
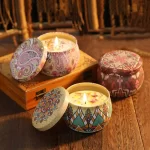
- Molds or containers: Depending on the type of candles you wish to create, choose suitable molds or containers, like glass jars or metal tins.
By gathering these essential tools and materials first, you’ll create a streamlined workflow, making the candle-making process easier and more enjoyable.
Safety First: Best Practices for Candle-Making
Candle-making is a fun activity, but it also comes with safety considerations. Working with hot wax and open flames can pose risks if not approached carefully. Here are some best practices to keep in mind:
1. Work in a ventilated area: Ensure your workspace has good airflow, especially when dealing with fragrance oils, as they can be potent and overwhelming in closed spaces.
2. Wear protective gear: Consider wearing gloves and safety goggles while working to prevent skin burns and irritation.
3. Monitor your temperatures: Always use a thermometer to check the wax temperature. Most waxes have specific melting points, and pouring too hot can damage scents, while pouring too cold can lead to improper adhesion.
4. Keep flammable materials away: Have your workspace free from flammable items like papers or fabrics, as hot wax can spill if not handled properly.
5. Never leave wax unattended: When melting or pouring wax, stay present to avoid accidents.
By taking these precautions, you can enjoy your candle-making experience without compromising your safety.
Step-by-Step Guide to Making Your First Candle
Creating your first candle is an exciting process. Here’s a step-by-step guide to help you through it:
Step 1: Measure Your Wax: The first step is to measure the wax needed for your candle. Typically, you’ll want to use around 1 ounce of wax for every fluid ounce of your container to ensure it fills adequately.
Step 2: Melt the Wax: Use your double boiler to melt the wax slowly. If you’re using a microwave, heat it in short intervals, stirring in between. Monitor the temperature; it should reach around 170-180°F for most waxes.
Step 3: Add Fragrance and Color: Once melted, remove the container from heat and stir in your fragrance oils and dyes. The fragrance should comprise 6-10% of the total wax weight for a balanced scent.
Step 4: Prepare the Wick: Secure the wick at the bottom of your container. You can use a dab of hot glue or a wick sticker. Ensure the wick is centered to ensure even burning.
Step 5: Pour the Wax: Allow the wax to cool slightly (around 140-150°F) before pouring it into the container. This helps prevent cracks and sinkholes.
Step 6: Secure the Wick: Use a wick holder or chopstick to keep the wick centered as the wax cools and hardens.
Step 7: Let It Cool and Cure: Allow the candle to cool completely before removing it from the mold or trimming the wick. Many professionals recommend a curing time of at least 48 hours for optimum fragrance throw.
Following these steps, you’ll create your first candle in no time. Enjoy the process and make tweaks as you gain more experience!
Customizing Your Candles with Scents and Colors
Once you’ve mastered the basic techniques, it’s time to get creative with scents and colors. The customization options are limitless!
Scents: Mixing fragrance oils can yield unique aromas. Don’t be afraid to experiment with various combinations—perhaps citrus blends with vanilla or earthy scents with fresh florals. Just ensure that you maintain a balance between fragrances; too many overlapping scents can become overpowering.
Colors: Candle dyes can be mixed to create unique shades. Start by adding a small amount of dye and adjust according to your preferences. Additionally, you can achieve interesting effects by embedding colored wax pieces into clear wax for a layered look.
An advanced technique involves the concept of fragrance layering, which entails creating a candle that has multiple scent notes experienced at different stages of the burn. The art of customization allows you to express your creativity fully, resulting in one-of-a-kind creations.
Troubleshooting Common Candle-Making Issues
As with any craft, you may encounter challenges during your candle-making journey. However, most problems have simple solutions.
1. Uneven burning: If your candle burns unevenly, it could be linked to the wick size. Ensure you are using the appropriate wick size for your container.
2. Fragrance fading: If the scent dissipates quickly, it may be due to an overly high pouring temperature or improper wick size.
3. Cracks on the surface: These can result from pouring at too high a temperature or cooling too quickly. To prevent this issue, pour at the correct temperature and allow it to cool slowly in a stable environment.
4. Soot formation: If your candle produces soot, it’s often due to an oversized wick, so ensure you’re using the correct size and trimming it appropriately before each burn.
Paying attention to detail and being prepared for troubleshooting will enhance your candle-making experience and lead to better-quality products.
Exploring Different Candle-Making Techniques
Once you’re comfortable with basic candle-making, you might want to impress friends and family by exploring various techniques.
1. Layered Candles: Create stunning candles with multiple layers of colors by allowing each layer to cool completely before adding the next.
2. Embedded Objects: Consider placing decorative objects like flowers, herbs, or colored wax chips within your candle for eye-catching designs.
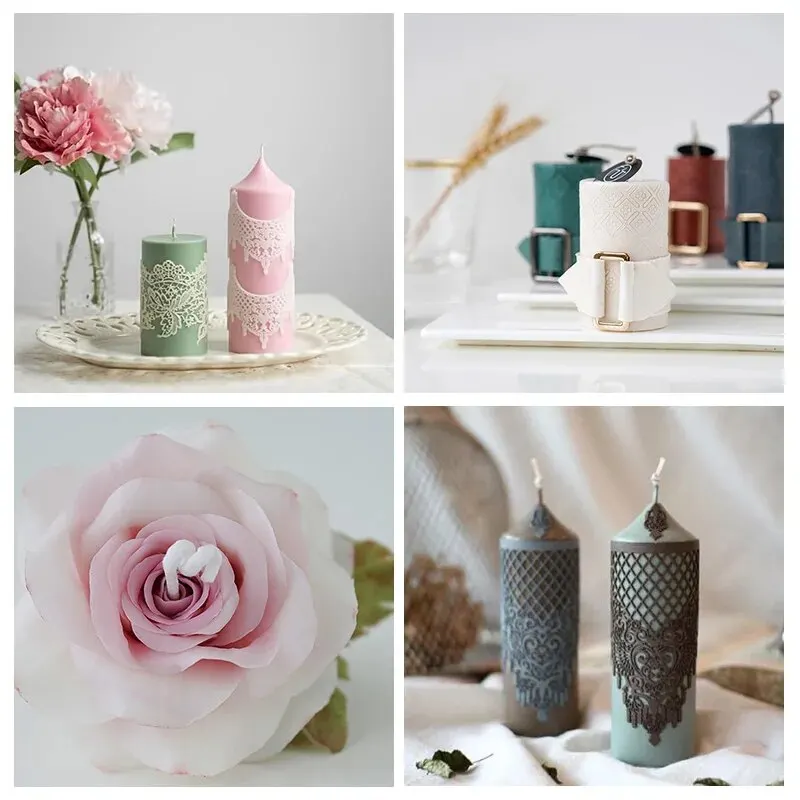
3. Sculptural Candles: Try your hand at pouring into molds for artistic shapes, or use a technique called carving, where candles are layered and then shaped to create intricate designs.
4. Pillar Candles: Using molds, you can create pillar candles. These require specific types of wax (like paraffin or beeswax) and may need additional supports for the wick.
By experimenting with these advanced techniques, you can take your candle-making skills to new heights and create standout pieces that tell a story through design and aroma.
Conclusion: Embrace Your Candle-Making Journey
Candle-making at home is more than just a craft; it’s a therapeutic and creative outlet brimming with possibilities. From understanding the basics to customizing your creations and troubleshooting common issues, this guide has laid the groundwork for you to venture confidently into the world of candle-making.