Making your own candles can be a rewarding and creative endeavor, and soy wax candles are an excellent choice for beginners. Not only do they burn cleaner than paraffin wax, but they also have a longer burn time and are made from renewable resources.
Understanding Soy Wax
What is Soy Wax?
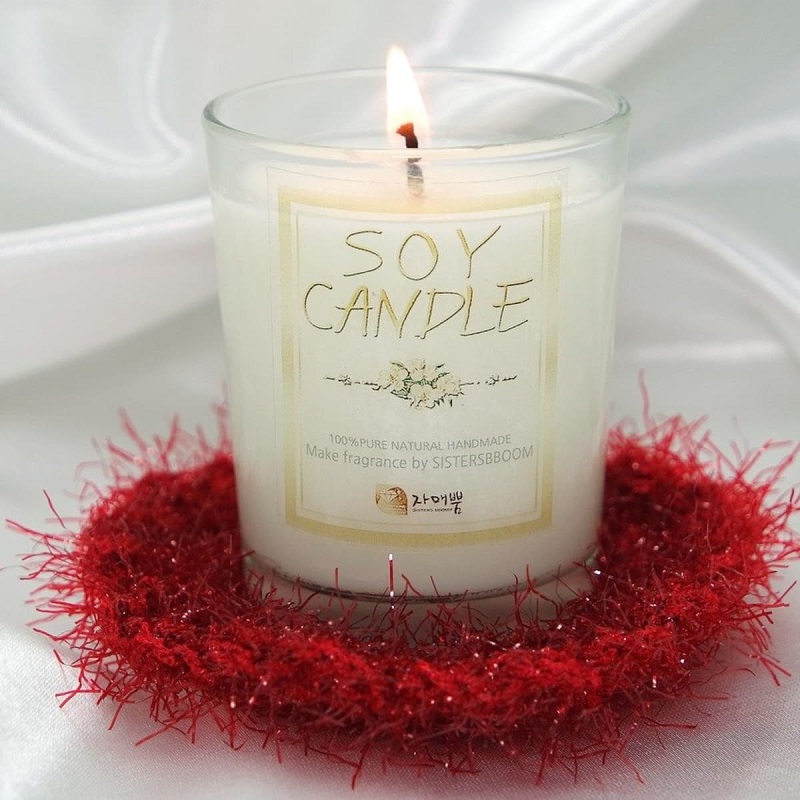
Soy wax is a natural wax made from hydrogenated soybean oil. It is biodegradable and derived from a renewable resource, which makes it an eco-friendly option for candle making. Unlike traditional paraffin wax, which is derived from petroleum, soy wax emits fewer toxins when burned. This quality makes soy candles a healthier choice for your home environment, particularly for individuals with allergies or sensitivities to synthetic materials.
Benefits of Using Soy Wax
Using soy wax for your candle-making projects comes with several notable benefits. First, soy wax has a lower melting point compared to paraffin, which allows for a more manageable and safer candle-making process. Additionally, soy wax holds scent exceptionally well, meaning your candles can deliver a powerful fragrance throw when burned. Moreover, soy candles burn longer and produce less soot, which contributes to a cleaner atmosphere in your space. These characteristics make soy wax an ideal choice for both novice and experienced candle makers.

Gathering Your Supplies
Essential Materials
Before you begin making your soy wax candles, it’s essential to gather all necessary supplies. You’ll need the following materials: soy wax flakes, candle wicks (preferably cotton or wooden), a double boiler or microwave-safe container for melting wax, a thermometer, fragrance oils (if desired), and containers or molds for your candles. Don’t forget to have some tools on hand, such as a stirring utensil, scissors, and a scale for measuring ingredients. Having everything set up in advance will streamline the process and ensure a smooth candle-making experience.
Choosing Your Containers
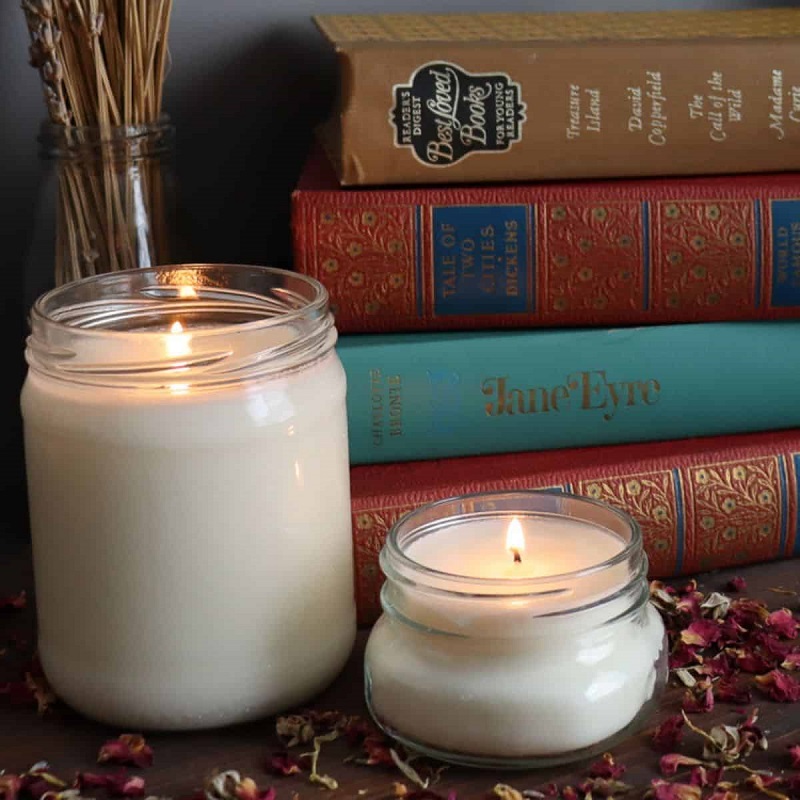
The containers you choose for your candles can significantly impact their final look and functionality. You can use glass jars, metal tins, or even silicone molds, depending on your desired aesthetic. Keep in mind that different materials may require specific wick sizes and types. For example, if you’re using a glass jar, you’ll typically want a wick that is suitable for that diameter. Choose containers that are heat-resistant and specifically designed for candle-making to ensure safety and effectiveness.
Preparing Your Workspace
Setting Up Your Area
Creating a dedicated workspace is crucial before diving into the candle-making process. Choose a flat, stable surface that can withstand heat and potential spills. Lay down some newspapers or a plastic sheet to protect the surface from wax drips. Ensure that your workspace is well-ventilated to avoid inhaling any fumes from the melting wax or fragrance oils. Having a clean and organized area will not only make the process more enjoyable but also safer.
Safety Precautions
Safety should always be a priority when engaging in any crafting activity, especially when working with hot materials like melted wax. Wear protective gloves and goggles to shield your skin and eyes from potential splashes. Keep a fire extinguisher nearby, just in case something goes awry. Make sure to keep children and pets at a safe distance while you are melting wax and pouring it into containers. By taking these precautions, you can enjoy the candle-making process with peace of mind.
Adding Fragrance and Color
Choosing Fragrance Oils
Adding fragrance to your soy wax candles can elevate their appeal and make them truly unique. When selecting fragrance oils, it’s essential to choose high-quality oils specifically designed for use in candles. Most fragrance oils come with usage guidelines indicating how much to use per pound of wax. Generally, you can add 1 ounce of fragrance oil for every pound of wax, but feel free to adjust based on your personal preferences for intensity.
Incorporating Color
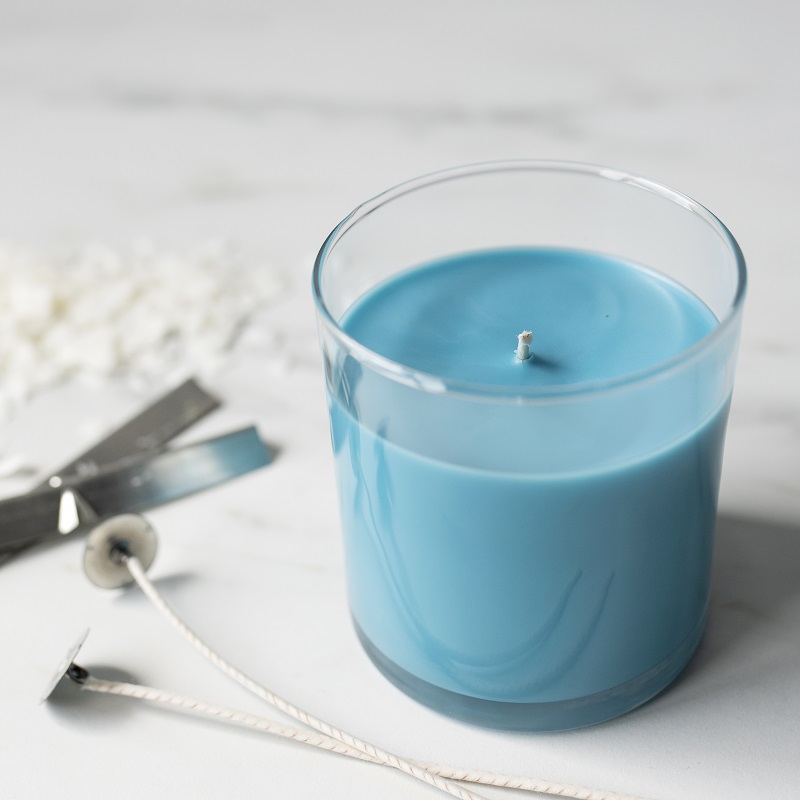
If you wish to add color to your candles, now is the time to do so. Candle dyes come in various forms, including liquid, powder, and chips. Choose a dye suitable for soy wax, and follow the manufacturer’s instructions for mixing. Start with a small amount; you can always add more if you’d like a deeper shade. Stir the dye into the melted wax thoroughly to ensure an even color distribution.
Preparing and Securing Wicks
Choosing the Right Wick
Selecting the appropriate wick for your soy wax candle is vital for achieving a clean burn and optimal scent throw. The size of the wick depends on the diameter and depth of your container. Wicks are available in various materials, including cotton, wood, and hemp. For soy wax, cotton wicks are a popular choice due to their ability to draw the wax up efficiently, ensuring a steady burn.
Securing the Wick
Before pouring the melted wax, you need to secure the wick at the bottom of your container. This can be done in several ways. You can use a hot glue gun to attach the wick sustainer to the bottom of the container or simply dip the wick in the melted wax and press it onto the base. Ensure the wick is centered and straight, as this will affect how evenly the candle burns. To keep the wick upright during the pouring process, you can use a wick holder or pencil laid across the top of the container, resting the wick in the middle.
Pouring the Wax
Checking the Temperature
Before pouring the melted wax into your prepared containers, it’s essential to let it cool slightly. The ideal pouring temperature for soy wax is typically between 130°F and 150°F (54°C to 65°C). Use a thermometer to check the temperature of the wax; pouring at the right temperature helps minimize surface imperfections and ensures a smooth finish. If the wax is too hot, it can lead to cracking or uneven surfaces once cooled.
Pouring Technique
Carefully pour the melted wax into your prepared containers while holding the wick in place. Aim to pour slowly and steadily to minimize air bubbles. Fill the containers to the desired level, leaving some space at the top. If you notice any bubbles forming on the surface, you can gently tap the sides of the container or use a heat gun to eliminate them.
Curing and Finishing
Allowing the Candles to Cure
After pouring your soy wax candles, it’s important to let them cure for a period of time before burning them. Curing allows the wax and fragrance to bond properly, enhancing the overall scent throw and burn quality. A curing time of at least 48 hours is recommended, but allowing your candles to cure for 1-2 weeks can yield even better results. During this time, keep the candles in a cool, dry area away from direct sunlight.
Trimming the Wick
Once your candles have cured, it’s time to prepare them for burning. The wick should be trimmed to about 1/4 inch above the surface of the candle. Trimming the wick helps prevent excessive soot and ensures a clean, even burn. If the wick has a mushroom shape or is too long, it may produce a larger flame that can lead to uneven burning.
Enjoying Your Homemade Candles
Lighting Your Candles
When you’re ready to light your homemade soy wax candles, use a long-reach lighter or matches to ensure your safety. Allow the candle to burn for at least 1 hour for every inch in diameter to achieve an even melt pool. This practice prevents tunneling, where the wax burns down the center but leaves an outer ring of unmelted wax. Always monitor your candle while it’s lit and follow safety guidelines, such as keeping it away from flammable materials and never leaving it unattended.
Troubleshooting Common Issues
Addressing Common Problems
Even experienced candle makers encounter issues from time to time. If your candles develop cracks, it might be due to pouring the wax at too high a temperature or cooling too quickly. To remedy this, ensure you pour at the recommended temperature and allow the candles to cool gradually. If your candles sink in the middle, they may need additional wax added on top after cooling. Keeping a close eye on the process and adjusting your techniques will help minimize these issues.
Enhancing Scent Throw
If you find that your candles aren’t releasing enough fragrance, consider increasing the amount of fragrance oil used or experimenting with different brands. Some fragrances bind better with soy wax than others, so it may take some trial and error to find the perfect scent for your candles.
Conclusion
Embracing the Art of Candle Making
Making soy wax candles is not only a fun and creative hobby but also an excellent way to provide ambiance and fragrance to your home. With the right materials and techniques, you can create beautiful candles that reflect your personal style and preferences. Whether you’re making them for yourself or as gifts, the satisfaction of crafting your own candles is unmatched.
Continuing Your Candle-Making Journey
As you become more comfortable with the basics of candle making, consider exploring advanced techniques such as layering colors, creating unique shapes, or experimenting with different types of wax. The possibilities are endless, and with each new project, you’ll continue to learn and refine your skills.