Introduction to Butter Candles
Butter candles are a unique and eco-friendly way to light up your space. These candles use common butter as their main component instead of traditional wax. This guide will dive into how to make butter candles, offering an easy-to-follow method for anyone interested in DIY projects or seeking a more natural alternative to paraffin candles. Butter candles give off a soft, natural light and can fill your room with a mild, pleasant scent, especially when combined with essential oils. They are perfect for dinner settings, gentle home lighting, and even as emergency light sources. Let’s get started on learning how to create these charming, functional candles.
Essential Materials Needed for Butter Candles
Before we delve into how to make butter candles, let’s gather what you’ll need. Make sure you have the following essential materials on hand:
- Unsalted Butter: This is the main fuel for your candles. Choose high-quality butter for best results.
- Candle Wicks: Opt for pre-waxed wicks, which will simplify the process and ensure better burning.
- Jar or Container: Any small heat-resistant container works, such as a mason jar or a teacup.
- Saucepan: To melt the butter.
- Essential Oils (optional): If you want your candles to be scented, have your preferred oils ready.
- Bamboo Skewer or Pencil: To secure the wick in place while the butter solidifies.
Collect these items before you start to ensure a smooth and hassle-free candle-making experience. As we move forward, I’ll guide you through each step of how to make butter candles using these materials.
Preparing the Butter for Candle Making
To start making your butter candles, proper preparation of the butter is crucial. First, take unsalted butter out of the fridge to reach room temperature. This makes it easier to handle and melt. Cut the butter into small pieces to speed up the melting process. You’ll want to melt the butter slowly to avoid burning. Use low heat on the stove and stir continuously. Keep an eye on the butter until it becomes a smooth liquid. At this stage, it’s like preparing a base for traditional candles. Patience is key here; don’t rush the melting stage. If the butter starts to brown, reduce the heat immediately. Browning means the butter is overheating and can affect the candle’s quality. Once melted, let it cool slightly. It should still be liquid but not too hot to handle. Now, your butter is ready, and you can proceed to the next step of molding your candle. Remember to clear your workspace and keep it organized to ensure safety and ease during the process. This preparation is the foundation for your butter candle, setting the stage for the next steps.
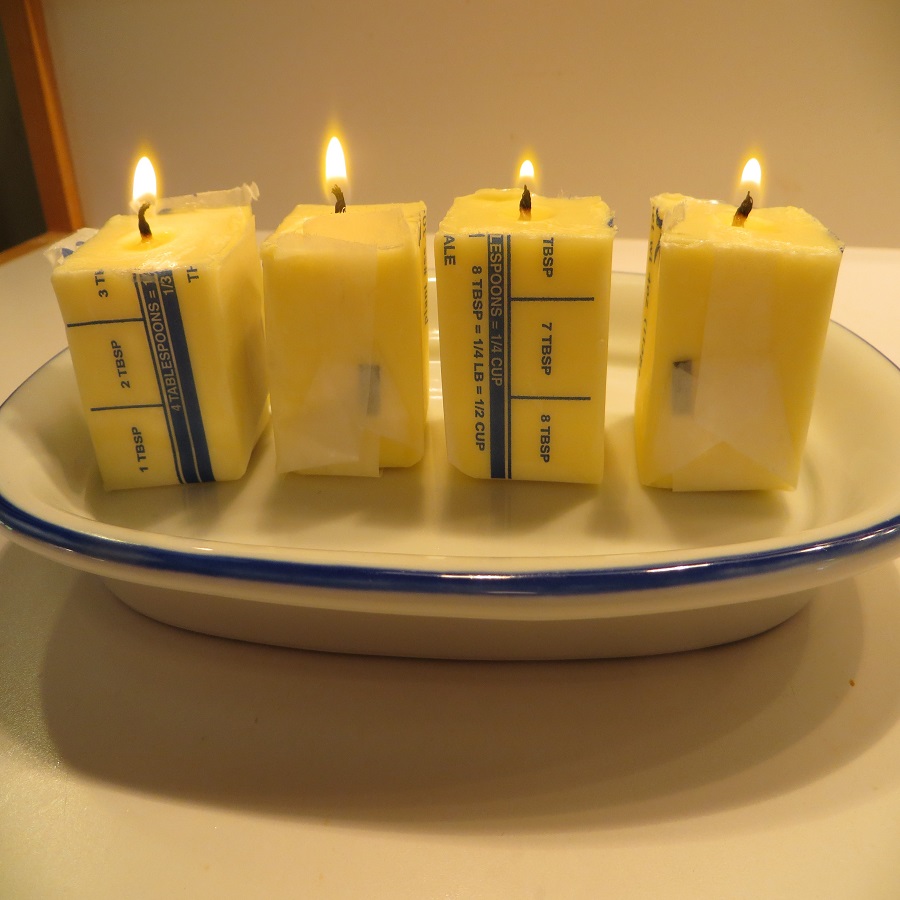
Molding Your Butter Candle
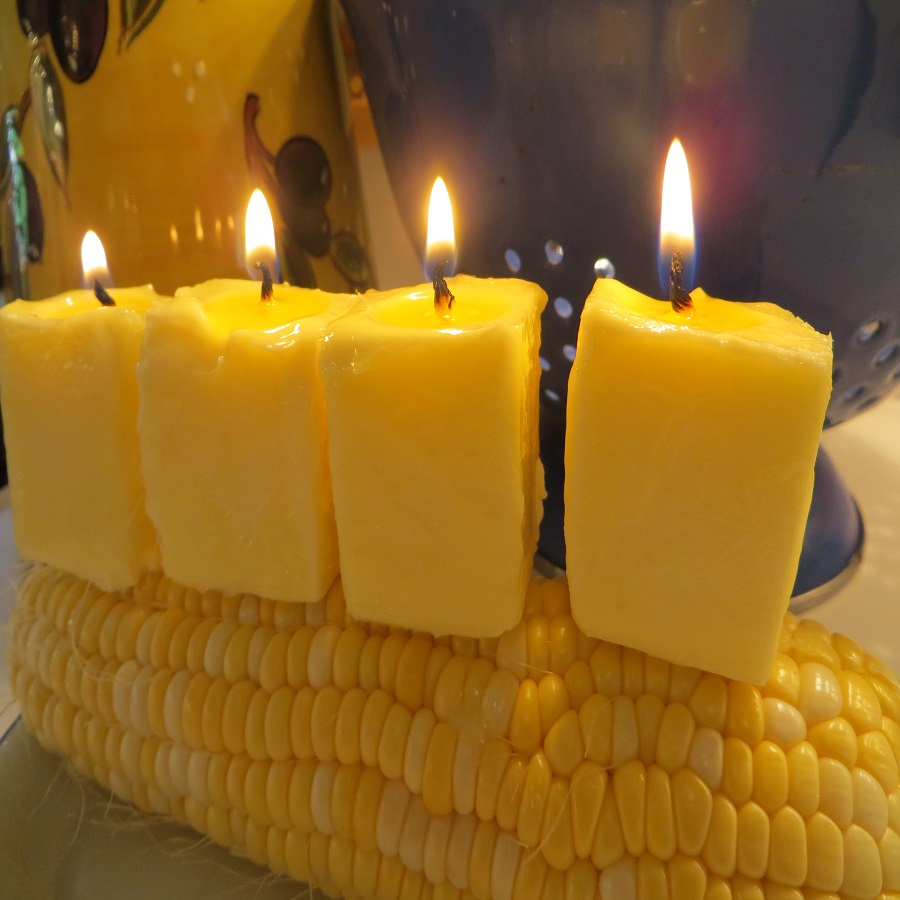
Once your butter is smoothly melted and slightly cooled, it’s time to shape your candle. Begin by securing the wick. Firmly attach the end of a pre-waxed wick to the bottom of your chosen container using a little of the cooled butter as ‘glue’. Ensure the wick is central to allow even burning.
Now, gently pour the melted butter into the container. Do this slowly to avoid air bubbles, which can affect how the candle burns. If you’re using essential oils, you can add them now. A few drops will suffice to imbue your candle with a pleasant aroma.
With the butter poured, it’s crucial to keep the wick upright and centered. Use a bamboo skewer or pencil, laying it across the top of the container and tying the wick to it. This will prevent the wick from drooping as the butter cools and solidifies.
Be patient as your candle sets. It takes time for butter to firm up into the solid state required for a candle. The setting process can vary, but it usually takes a few hours. For best results, let your candle set overnight. After solidifying, the wick can be trimmed to about half an inch above the butter.
Through these steps, you’ll transform simple butter into a beautiful candle. In the next sections, we’ll cover how to blend wax with an enchanting scent and provide tips for safe usage. Keep in mind, as with any candle-making process, cleanliness and careful handling are vital to producing a quality product. Happy molding!
The Process of Turning Butter into Wax
To make butter candles, we need to transform butter into a wax-like state. Here is how you can achieve this. Begin with room temperature, unsalted butter. This makes melting and handling easier. Cut the butter into small chunks to melt it quickly and evenly. Use a saucepan and heat the butter over low heat. Stir continuously to prevent burning.
Once it’s melted, let the liquid butter cool but not solidify. At this point, the texture resembles traditional candle wax. In this state, the butter is now ready to be poured into your candle mold. To turn butter into wax for candles, patience is essential. Allow the liquid butter to solidify slowly and take shape within your container. This wax-like butter will serve as the primary fuel for your candle, just like paraffin in store-bought candles.
This transformation requires careful temperature control. The heat must be low enough to avoid burning the butter but high enough to maintain it in a liquid state when pouring. Monitor the butter carefully during this process to ensure quality. Be mindful; if the butter turns brown, it’s too hot. Lower the heat to keep it in the ideal state for candle making.
When your butter has reached the right consistency, it’s time to move to the next step: adding fragrance, if desired, and molding it properly around the wick. Solidifying butter into the wax is a simple process that leads to a warm, inviting candle, ready to light up your home with a natural glow.
Adding Fragrance to Your Butter Candles
Adding a fragrance to your butter candles enhances their sensory appeal.
Essential oils are perfect for this. Here’s how to add fragrance effectively:
- Choose Your Scent: Decide on essential oils that appeal to you. Popular options include lavender for relaxation, citrus for energizing effects, or cinnamon for a cozy feel.
- Exact Timing: Add the essential oils just before the butter begins to solidify. This ensures the scent permeates evenly.
- Amount of Oil: Use a few drops. Typically, 5-10 drops per small candle is sufficient.
- Mixing: Stir the oil gently into the melted butter to distribute the scent.
Adding fragrance not only improves the aroma but may also provide therapeutic benefits depending on the oils used. Experiment with different oils to find the combinations you love.
Tips for Safely Burning Butter Candles
Safety is paramount when making and using butter candles. Here are some tips:
- Steady Base: Ensure your container has a steady base to prevent tipping.
- Clear Area: Keep the candle area clear of flammable materials.
- Monitoring: Never leave your burning candle unattended.
- Proper Placement: Place candles away from drafts to avoid uneven burning.
- Trim the Wick: Keep the wick trimmed to about half an inch to control the flame.
- First Burn: Allow the candle to burn long enough to melt the top layer evenly, preventing tunneling.
- Extinguishing: Snuff out the candle rather than blowing it to avoid hot wax splatter.
- Storage: Store your candles in a cool, dry place when not in use.
By following these guidelines, you’ll ensure a pleasant and safe experience while enjoying your homemade butter candles.
Creative Presentation and Uses of Butter Candles
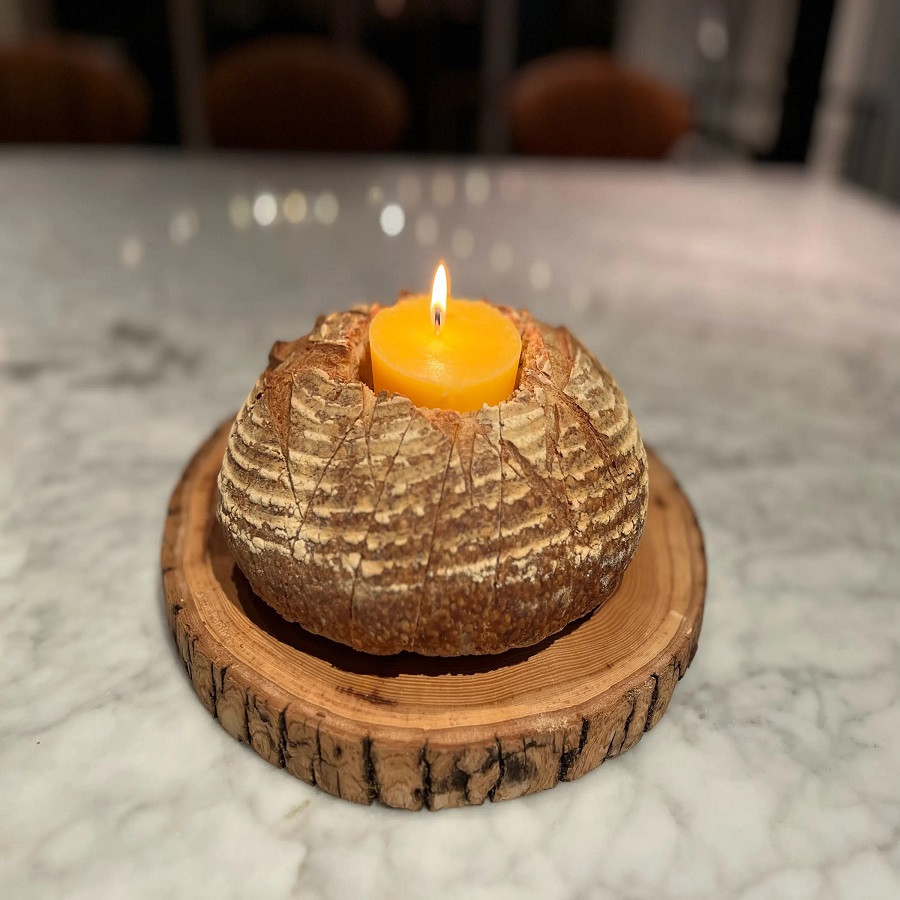
After mastering how to make butter candles, it’s time to get creative with presentation and uses. Butter candles can serve many purposes beyond simple illumination. Here are some ideas to inspire you:
- Dinner Ambiance: Create a warm, inviting atmosphere at the dining table with butter candles as the centerpiece.
- Relaxation Aid: Place butter candles around your bath or reading nook for a calming effect.
- Gift Giving: Handmade butter candles make thoughtful, personal gifts for friends and family.
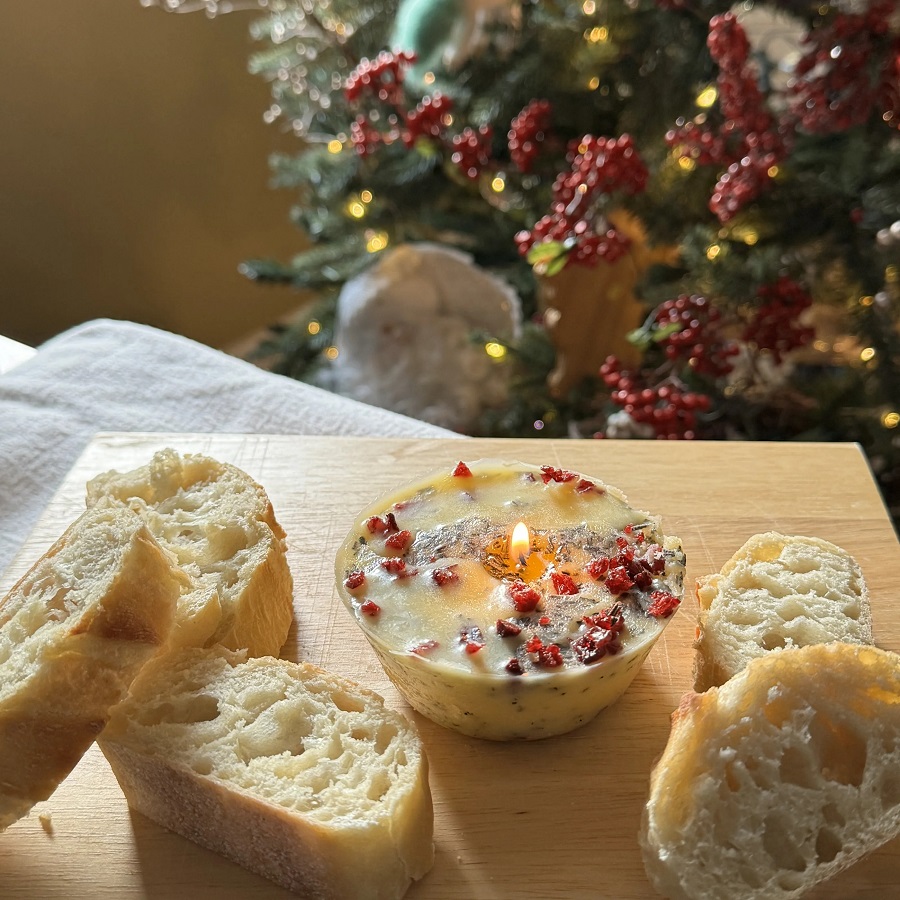
- Holiday Decor: Customize your candles with colors and scents for festive holiday decorations.
- Emergency Lighting: Keep butter candles on hand as a backup during power outages.
Butter candles offer a rustic charm that can complement any decor style. With a little imagination, the versatility of butter candles shines bright in your home or as part of a thoughtful present. Remember, while exploring the various applications, always place safety first as you enjoy the gentle light and subtle fragrance of your DIY butter candles.