Introduction to DIY Floating Candles
Creating your very own DIY floating candles can transform any space into an enchanting environment. Reminiscent of the Great Hall at Hogwarts, these magical decorations have gained popularity for both theme parties and home decor. Anyone can add a touch of whimsy and wonder to their surroundings using simple supplies and a bit of creativity.
In this blog, you’ll learn how to make floating candles with ease. Whether for a special event or to brighten up your living space, this project is perfect. It does not take much time. Nor does it need advanced DIY skills. You will discover the essential supplies and a step-by-step guide to creating these captivating decorations.
We will cover everything from selecting the right candles to the final touches that ensure your candles ‘float’ perfectly. Let’s light up your world with the charm of floating candles. Get ready to create a ceiling so enchanting, it would make even Hogwarts students jealous. Dive into this magical DIY venture with us!

Essential Supplies for Floating Candles
To create enchanting floating candles, you’ll need specific supplies. Gathering the right materials is key to a successful project. Here’s what you will need for magical DIY floating candles.
Choosing the Right Type of Candles
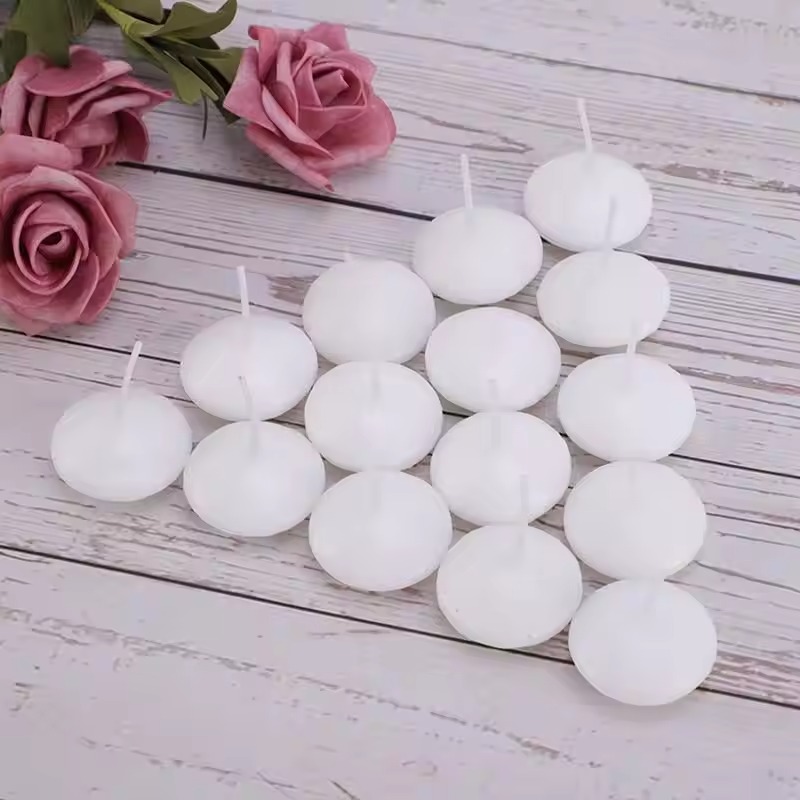
Pick LED taper candles for a safe, flameless option that lasts. LED candles often come with remote controls, adding a practical touch. Ensure they have a structure that allows for hanging by the ‘flame’. This design helps the candles hang straight and adds to the floating illusion.
Selecting Additional Materials
In addition to candles, you’ll need a few more things:
- Rechargeable batteries to power the LED candles and keep them lit without the worry of replacement costs.
- Wax, such as melted beeswax, to add realistic dripping effects on the candles.
- A hand drill or hot nail to make holes for hanging the candles.
- Monofilament or fishing line for suspension from the ceiling.
- Small clear command hooks that adhere to the ceiling and bear the weight of the candles.
- Safety gear like leather gloves to protect hands during the crafting process.
Ensure to have a clean work surface and tools like spoons and chopsticks for wax application. Choose supplies carefully and get ready for the next steps, which will guide you through the candle-making process.
Step-by-Step Guide to Making Floating Candles
Creating DIY floating candles involves a fun process. This guide will take you through the steps. We start with preparing the wax to setting up the hanging mechanism.
Preparing the Candles with Wax
First, select LED taper candles with the ability to hang. Get your rechargeable batteries and beeswax ready. Melt the beeswax in a double boiler. Use a spoon to pour wax over the candles. Add drips with a chopstick. Be careful to avoid the section where the candle opens for the battery chamber. The wax drips on the bottom will enhance the floating effect. As you work, allow the candles to cool and the wax to set.
Drilling and Setting up the Hanging Mechanism
Next, ready your hand drill. Wear leather gloves for safety. Drill a hole gently through the top ‘flame’ of the candle. Patience is crucial to prevent breaking the drill bit. Once the hole is through, thread the monofilament. Create a knot at one end. At the other end, create a small loop for hanging. Test the strength of your monofilament by pulling it gently. Finally, set up your command hooks on the ceiling. Ensure they stick properly by applying pressure for 10 seconds each. Let the hooks set for 30 minutes before hanging the candles. Now, place the loops of the monofilament over the hooks. Your DIY floating candles are ready to enchant your space.
Remember, while the process can be intricate, the reward is a mesmerizing, magical ceiling. With patience and careful execution, you can create an extraordinary decor feature that will captivate any audience.
Tips for a Successful DIY Candle Project
The success of your DIY floating candles hinges on careful handling and decoration techniques. Here are some tips to consider.
Handling Materials Safely
Safety should always come first. Use leather gloves when drilling holes in candles to prevent injuries. Be cautious with hot wax. Ensure your work surface is stable and non-flammable. Keep water nearby in case of wax spills or burns. Remember, patience and attention are your best safety tools.
Effective Techniques for Wax Dripping and Decoration
To achieve realistic wax drips, pour melted wax over the candle’s surface and quickly shape it with a chopstick. Work in a well-ventilated area to avoid wax fumes. For a varied look, create different sizes of drips. Maintain a consistent theme for a cohesive look. Practice on a spare surface before applying to candles. This will help you perfect your technique.
By following these tips, you can help ensure your floating candle project is both safe and successful. With some practice, your candles will look as magical as the ones at Hogwarts.
Hanging Your Floating Candles
Preparing and Placing Command Hooks
To securely display your floating candles, choose small clear command hooks. These hooks need to be robust enough to hold the candles in place. Start by cleaning the ceiling area where the hooks will stick to ensure they adhere well. Peel the adhesive backing off and press each hook onto the ceiling for about 10 seconds. It’s crucial you give the adhesive hooks around a half-hour to set before hanging any candles from them. This ensures they don’t detach and fall.
The Process of Hanging Candles Securely
Once your command hooks are set, it’s time to hang your candles. Use the small loop at the end of the monofilament you created earlier. Carefully, hook the monofilament loop onto your command hook. Make sure the line is taut to keep the candle straight and ensure it genuinely looks like it is floating. If your room has airflow that might sway the candles, adjust their position slightly to reduce movement. Securely hanging your DIY floating candles will create a mesmerizing, magical atmosphere in any room.
Decorative Ideas for Different Occasions
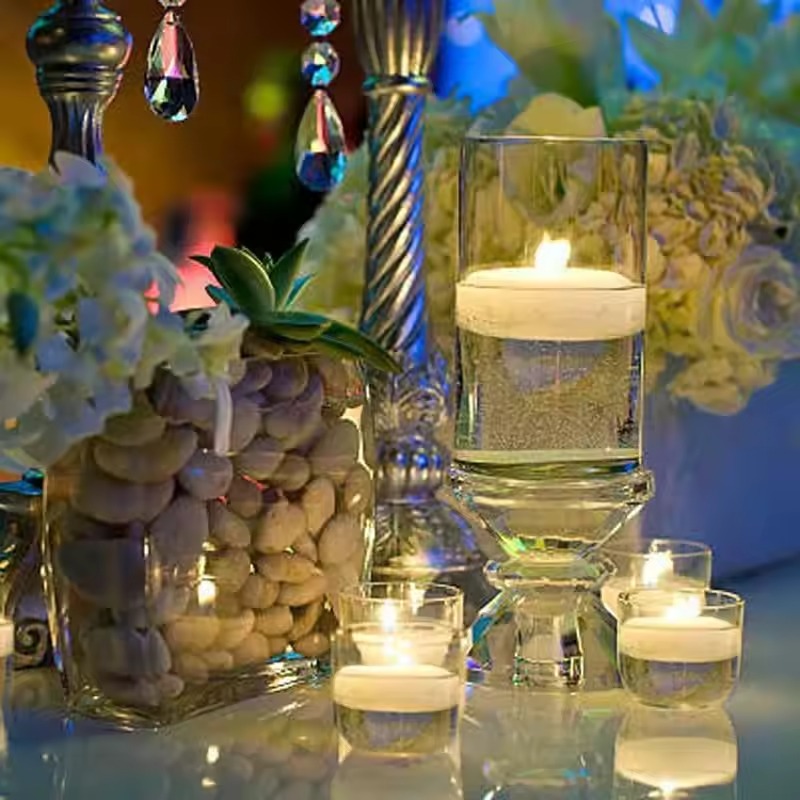
Floating candles add charm to any event or season. Their soft, flickering light creates a warm and inviting atmosphere that can be tailored to suit any celebration. Whether it’s a spooky Halloween dinner or a joyous Christmas gathering, here are some tips to aesthetically elevate your occasion.
Enhancing Aesthetic for Special Events
For weddings or anniversaries, arrange candles in clusters to create focal points. Consider varying the hanging heights to mimic a starry sky. For a more romantic feel, use rose-scented LED candles. They add a pleasant aroma and enhance the ambiance. Birthdays and graduations also become more memorable. Use floating candles customized with colors that match the party’s theme.
For Halloween, opt for an eerie setup. Pair candles with cobwebs and dark decor. Incorporate a soundtrack of haunting melodies to complete the scene. For themed parties, like Harry Potter, arrange candles to mirror the Great Hall at Hogwarts.
Seasonal Decor Ideas with Floating Candles
For fall, add leaves around the base of your hanging area. This mimics falling leaves in an autumnal forest. During the winter holidays, combine candles with holly or icicle decorations for a wintry effect. For a spring touch, intertwine flowers or pastel ribbons near the candles. For summer nights, mix in some lightweight, fluttering fabric to give an airy, open-sky feeling.
Transform your space for each season by switching out decorative elements. This keeps the candles fresh and in sync with the time of year. Always use a steady hand when placing decorations around the candles to maintain safety.
DIY floating candles offer versatility for every occasion. With these ideas, they can become a beautiful centerpiece or subtle accent in your decor all year round.
Conclusion and Final Touches
As we wrap up our guide to creating DIY floating candles, let’s not forget the final touches that truly bring our enchanted ceiling to life. With our floating candles securely in place, we can focus on ensuring that the magic lasts as long as possible. Implementing the right safeguards and employing maintenance checks will keep your setup stable and enduring.
Ensuring Stability and Longevity of the Setup
For your floating candles to maintain their charm, follow these simple yet effective steps:
- Regularly check the strength of the command hooks to avoid any mid-air mishaps. Replace them if they start to lose their grip.
- Switch out rechargeable batteries in the LED candles to keep the lights bright and the ambiance alive.
- Dust the candles gently with a soft cloth. This keeps them looking fresh and realistic.
- Periodically inspect the monofilament for any signs of wear or tear and replace if necessary.
- If you used additional wax for effect, keep them away from high heat to prevent warping.
In the spirit of continuous enchantment, taking care of your DIY floating candles will ensure they wow your guests time and time again. They’re not just decor; they represent whimsy and creativity, taking any room from mundane to magical. Remember our guiding steps: select the right materials, craft with care, hang with precision, and maintain with love. With these tips, you’ll revel in the enchanted atmosphere of your own making, be it for a special occasion or everyday wonder.
Now, dim your lights, watch your candles glow, and bask in the spellbinding effect you’ve created. Lumos!